B

Builder

Guest
Hi all, 


This is my first Build Post on the forum. Here is my entry into this GB. 


It is the Tamiya 1/35 Panther and Miniart 1/35 Runied Building with Base.


The Plan 


to build a Panther Tank with a ruined Building in the background using these two kits. I plan not to paint the Panther in a camo patter but rather in Tamiya XF 63 - German Grey as I really like that colour and the instructions offer it as an optional colour. The Tamiya kit will be built OOB, whilst the Miniart kit will have some extra details such as grass and tress added to it. Weathering will be kept to a minimum as I am not an expert in it yet and just want to get the basics right.


I wasn't able to get much info about the Miniart kit so only have details of the Tamiya Kit.  


Details of the Tamiya Kit 

  • Kit Name:

    Tamiya 1/35 Panzerkampfwagen V Panther Sd.kfz.171 Ausf.A
  • Kit Product Number:

    35605
  • Kit History:

    This Kit was released in 1976 and is a rebox of Tamiya Kit 30223 released in 1968. So the Mold is actually from 1968.
  • Marking options:

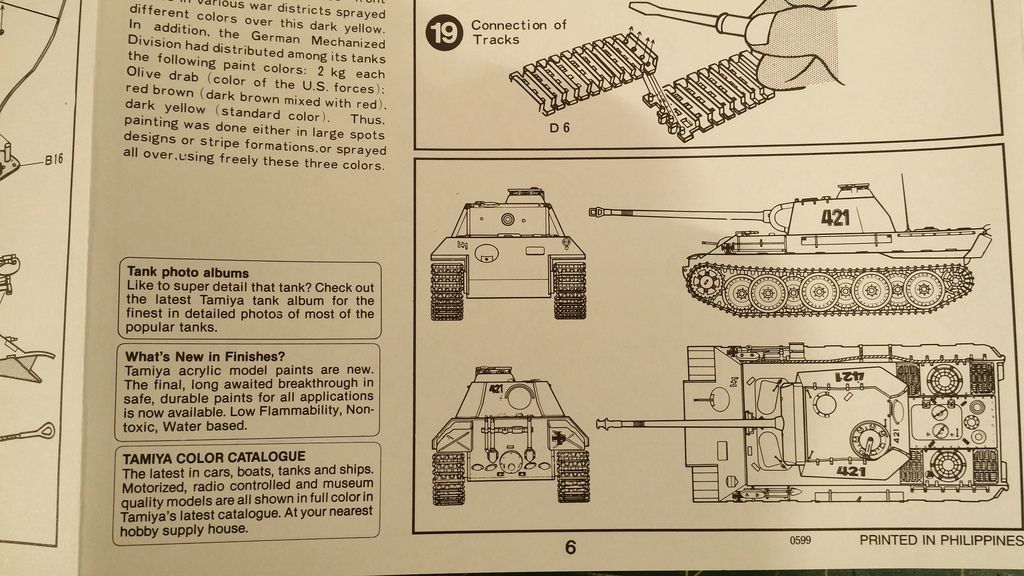
    Two marking options both for German Tanks in Camo Pattern - However the instruction manual suggests that you can paint the kit single colours such as grey or desert brown
  • Scalemates link:

    https://www.scalemates.com/kits/132515-tamiya-35065-panzerkampfwagen-v-panther

Kit Overviews


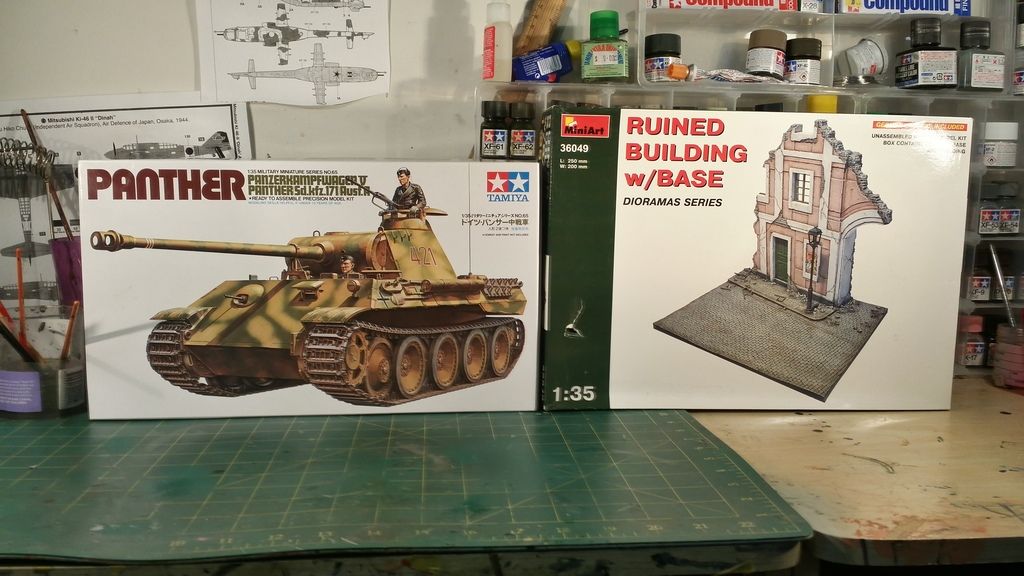
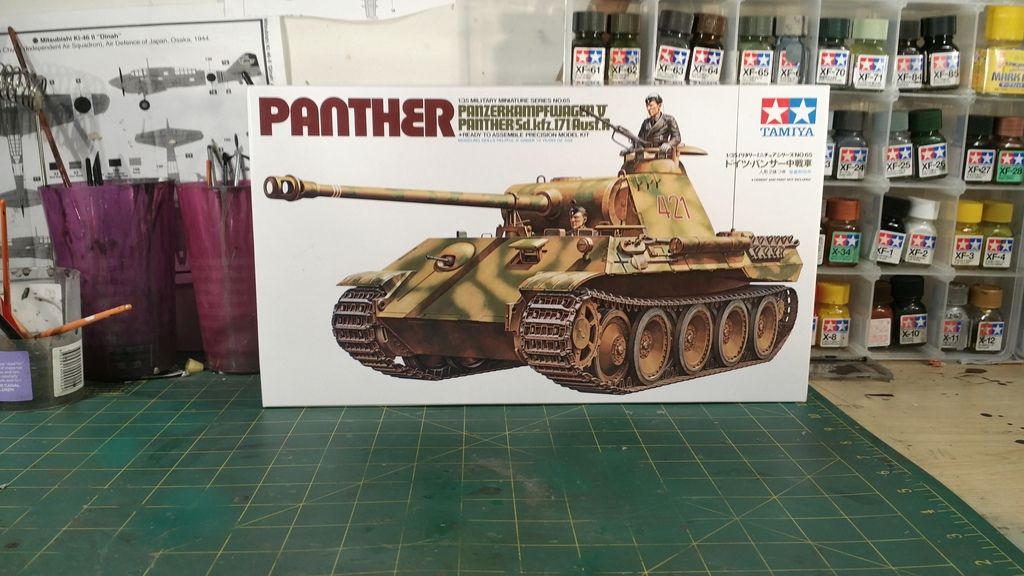
Here are the two boxes:


Tamiya 1/35 Panther


First off, the Panther Box Art:


Kit Contents:
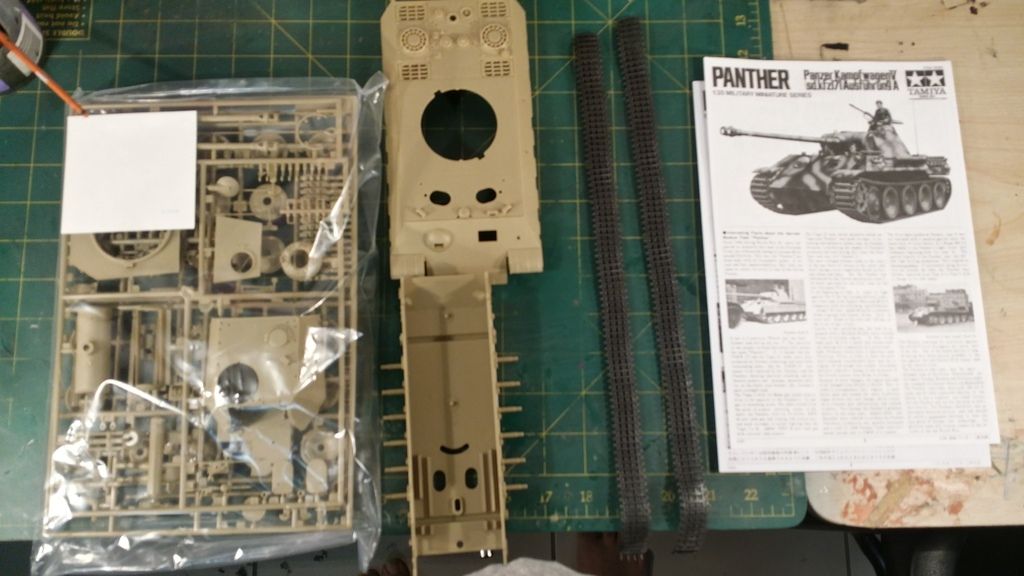


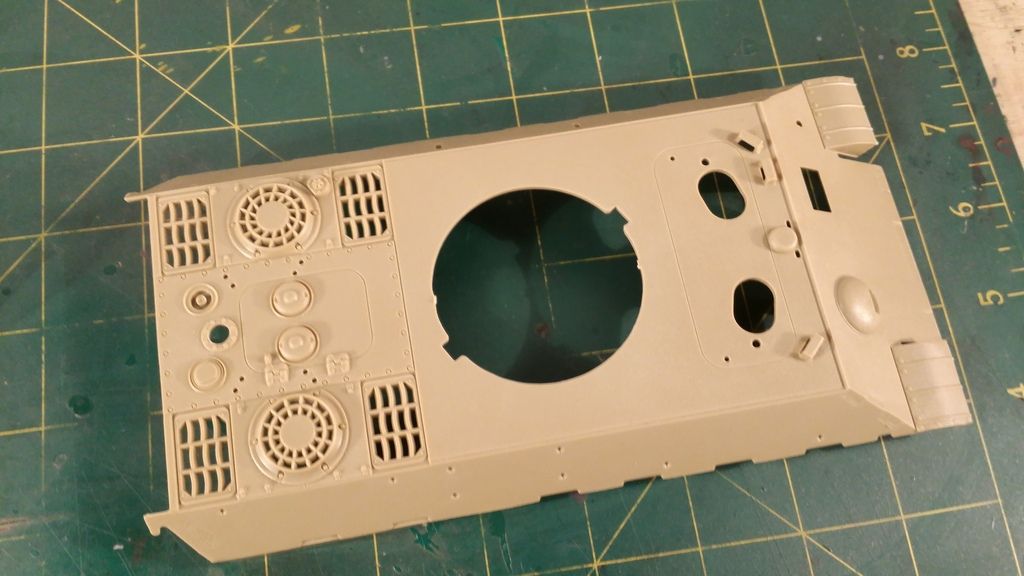
The Hull - Very nicely molded and some nice detail


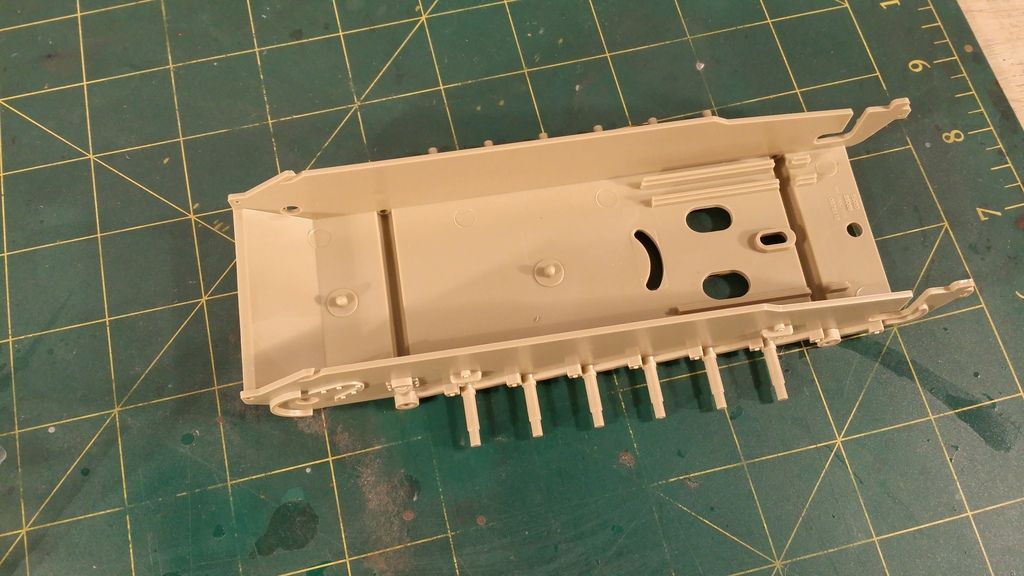
The undercarriage


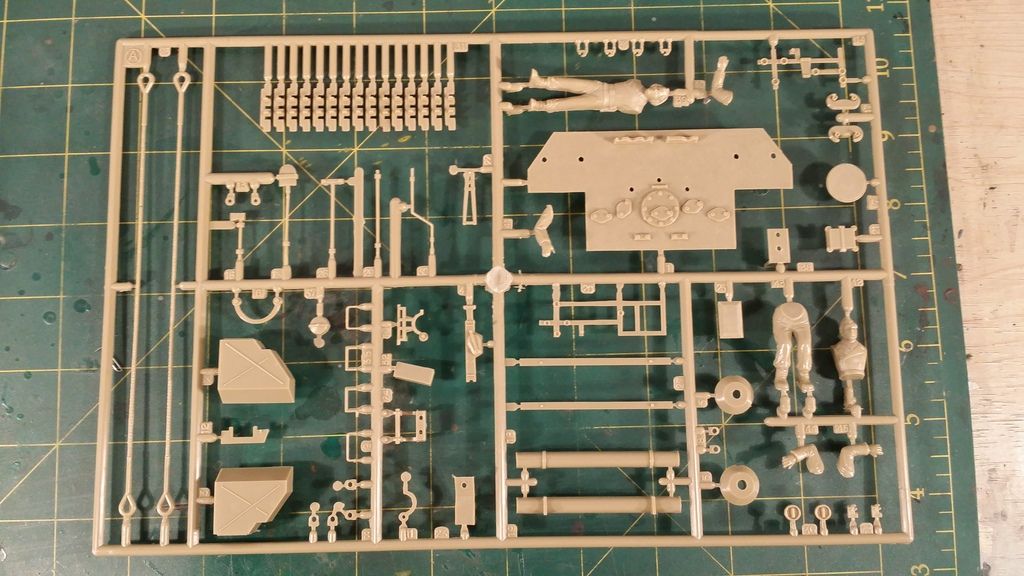
Sprue A - Detail parts, and figure


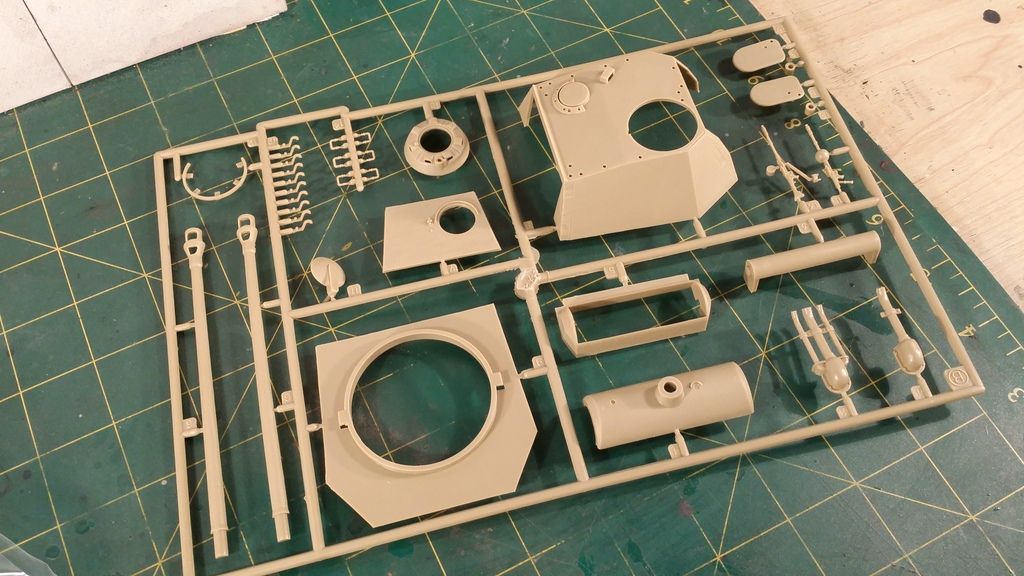
Sprue B - Turret Parts


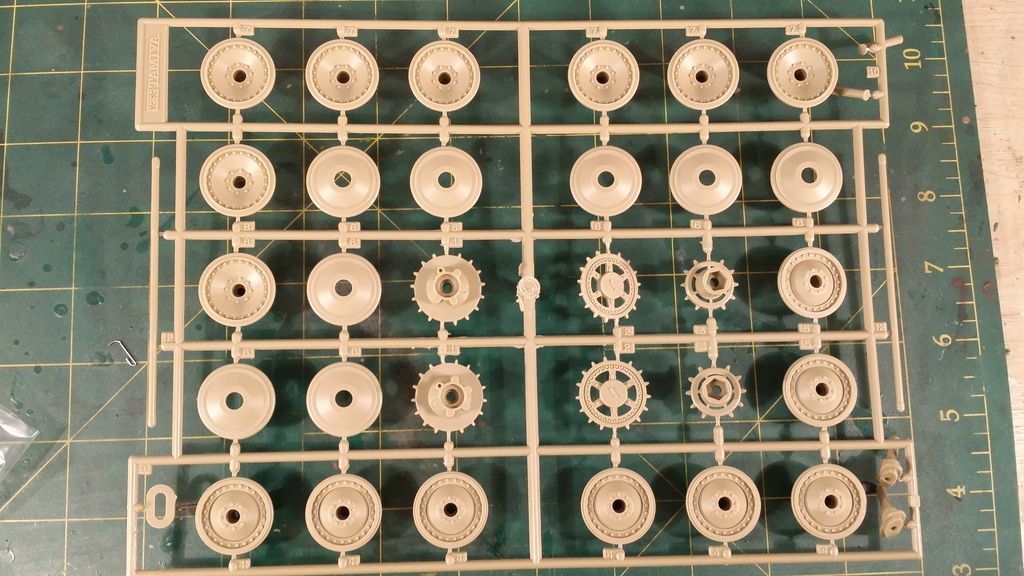
Sprue C - Wheels


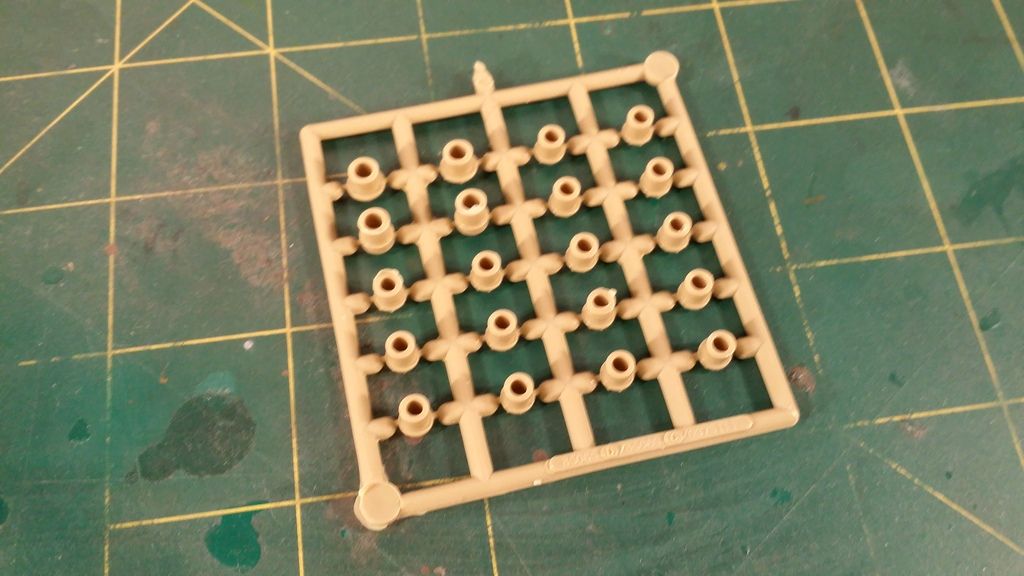
Wheel connectors


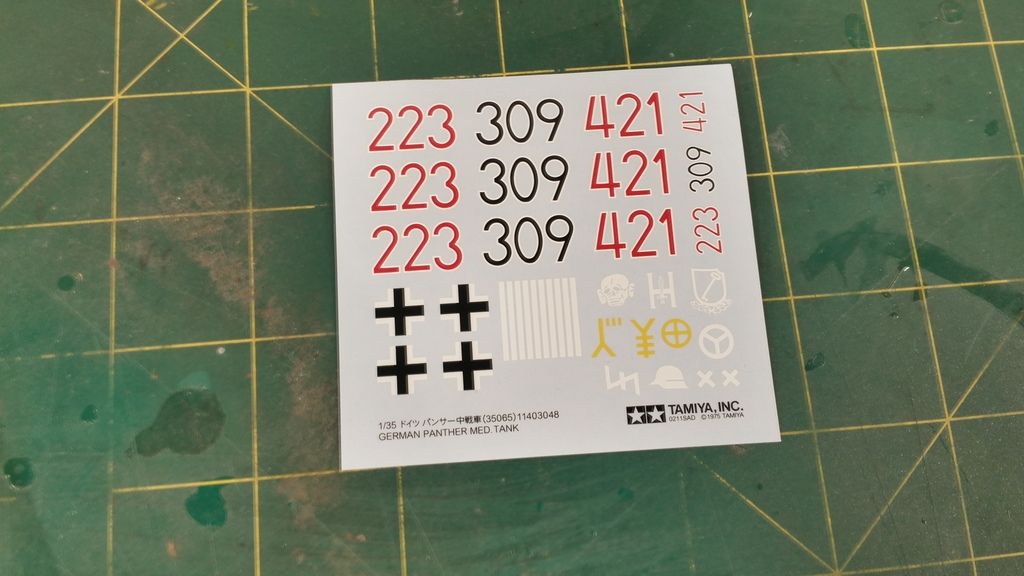
Decals


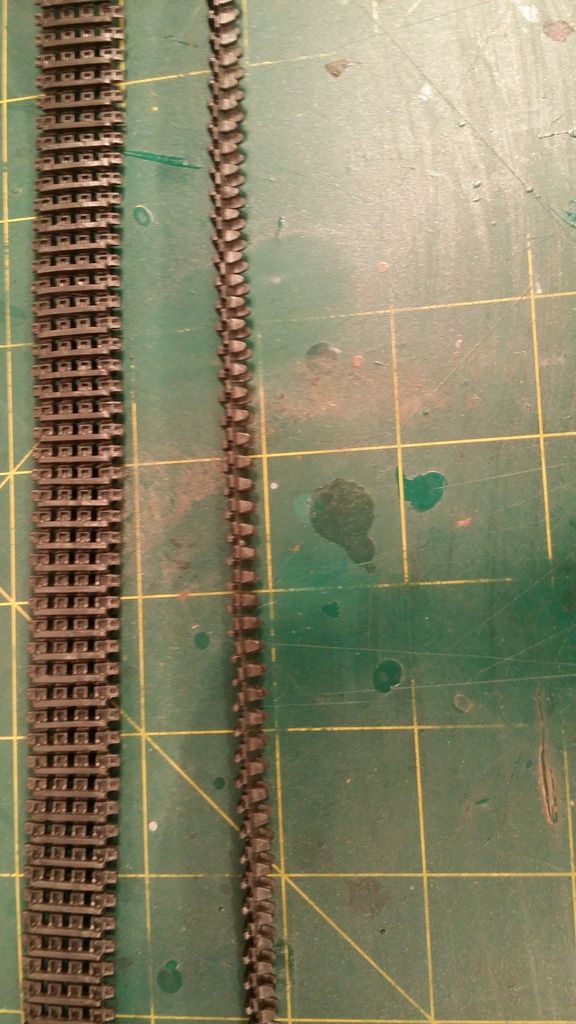
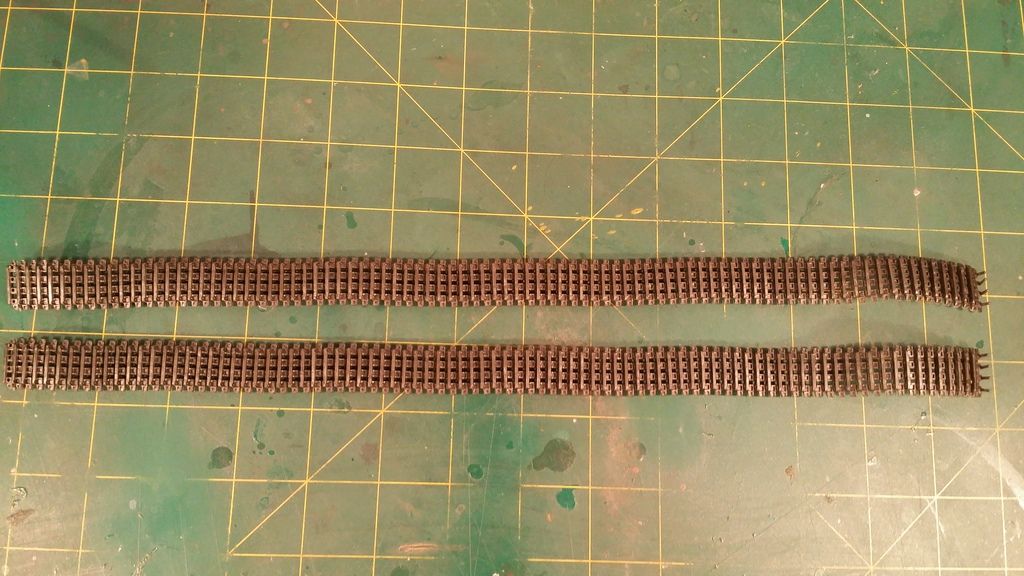
The Tracks - rubber band tracks, 


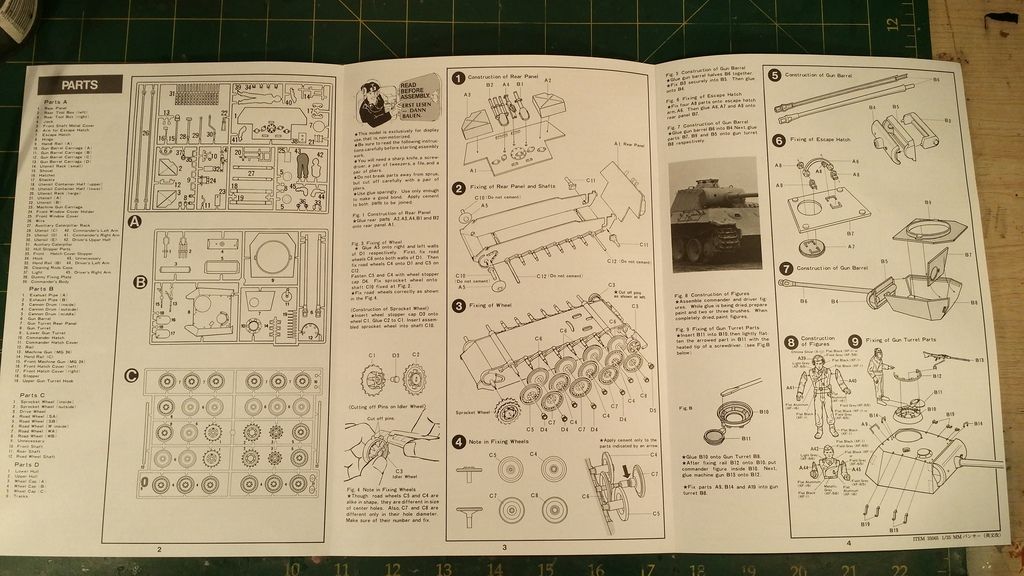
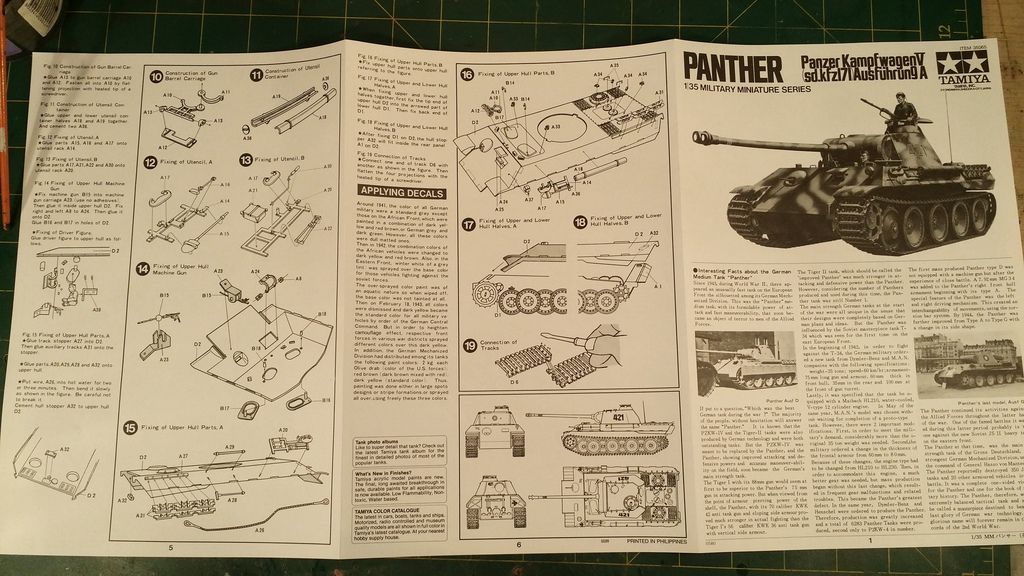
The Instruction manual


Overall Impression:


Nice kit, not many parts but as I am not very experienced in modelling, I think this will be a fun and easy build with enough detail to keep me happy. The turret itself is molded in two parts so will have to do a bit of sanding, hopefully that turns out alright. But in terms of quality of the mold, it is very good. 


on to the next kit:


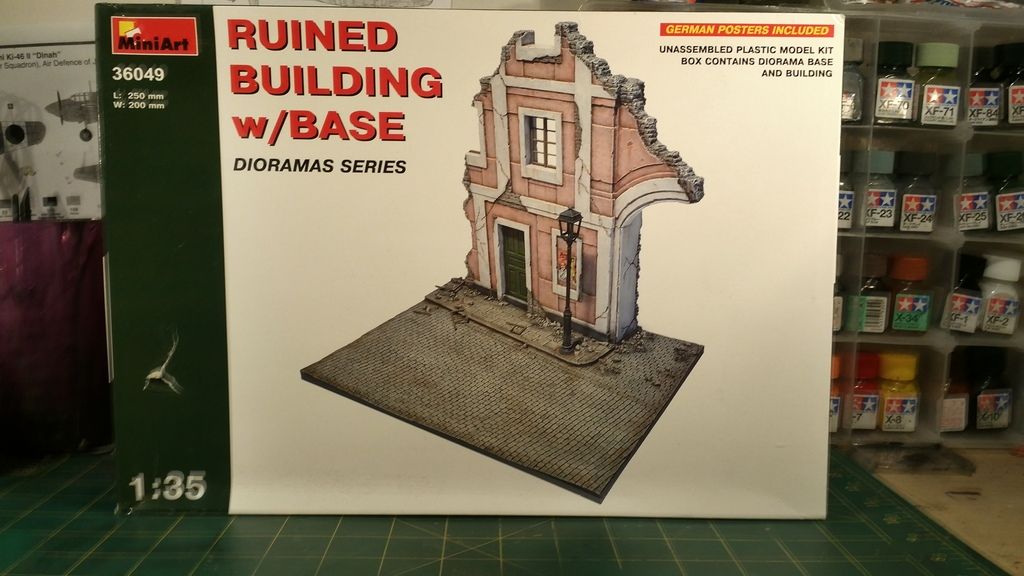
Miniart 1/35 Ruined Building with Base


Box art


Kit Contents
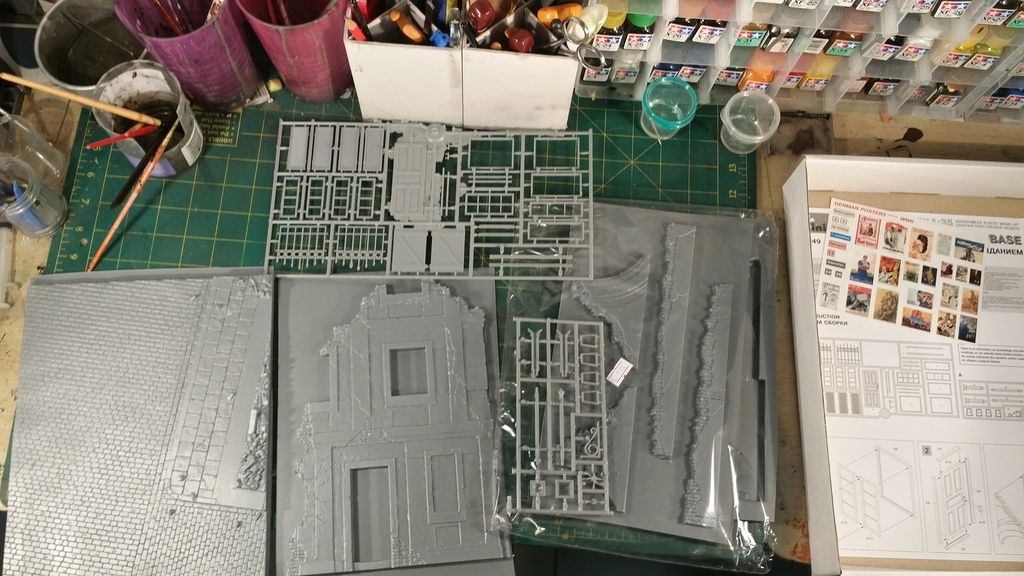


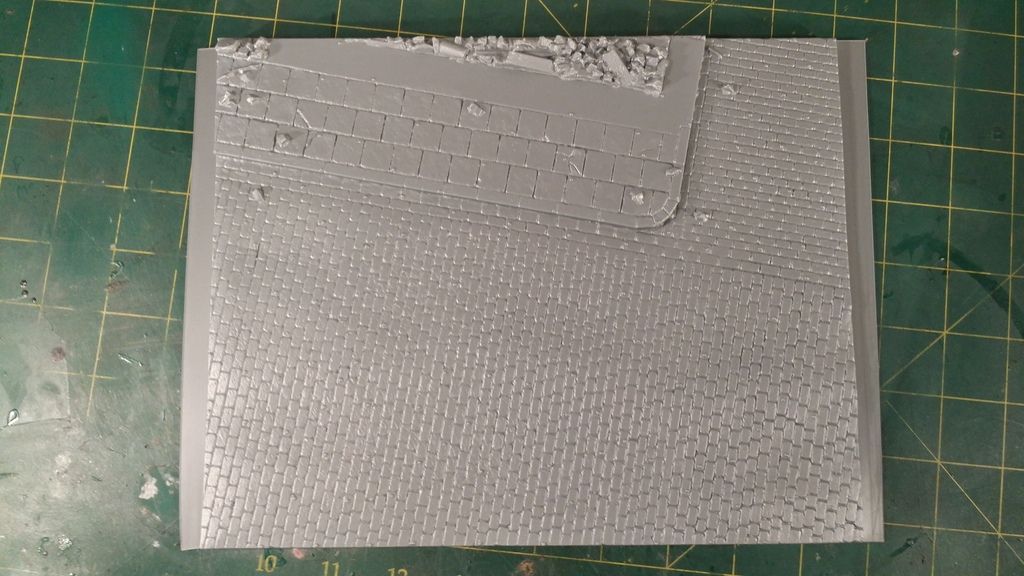
The base


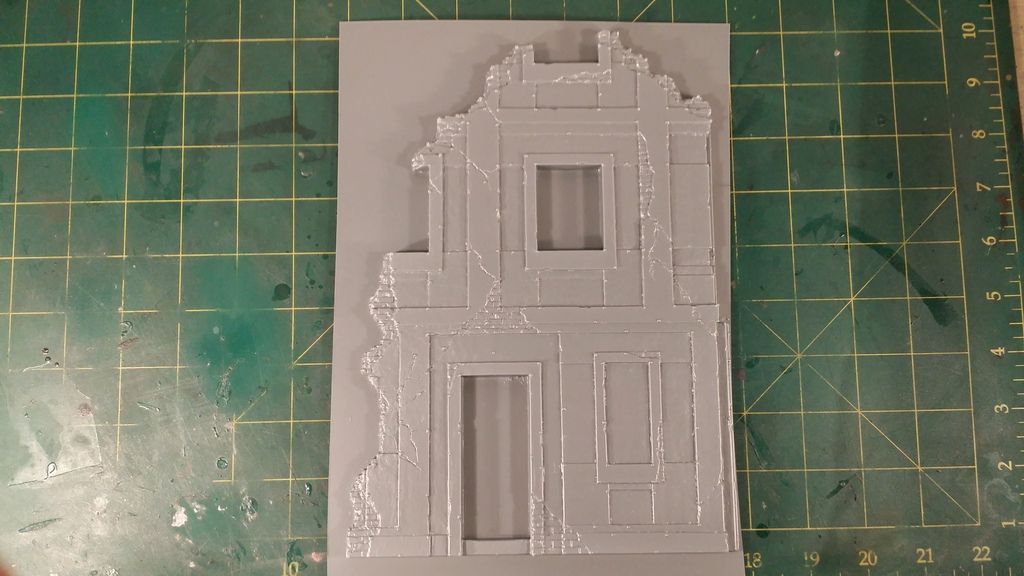
The front of the building


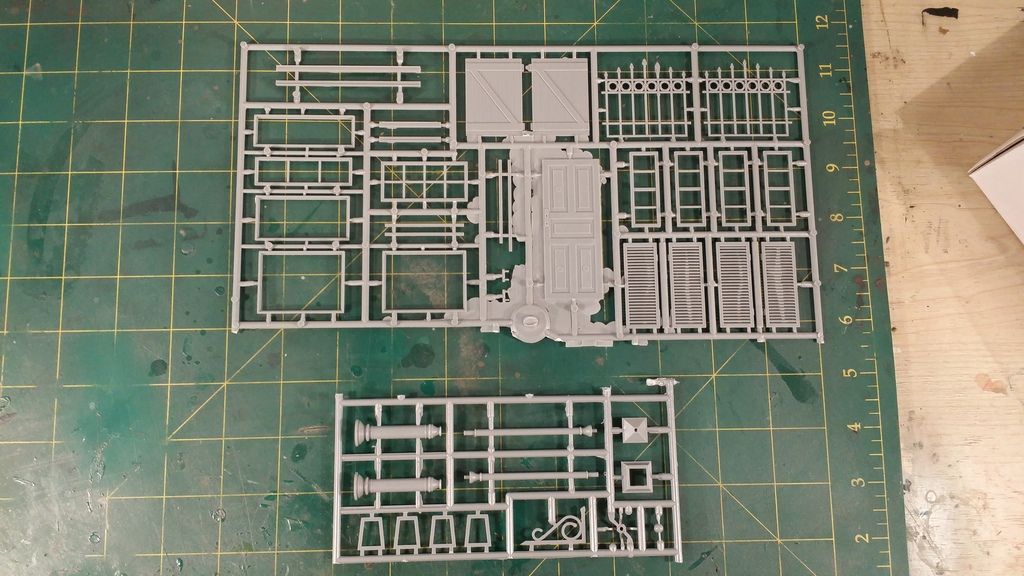
Detail parts and Door - lots of flash present


The back of the building


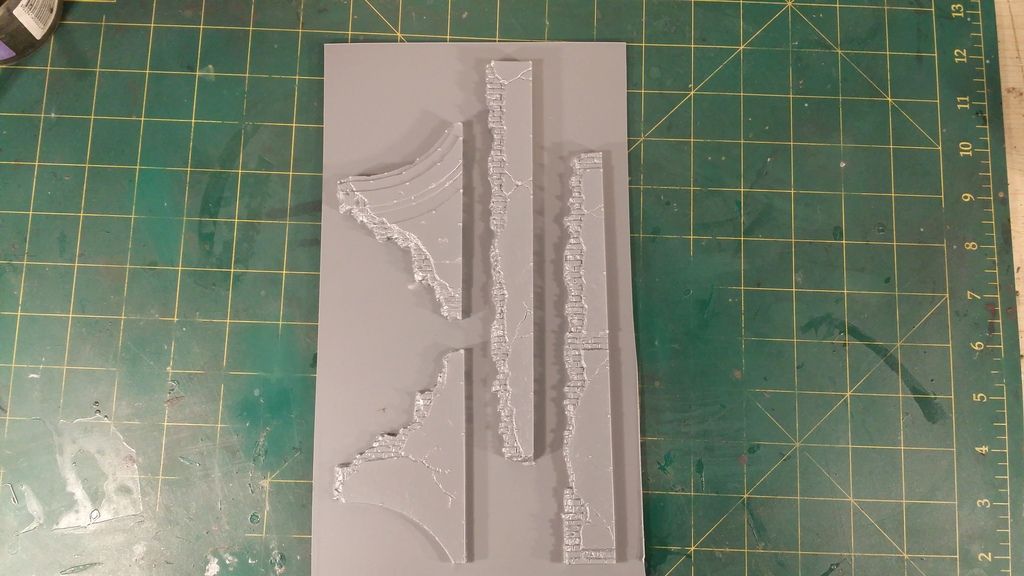
The arc of the building


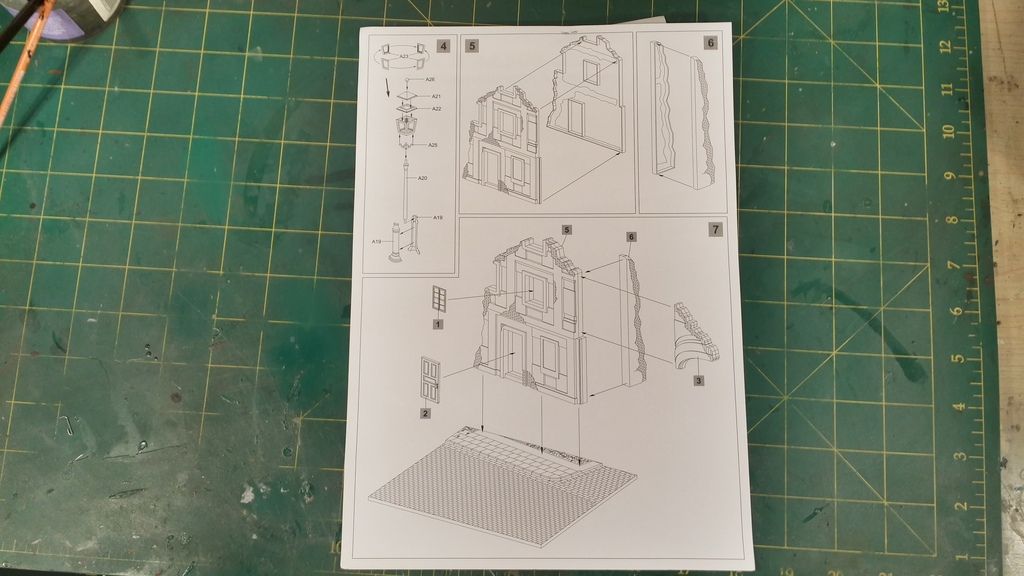
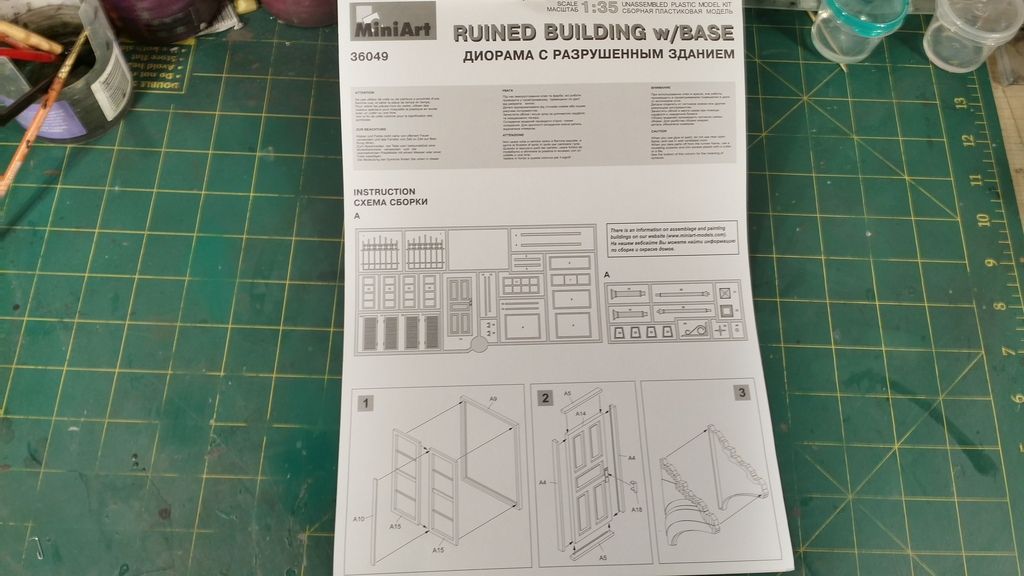
Intructions


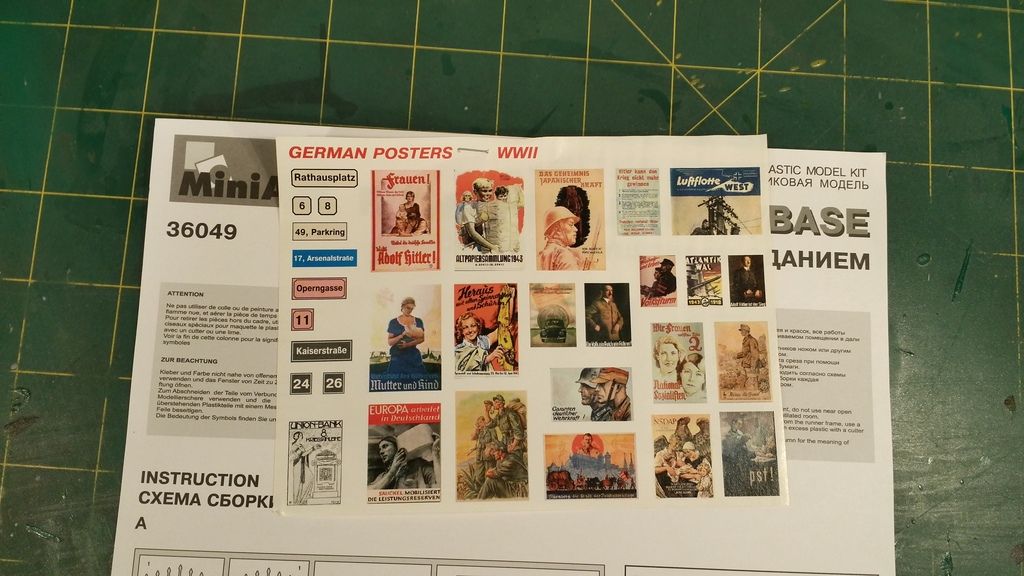
And a very nice addition of small 1/35 posters - these look like they are printed on stamp like paper


Overall Impression:


I have never built a Miniart kit before - so am unsure if the flash on the side of the buildings is how they normally do it or just this kit comes with flash on the side of the all the large sprues. Their is also a large amount of flash on the details sprue so not very happy with that. The detail though in the actual parts themselves is top notch. The kit doesnt come with all the extra details like the grass or the tree so that is a bit of a let down seeing as how these kits can be a tad expensive sometimes. 


Well that's it for now, next up will be posts of the builds being started. Till then I hope you guys liked the post and the photos.
 
Last edited:
D

dubster72

Guest
I'm very surprised that the camo schemes offered by Tamiya include overall German Grey. The first operational use of the Panther was in Operation Zitadelle, so they would always have been painted with a basecoat of Dunkelgelb with the typical green/red-brown camo over that.
 

monica

“When there's no more room in hell, the dead will
SMF Supporter
Joined
Oct 30, 2013
Messages
15,111
Points
113
Location
Melbourne
First Name
monica
like the looks of this Bob,real do like the German amour,and a good pick with the Panther, :D


I do like the miniart building,and they can be a little tricky as well with fit,or say fiddly,


they all do come with that amount of flashing,they is a few ways,to cut them out ,do real


go to the miniart site,and have a look at there tutorial,or even on youtube


http://www.miniart-models.com/


look forward to seeing this all come together, :D
 
K

kintosh

Guest
Will be an interesting build to watch.


Bob (not the builder)
 
B

Builder

Guest
I'm very surprised that the camo schemes offered by Tamiya include overall German Grey. The first operational use of the Panther was in Operation Zitadelle, so they would always have been painted with a basecoat of Dunkelgelb with the typical green/red-brown camo over that.

Hi Patrick,


You were spot on mate, I read the instructions again and it stated that tanks build during 1941 were painted German Grey howver the Panther came into production in 1943. I think Im going to stick with the DArk Yellow with red brownbrown camo scheme shown on the box art. Thanks for that!
 
B

Builder

Guest
I'm very surprised that the camo schemes offered by Tamiya include overall German Grey. The first operational use of the Panther was in Operation Zitadelle, so they would always have been painted with a basecoat of Dunkelgelb with the typical green/red-brown camo over that.


like the looks of this Bob,real do like the German amour,and a good pick with the Panther, :D


I do like the miniart building,and they can be a little tricky as well with fit,or say fiddly,


they all do come with that amount of flashing,they is a few ways,to cut them out ,do real


go to the miniart site,and have a look at there tutorial,or even on youtube


http://www.miniart-models.com/


look forward to seeing this all come together, :D


Definitely watching this one ;)


Will be an interesting build to watch.


Bob (not the builder)

Thanks all, and yeah Monica it looks like it will be tricky, I am going to borrow a dremel drill tool and use that to help me cut off most of the flash and then go over it with a sanding stick to fix up all the nubs and hopefully it turns out smooth. 


Well I have started some work on the Panther, here are the updates. 


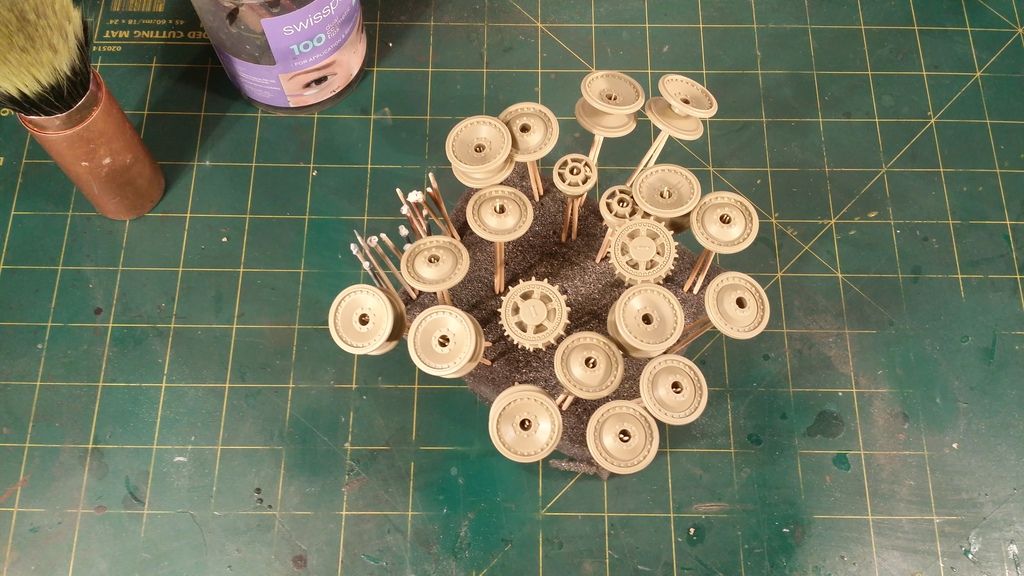
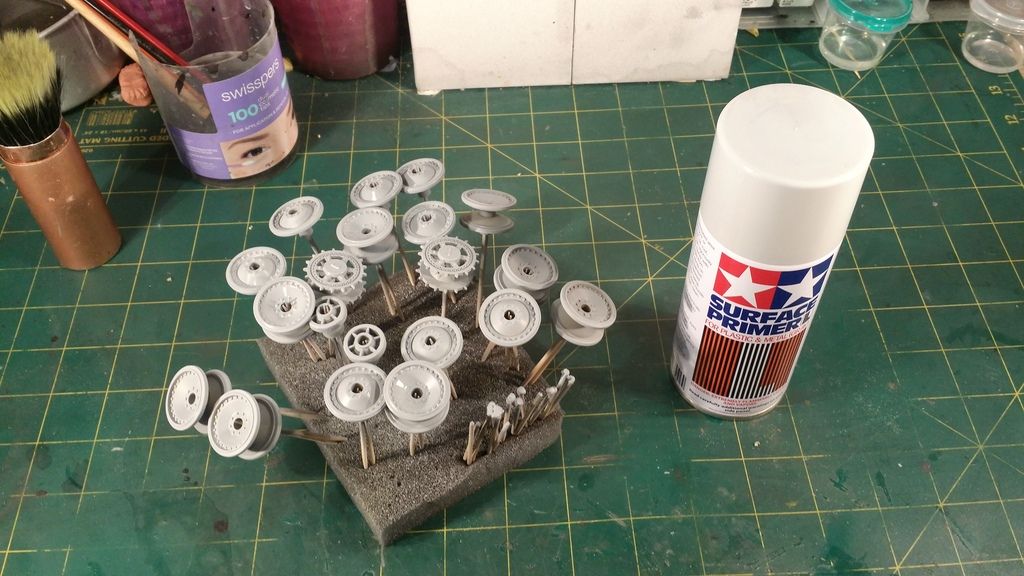
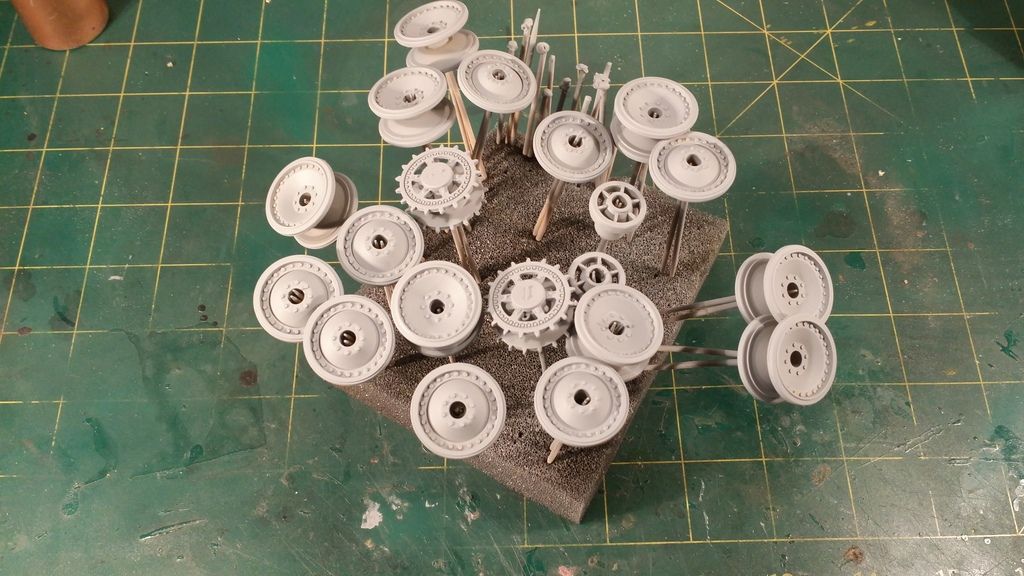
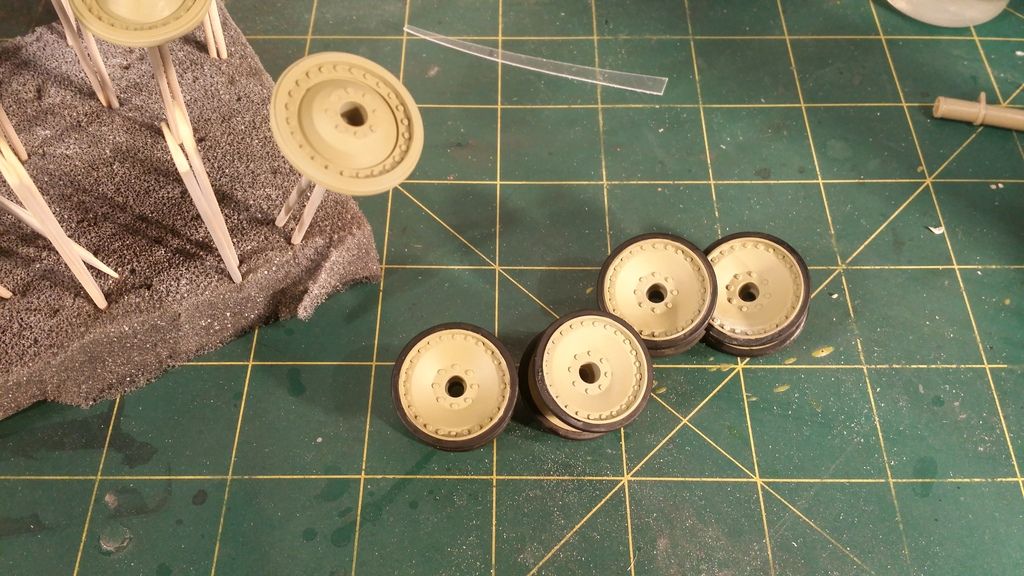
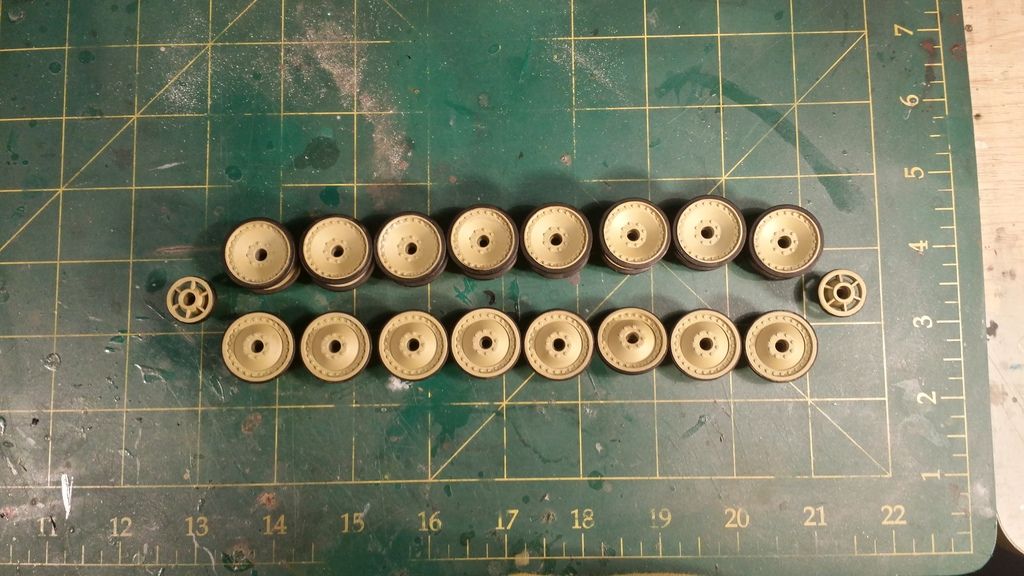
I have built the wheels and cleaned them up. I plan to paint them seperately as the sides have to be painted rubber black and that would be difficult if they were glued on. Also I can weather them separately as well if needed. 


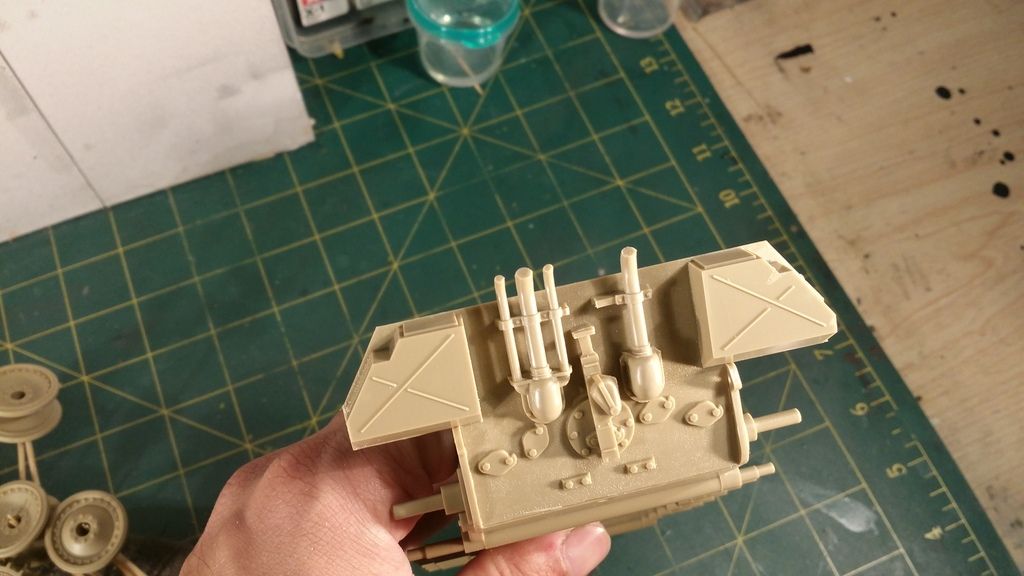
The hull / undercarriage was also built slightly


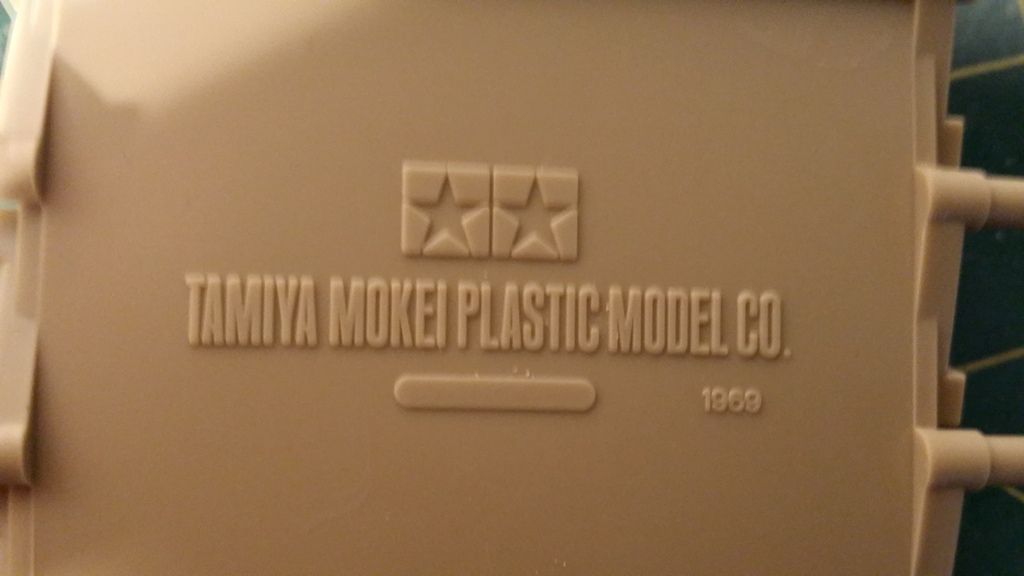
This kit is old! Unbelievable quality for its age


Used Tamiya Grey Primer to prime the wheels


Thats it for now, will paint up the wheels tomorrow and then commence work on the rest of the tank
 

monica

“When there's no more room in hell, the dead will
SMF Supporter
Joined
Oct 30, 2013
Messages
15,111
Points
113
Location
Melbourne
First Name
monica
Thanks all, and yeah Monica it looks like it will be tricky, I am going to borrow a dremel drill tool and use that to help me cut off most of the flash and then go over it with a sanding stick to fix up all the nubs and hopefully it turns out smooth. 

As its thin Bob,just use a hobby knife,and careful score down each side,and most,time I,find if you cut the corners ,you can just rock the tab bit back


and forwards,and it will just brake off,then sand it back, :D
 

monica

“When there's no more room in hell, the dead will
SMF Supporter
Joined
Oct 30, 2013
Messages
15,111
Points
113
Location
Melbourne
First Name
monica
nice start looking good, :D
 

flyjoe180

Joe
SMF Supporter
Joined
Jan 18, 2012
Messages
12,419
Points
113
Location
Earth
First Name
Joe
Great start Bob. Sure looks a nice enough kit even for a 1969 mould.
 
B

Builder

Guest
I'm in for this Bob :smiling3: .


nice start looking good, :D


As its thin Bob,just use a hobby knife,and careful score down each side,and most,time I,find if you cut the corners ,you can just rock the tab bit back


and forwards,and it will just brake off,then sand it back, :D
Great start Bob. Sure looks a nice enough kit even for a 1969 mould.

Thanks all, heres the latest build update.


The wheels have been painted with the base colour, Tamiya XF - 60 Dark Yellow enamel mixed with Tamiya enamel thinner having a paint to thinner ratio of 2:!. This is aribrushed with Tamiya spraywork basic airbrush and compressor. 


I am painting the side rubbers on the wheels with Tamiya Acrylic XF-1, and cleaning away any excess with Windex, as the underlying coat is enamel it doesnt affect the base colour. 


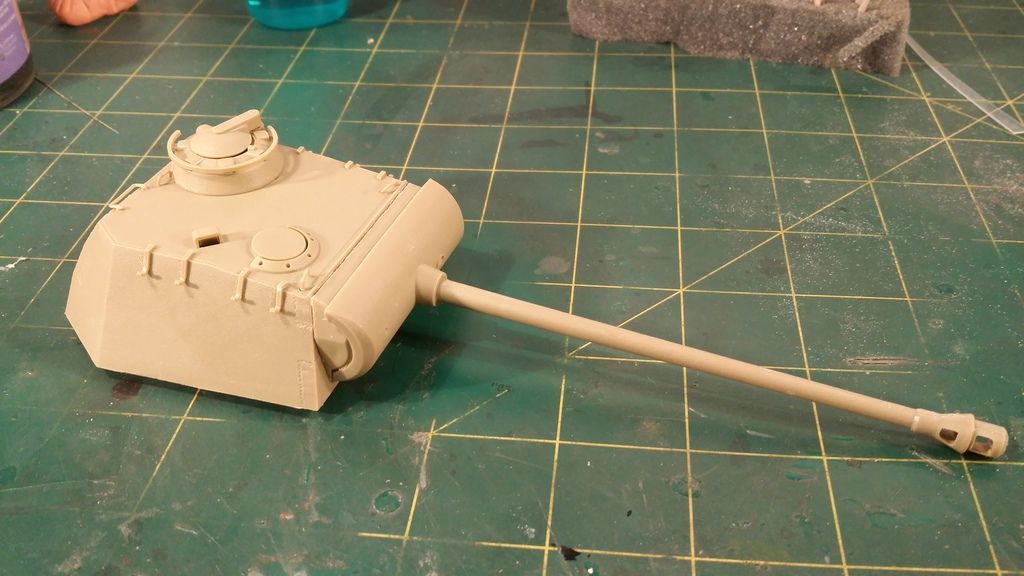
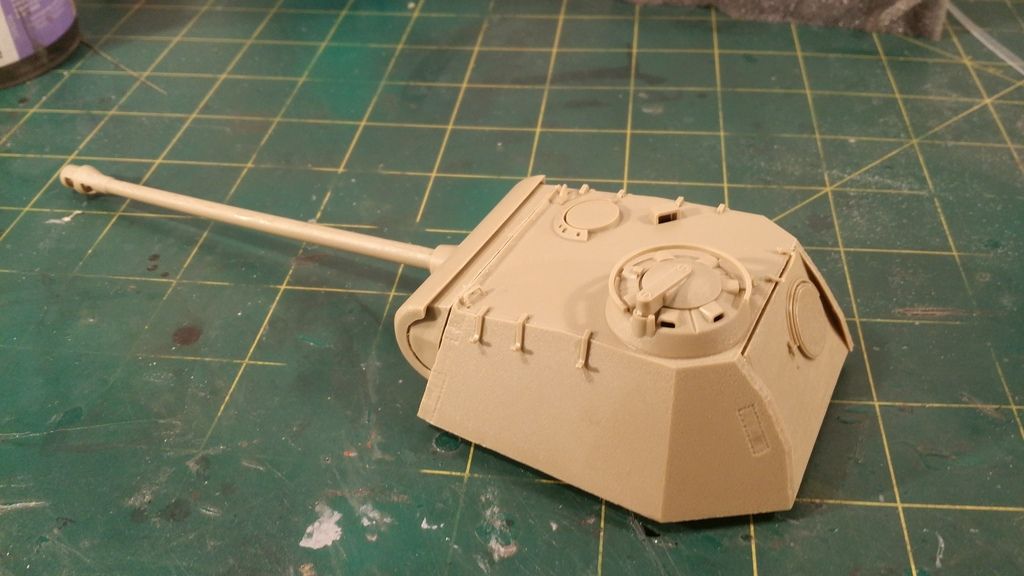
The turret is built. 


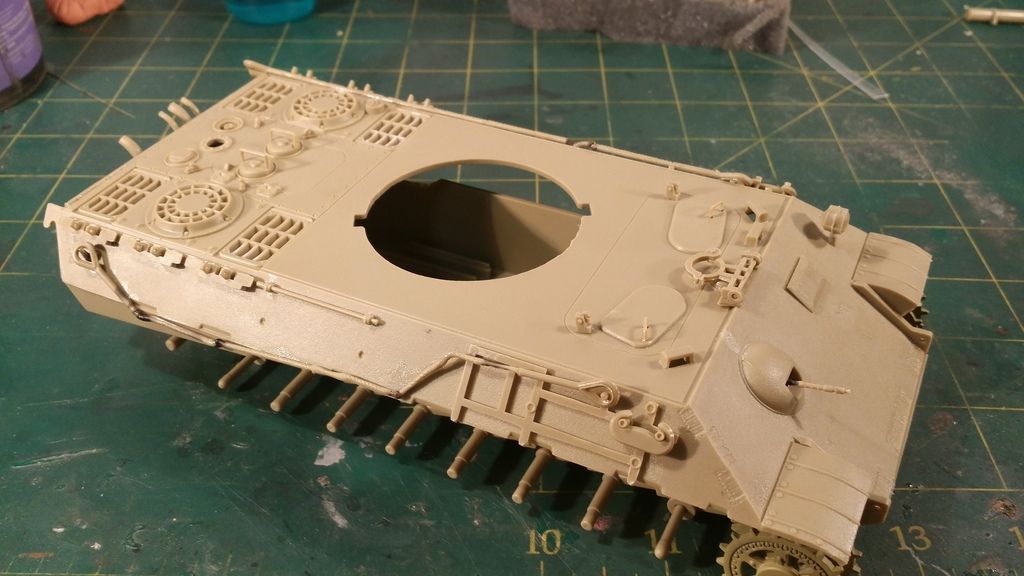
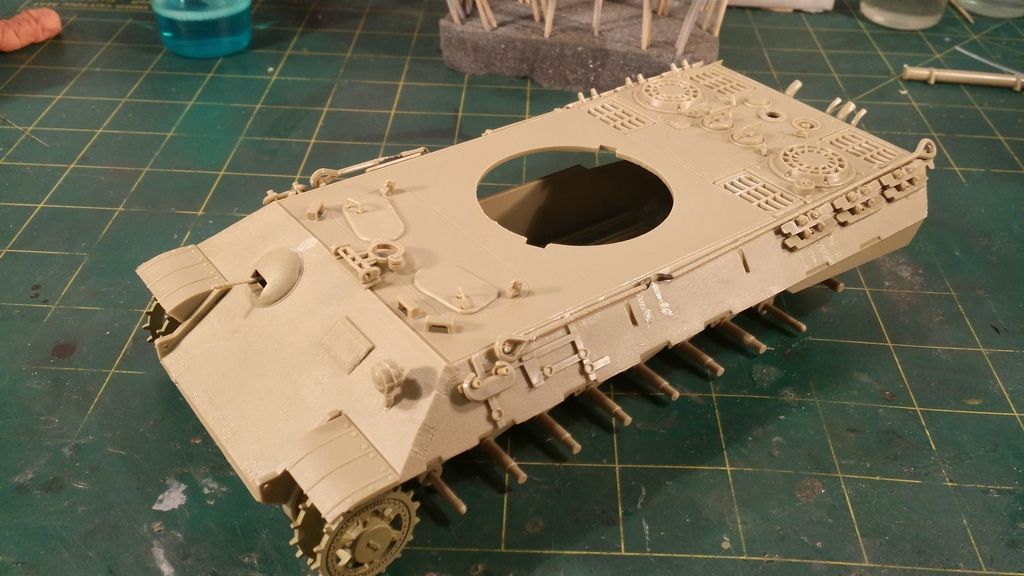
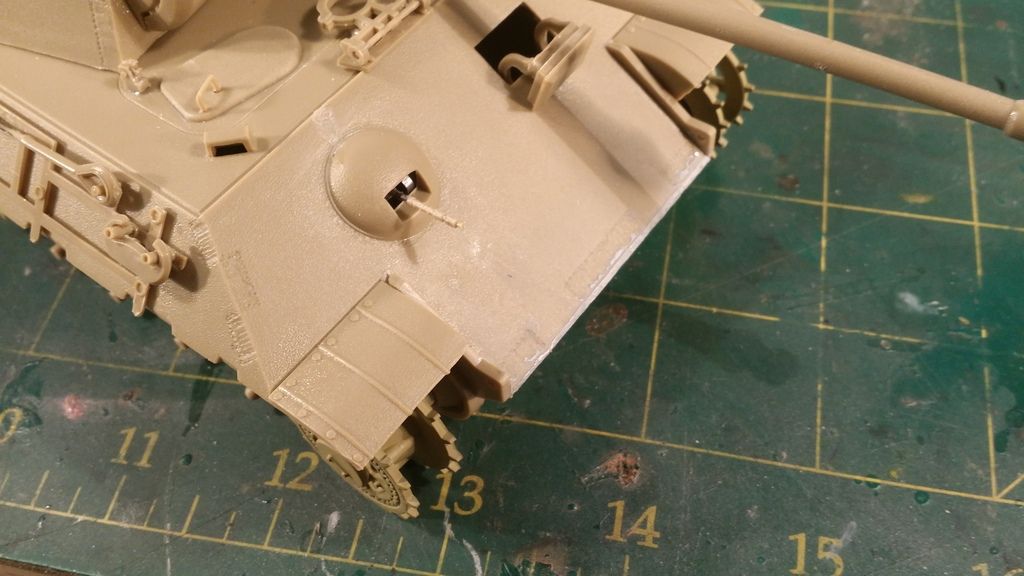
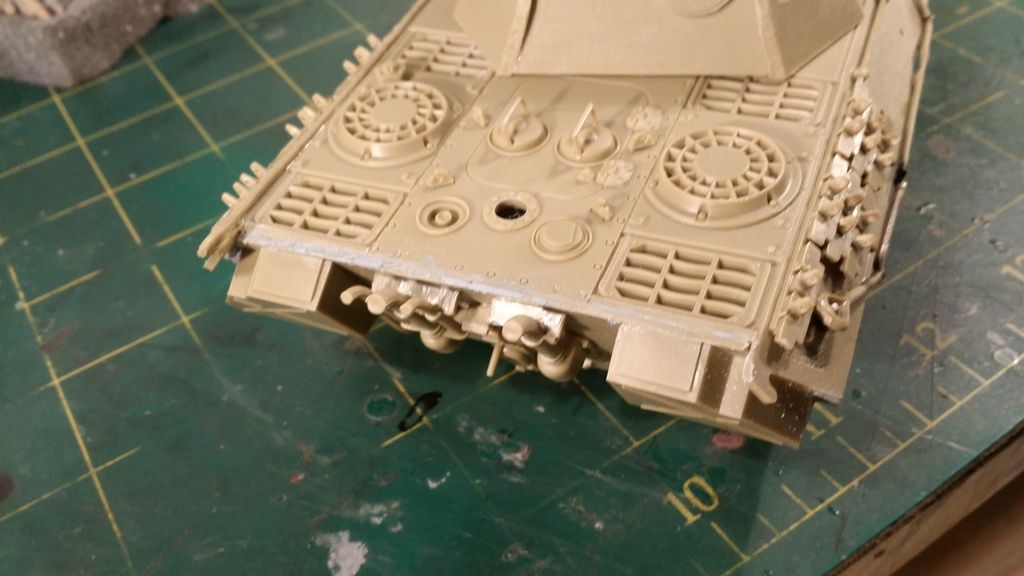
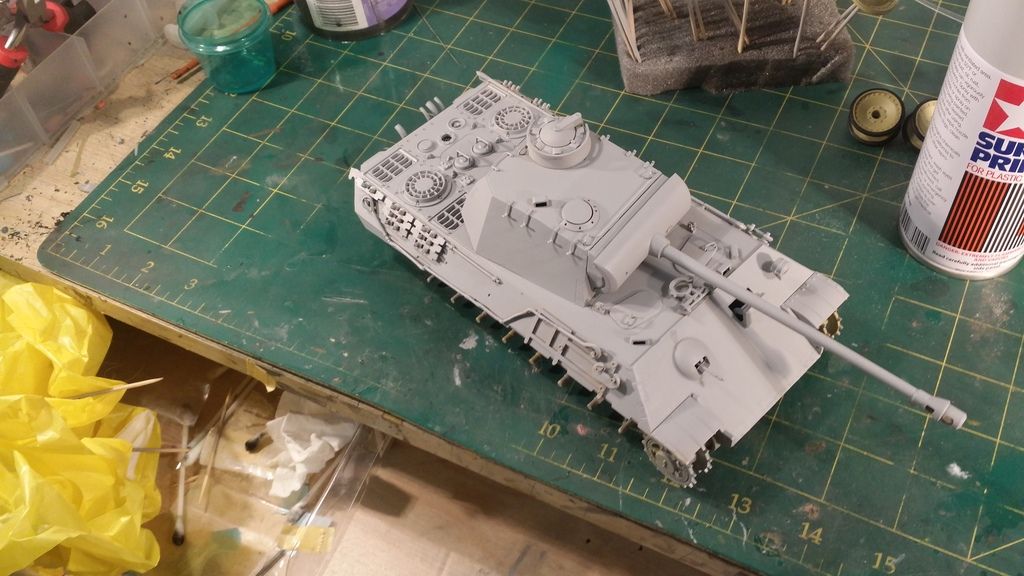
The Hull is almost complete in this pic


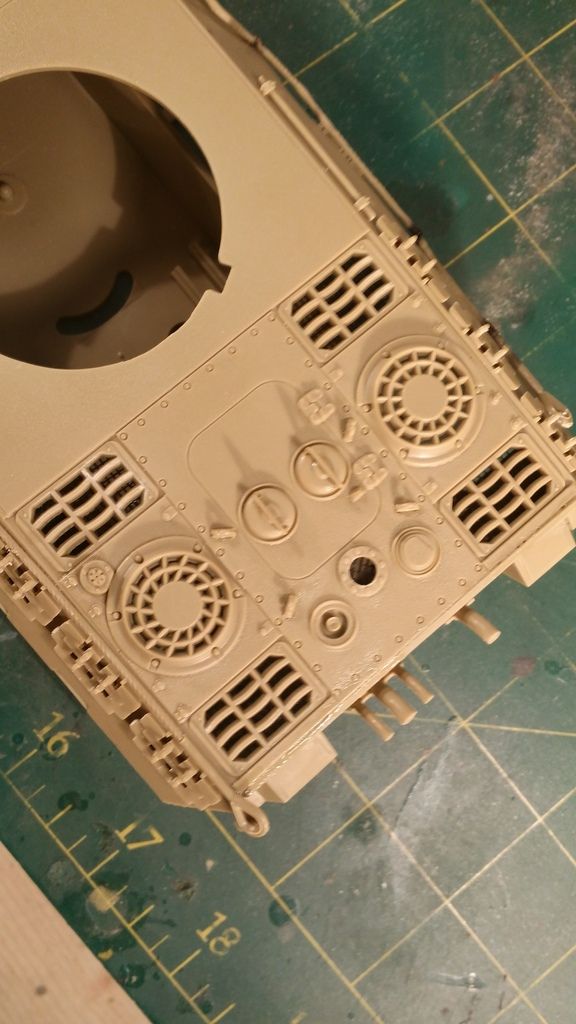
A Mesh is added under the grills


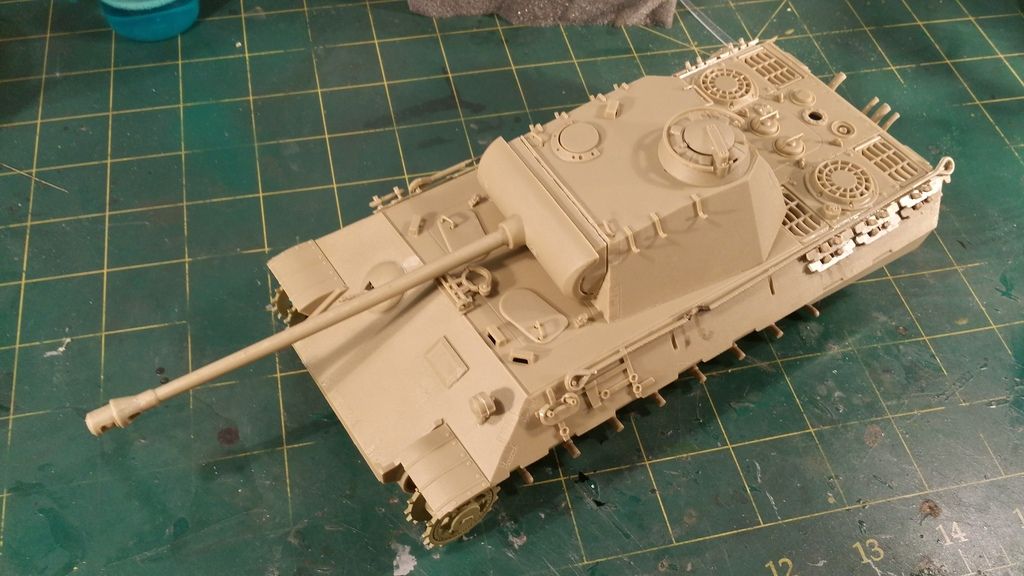
Upper Hull and Turret Built


Gap Filling using Tamiya Basic Putty


In between a few more wheels were painted ... these take a long time


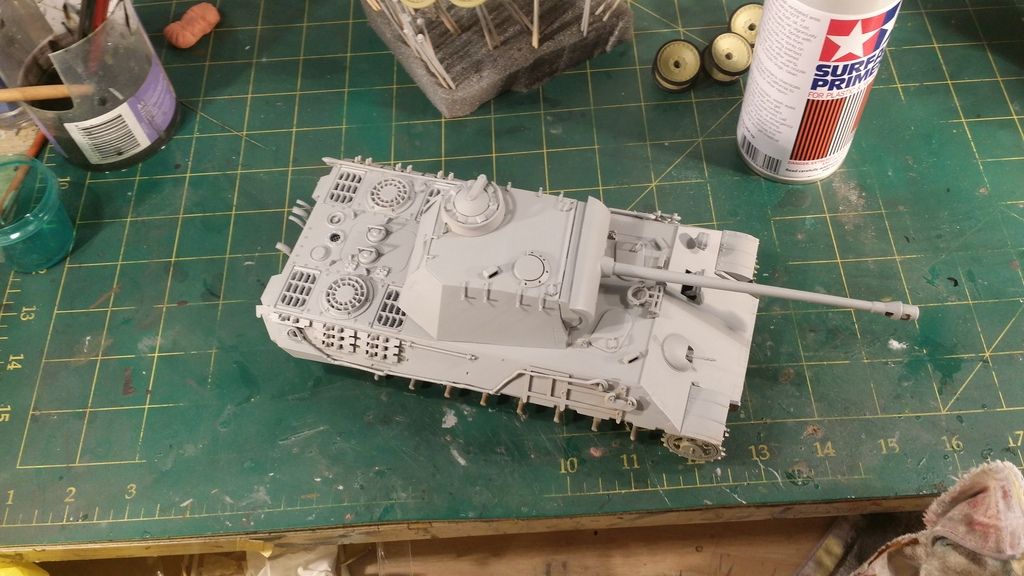
Then Tamiya Grey Surface Primer from the Can was applied


Some of the gaps and putty are still visible after priming, so I will fill these in again and sand them again tomorrow. I will also be working on the wheels which would take a while to complete. 


Hope you guys enjoy the update and photos. Comments are welcome!
 

monica

“When there's no more room in hell, the dead will
SMF Supporter
Joined
Oct 30, 2013
Messages
15,111
Points
113
Location
Melbourne
First Name
monica
very nice looking Bob,amazing how the color dose change the look of it, :D
 

tr1ckey66

SMF Supporter
Joined
Mar 6, 2009
Messages
3,686
Points
113
First Name
Paul
Welcome to the forum Bob!


You've picked a really old Tamiya kit in the Panther - possibly one of their earliest kits. As you say though for it's day this was state of the art stuff.


It will be interesting to see this how this, nearly 50 year old kit, looks when complete. but I'm sure it will make a fine diorama.


Just a quick note on the tow cables. I would have probably drilled the cable shanks out then replace the cable with twisted wire rather than heat and bend the plastic ones.


Looking good though and I'm looking forward to the progress.


Cheers


P
 
B

Builder

Guest
very nice looking Bob,amazing how the color dose change the look of it, :D

Thanks Monica, you should see it now!

Welcome to the forum Bob!


You've picked a really old Tamiya kit in the Panther - possibly one of their earliest kits. As you say though for it's day this was state of the art stuff.


It will be interesting to see this how this, nearly 50 year old kit, looks when complete. but I'm sure it will make a fine diorama.


Just a quick note on the tow cables. I would have probably drilled the cable shanks out then replace the cable with twisted wire rather than heat and bend the plastic ones.


Looking good though and I'm looking forward to the progress.


Cheers


P

Thanks for the advice on the tow cables Paul, Ill keep that in mind for future. Its already been primed and almost painted now!


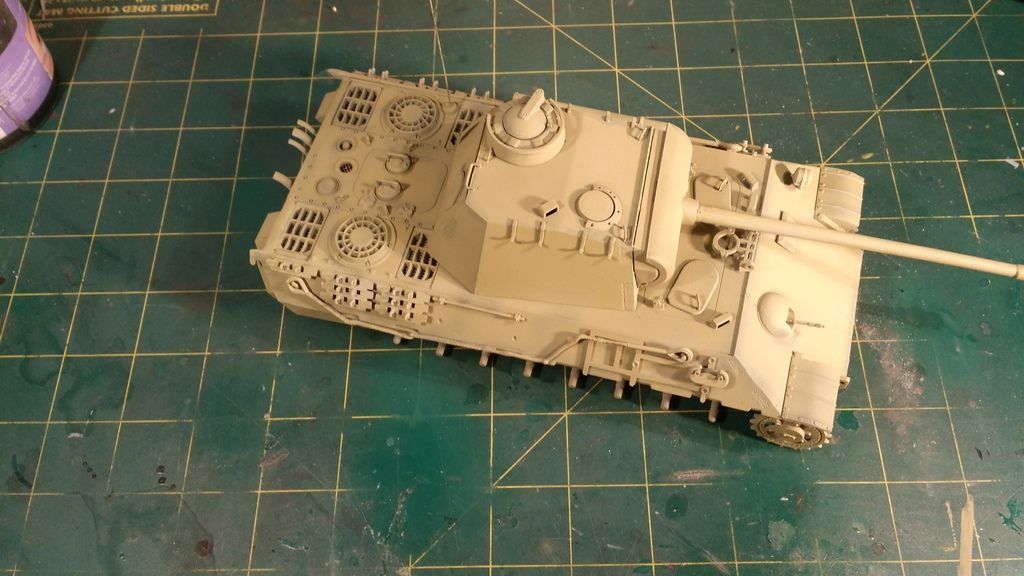
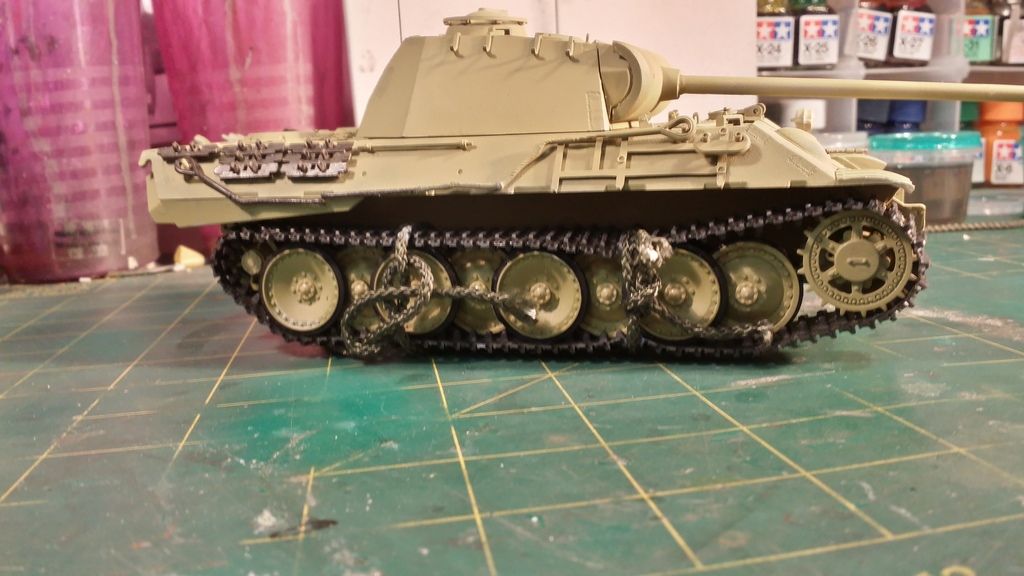
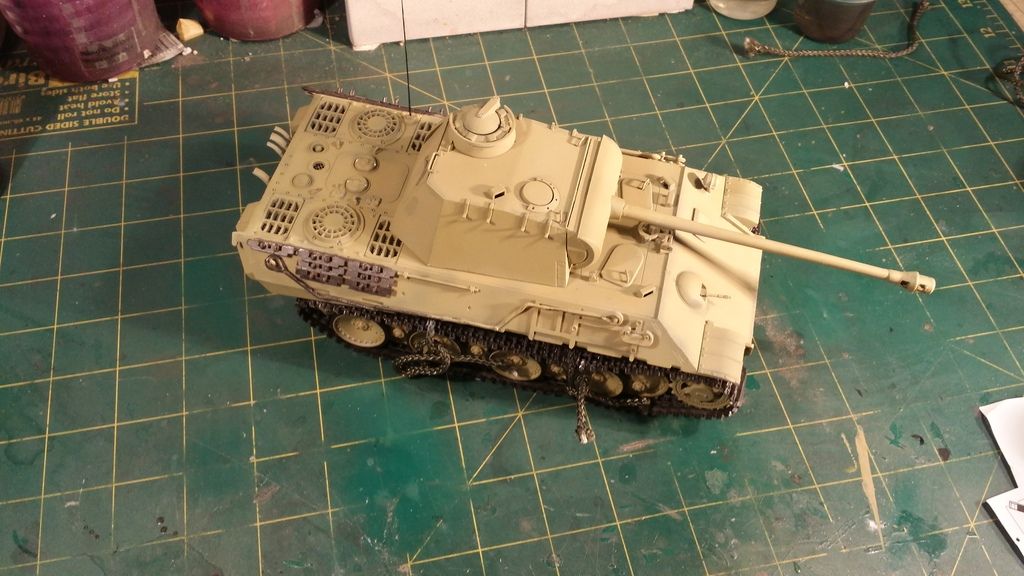
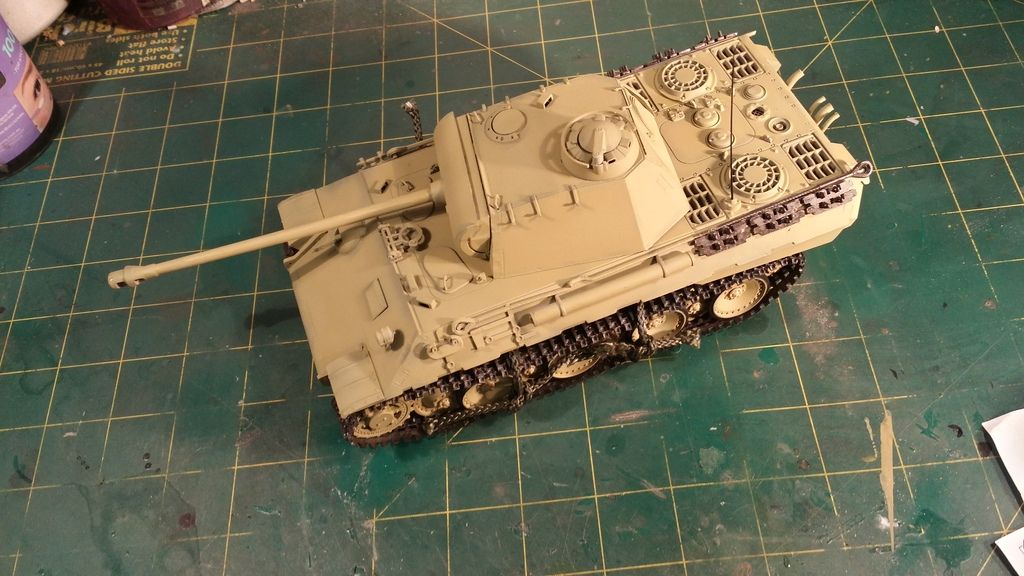
Here is the next Build Update. Well most of the morning today I was painting the wheels. Here they are all done up:


I initially decided to do a camo pattern, but am not confident yet with my camo skills so stuck to the basics. I decided on a dessert yellow colour scheme. Like the Airfix 1/76 Panther paint scheme shown below:


a01302-front.jpg


I also found this photo which suggests that the Panther was coloured in a plain paint scheme. 


Bundesarchiv_Bild_183-H26258,_Panzer_V_%22Panther%22.jpg


With the decision then made I began the painting process. 


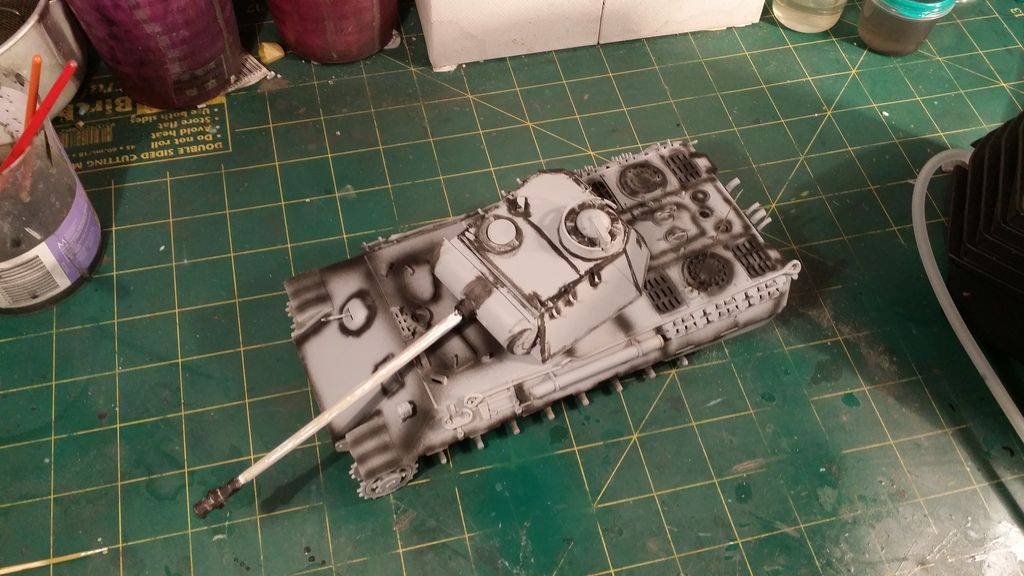
I first preshaded the primed model with Tamiya XF-1 Enamel. This is my second attempt at preshading - the first being a failure as my preshade was too thin. This time I made sure that there was a decent coat of Tamiya XF-1 where I wanted a slightly darker tone. 


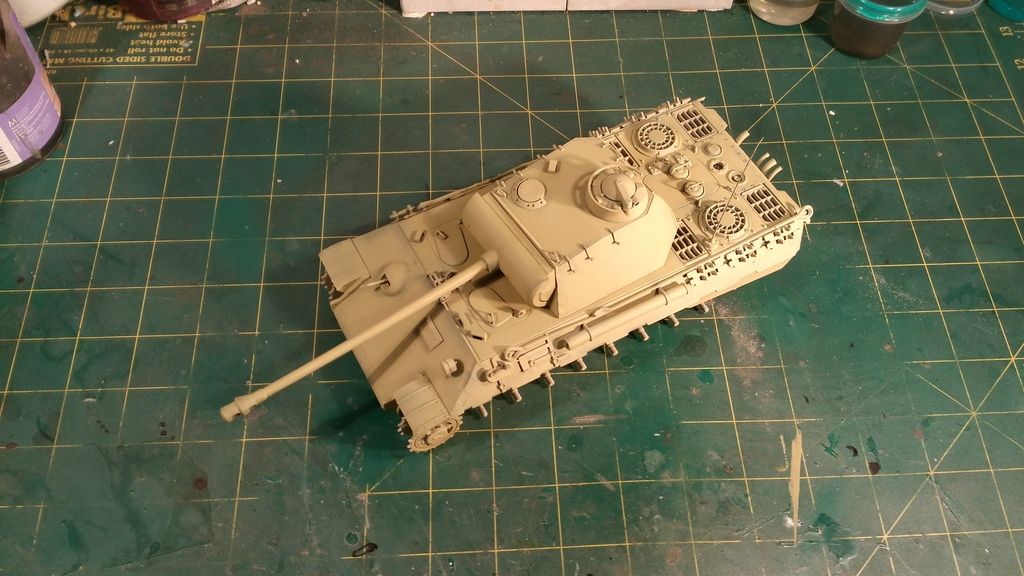
I waited a few hours and then painted the entire model with Tamiya XF-60 Dark Yellow enamel. This was airbrushed with a Paint to Enamel Thinner ratio of 2:1. I use Tamiya Enamel Thinner as it doesnt affect the drying time. I used to use Mineral spirits but they caused the drying time to extend to an hour or more. 


The wheels were attached as well as the tracks. Some detail painting also begun. The tracks are being super glued to the wheels, I do this by using some Hoochie Cord - this can be found from an Army Disposals shop in Australia .. I dont know what it is called in the UK. We use it to set up tents and make necklaces someitmes. It can be used for many things. The hoochie cord is tied around the tracks forcing them to stick to the wheels, and super glue is then applied. 


I will wait for this to dry overnight. I have never done this before so I hope it works, 


Detail painting has begun, but the sting of the superglue drying was a bit much so I stopped. Here it is in its current state


The preshade is hard to see in these photos, but in reality it is clearly visible and has a really nice affect. 


Well thats it for today, I hope you liked the update and the pics!
 
Last edited:
D

dubster72

Guest
That's looking good so far Bob,it's always tough to show the pre-shading in photos.


As for your choice of a plain colour... well, it's your build but Panthers never served in North Africa - using Airfix box art isn't the most accurate source of information! ;)


The photo you've used probably depicts a group of Panthers outside the MAN factory prior to having their camo paint added. There's an oft-repeated myth that German tanks were painted by their individual crews. The truth is that it was done by the factory or at field workshops many miles away from the front lines.


Keep the updates coming! :smiling3:
 

tr1ckey66

SMF Supporter
Joined
Mar 6, 2009
Messages
3,686
Points
113
First Name
Paul
Hi Bob


Patrick is correct with regards to Panthers never being used in the desert (I have no idea what Airfix were thinking about with that boxart!) That said, it is possible for a Panther 'A' (your model is a late 'A' type) to have no camouflage, however, in all likelihood, it would have had Zimmerit applied.

There's an oft-repeated myth that German tanks were painted by their individual crews. The truth is that it was done by the factory or at field workshops many miles away from the front lines.

Patrick, I have to question your assertion that all Panzers were painted at the factory. This was true toward the end of the war but in the mid war years (indeed up to 1944) many received their camouflage from the workshops in the field. As proof, here's a Tiger II receiving it's camouflage in a field in Normandy.


As Patrick says though it's sometimes unwise to follow box art and it's always worth checking a few references for confirmation.


Bob, the paintwork on your Panther looks very nice - a very neat job. With a bit of detail painting this make for a stunning model.


Cheers


P

Screen Shot 2016-08-28 at 17.12.45.png

Screen Shot 2016-08-28 at 17.12.59.png
 
D

dubster72

Guest
Hi Bob


Patrick is correct with regards to Panthers never being used in the desert (I have no idea what Airfix were thinking about with that boxart!) That said, it is possible for a Panther 'A' (your model is a late 'A' type) to have no camouflage, however, in all likelihood, it would have had Zimmerit applied.


Patrick, I have to question your assertion that all Panzers were painted at the factory. This was true toward the end of the war but in the mid war years (indeed up to 1944) many received their camouflage from the workshops in the field. As proof, here's a Tiger II receiving it's camouflage in a field in Normandy.


As Patrick says though it's sometimes unwise to follow box art and it's always worth checking a few references for confirmation.


Bob, the paintwork on your Panther looks very nice - a very neat job. With a bit of detail painting this make for a stunning model.


Cheers


P


View attachment 260970


View attachment 260971

Paul, I did say also at field workshops! The myth I'd like to lay to rest is of individual crews painting their own tanks as a matter of course.
 

tr1ckey66

SMF Supporter
Joined
Mar 6, 2009
Messages
3,686
Points
113
First Name
Paul
Paul, I did say also at field workshops! The myth I'd like to lay to rest is of individual crews painting their own tanks as a matter of course.

Ah good!  :P


Do people really think a tank crew would paint a vehicle? Wow, I would have thought that was obviously a myth.


Anyhoo, keep up the great work Bob.


Cheers


P
 

monica

“When there's no more room in hell, the dead will
SMF Supporter
Joined
Oct 30, 2013
Messages
15,111
Points
113
Location
Melbourne
First Name
monica
very nice work Bob,nice coating,I do the preshade as well,as you say hard to see with pics some time,s,


then what I  do is the same paint ,I used for the base coat,add some off white,to make a shade a few tones,


liter,and use were,the most sun would hit,giving that bit of molting to it,looks great so far liking it, :D
 
Top