David Lovell
SMF Supporter
Well with the two ruskies tucked up in the finished armour bit I've decided to build a pair again I found this much better for me and the models it meant whilst one was curing/drying I could get on with the other and visa versa the big bonus being I didn't have to walk away and leave resulting in a lack of intrest.
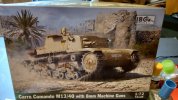
First up the carro by IBG
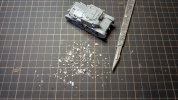
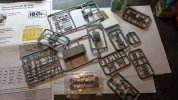
The parts ,the sprues came in separate zip top bags ,nice and sharp but the proof is as they say in the pudding
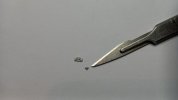
Kit builds fine only problem i had was the mr cement extra thin wasn't strong/hot enough so used TET and tamiya gloopy stuff. Now as most know I don't belive in all that oooo much to small couldn't possibly rubbish but just this once even I thought is there any need
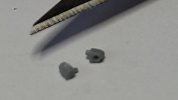
Yep a two part component x2 still nothing like a good challenge ,also lost one of the wing nuts for the engin deck but hey ho ,talking of the engine deck never noticed till too late there was a sprue in the box that wasn't listed when nearly finished I thought blimy must have given me two rear decks on checking I'd used the one that wasn't supposed to be in the box so before a NKIA member pokes in yes the loovers on the rear deck run the wrong way but thankfully I still had a good nights sleep.
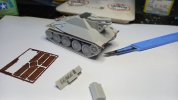
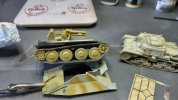
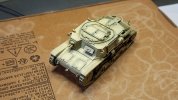
So nothing major some of the etch was replaced with brass rod(Albion Alloys) as flat tow hooks and handles look a bit daft so here's the first one up but not running.
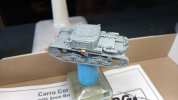
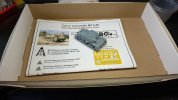
Big box little kit but think they use same size box across the range all scales.
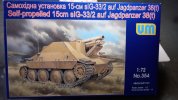
As for the SP 15cm blah blah blah this wasn't the original partner for this pair , for some time now ive been haggling/ hassling one Mr Si Benson to build a certain kit I noticed in the background of one of his builds without any success so thought bugger it I'll find one and build it myself so with UM kits not widely stocked had a mooch on flea Bay found one put a rude offer in of 8 squid wich was seen i think as a insult and politely refused ,but I found this for 8squid close to ,same family and all that so splashed out
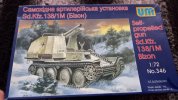
Well as usual it got stashed then a few weeks later I was contacted by flea bay saying the originally wanted kit was being offered for eight quid so have that Si Benson I'll build my own
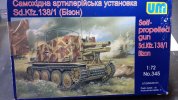
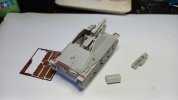
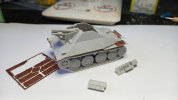
Box was a bit rough but you don't build the box so this was the tandem build with the carro ,oh dear whilst looking on my favourite site for 72nd armour Henk of Holland nearly all the manufacturers and kits out there in box pics and built pics plus build reviews as well I was smitten by some built and painted pics of this ,gutted I had to shell out full wack but this is the final part of the pair
So one down one to go will show when paint due ,make a change from green(sorry JR). Dave
First up the carro by IBG

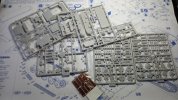
The parts ,the sprues came in separate zip top bags ,nice and sharp but the proof is as they say in the pudding

Kit builds fine only problem i had was the mr cement extra thin wasn't strong/hot enough so used TET and tamiya gloopy stuff. Now as most know I don't belive in all that oooo much to small couldn't possibly rubbish but just this once even I thought is there any need


Yep a two part component x2 still nothing like a good challenge ,also lost one of the wing nuts for the engin deck but hey ho ,talking of the engine deck never noticed till too late there was a sprue in the box that wasn't listed when nearly finished I thought blimy must have given me two rear decks on checking I'd used the one that wasn't supposed to be in the box so before a NKIA member pokes in yes the loovers on the rear deck run the wrong way but thankfully I still had a good nights sleep.
So nothing major some of the etch was replaced with brass rod(Albion Alloys) as flat tow hooks and handles look a bit daft so here's the first one up but not running.


Big box little kit but think they use same size box across the range all scales.
As for the SP 15cm blah blah blah this wasn't the original partner for this pair , for some time now ive been haggling/ hassling one Mr Si Benson to build a certain kit I noticed in the background of one of his builds without any success so thought bugger it I'll find one and build it myself so with UM kits not widely stocked had a mooch on flea Bay found one put a rude offer in of 8 squid wich was seen i think as a insult and politely refused ,but I found this for 8squid close to ,same family and all that so splashed out

Well as usual it got stashed then a few weeks later I was contacted by flea bay saying the originally wanted kit was being offered for eight quid so have that Si Benson I'll build my own

Box was a bit rough but you don't build the box so this was the tandem build with the carro ,oh dear whilst looking on my favourite site for 72nd armour Henk of Holland nearly all the manufacturers and kits out there in box pics and built pics plus build reviews as well I was smitten by some built and painted pics of this ,gutted I had to shell out full wack but this is the final part of the pair


So one down one to go will show when paint due ,make a change from green(sorry JR). Dave
Last edited:


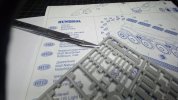
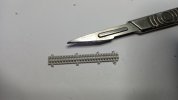
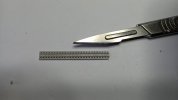
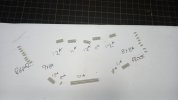
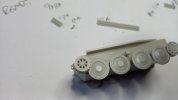
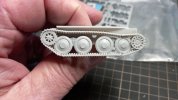
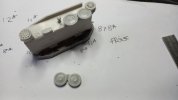
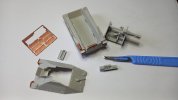
 but apart from a bit of fettling here and there fit of parts and mouldings are bang on if I had one complaint it would be the instructions there a bit eisher? Esc strange forced perspective but hey all part of the fun. As mentioned have part and dry built some of it no good painting the insides etc only to find something somewhere is stopping it from fitting together. Should be intresting to get this one over the line ive a fair few more trucks and spg's in the stash get em out and think na all that messing with the cab can't be arsed the same reason my wingy things stay there all that messing with the cockpit only for most of it to be hidden still if I get my head around this one wingy thing anybody. Dave