My display dioramas

T

Triumph

Guest
Hi people, so I have the space now in what is now the spare room to display some of my models and make mini dioramas to make the display a little more interesting and yes to play with  :smiling3:


I have to say I do admire you lot who are into doing figures, I'm not, so these are as good as it get's :smiling3:  I'll happily build up the many pieces that make the Spaverios undercarriage but to stick arms, legs, heads and hats together to make a figure then...........AAAAAARRRRRGGGGGHHHHHHHH :smiling3:


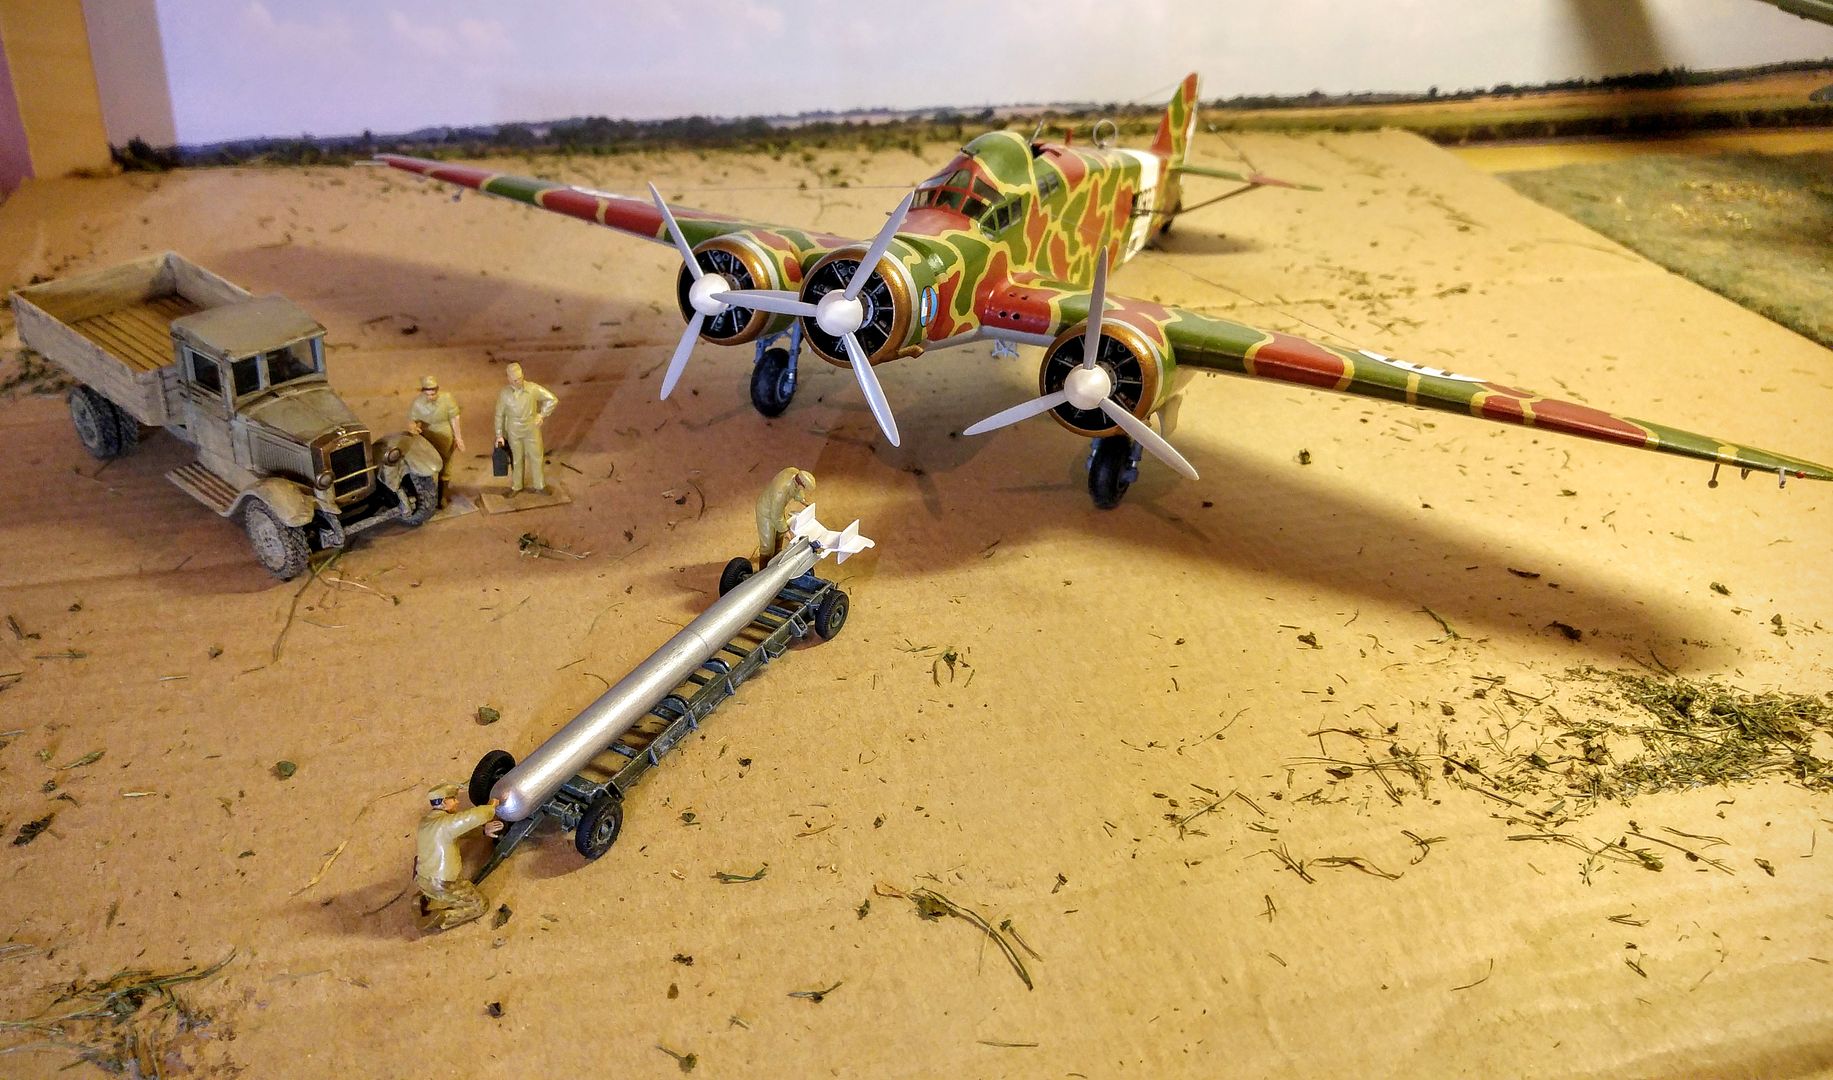
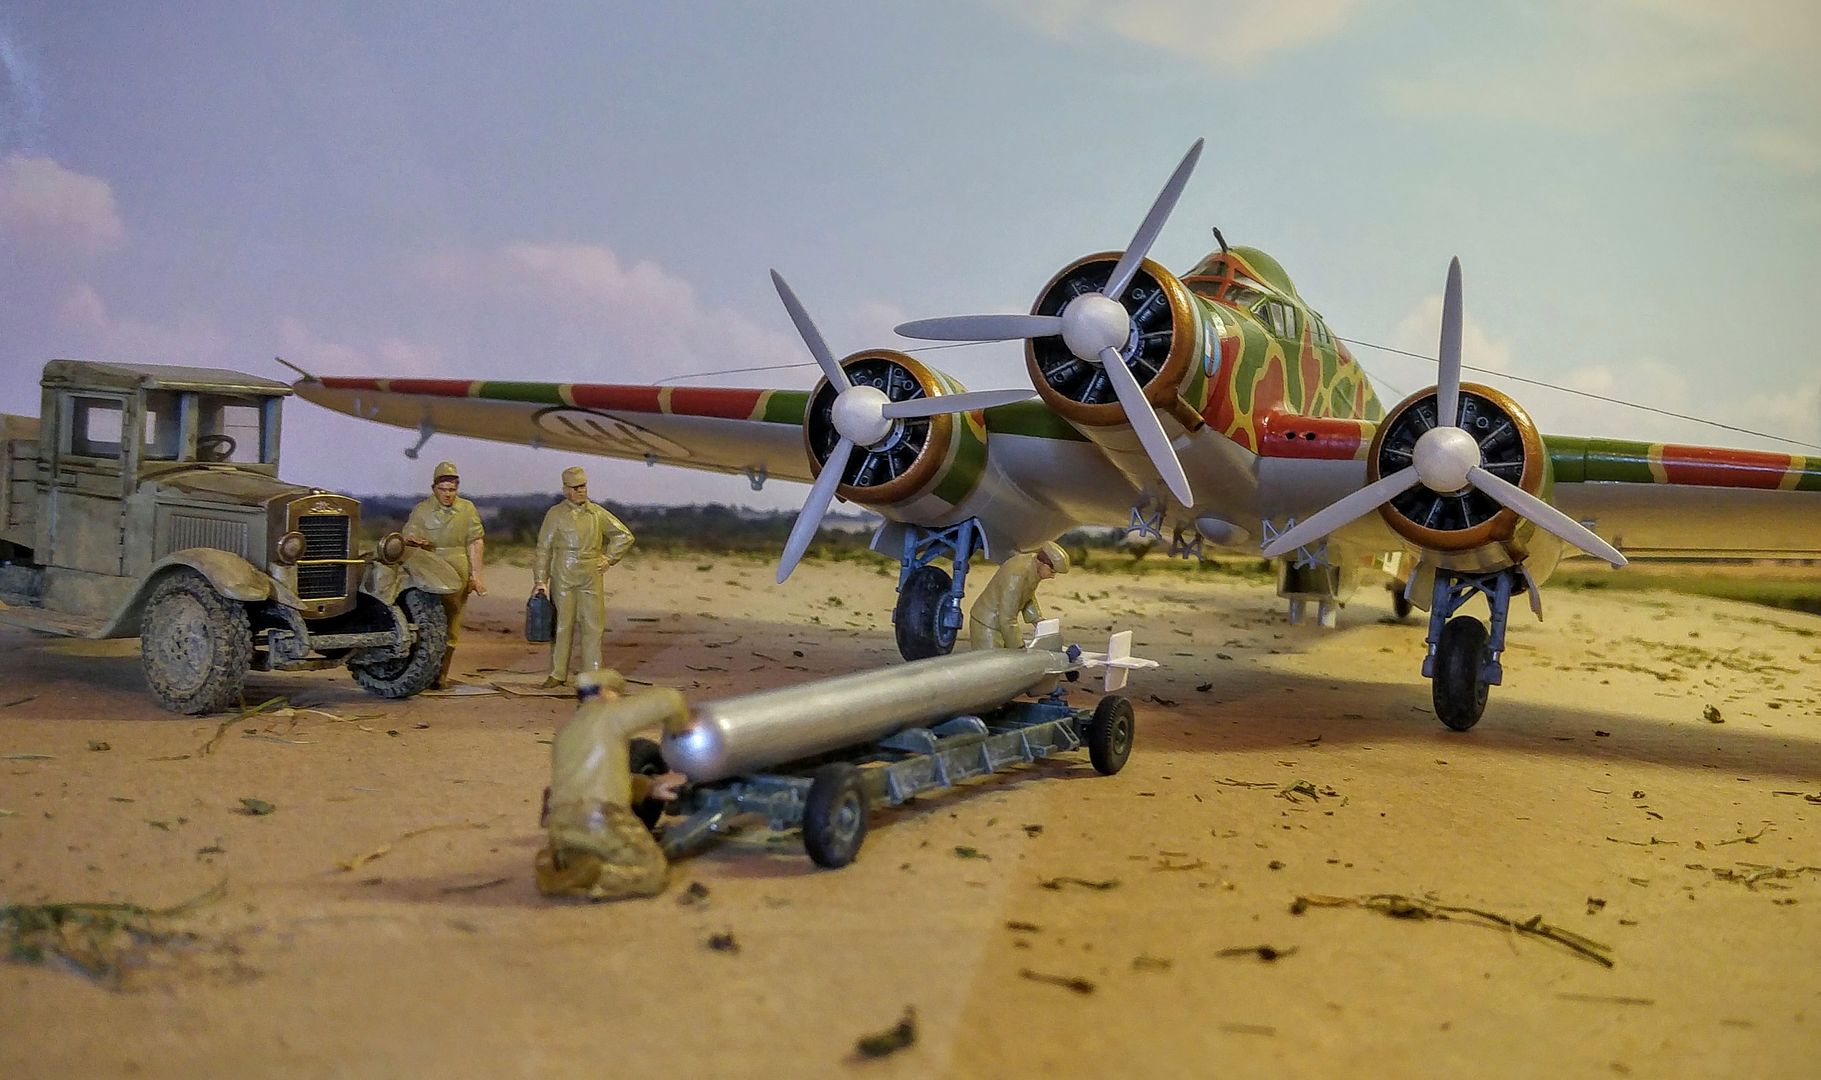
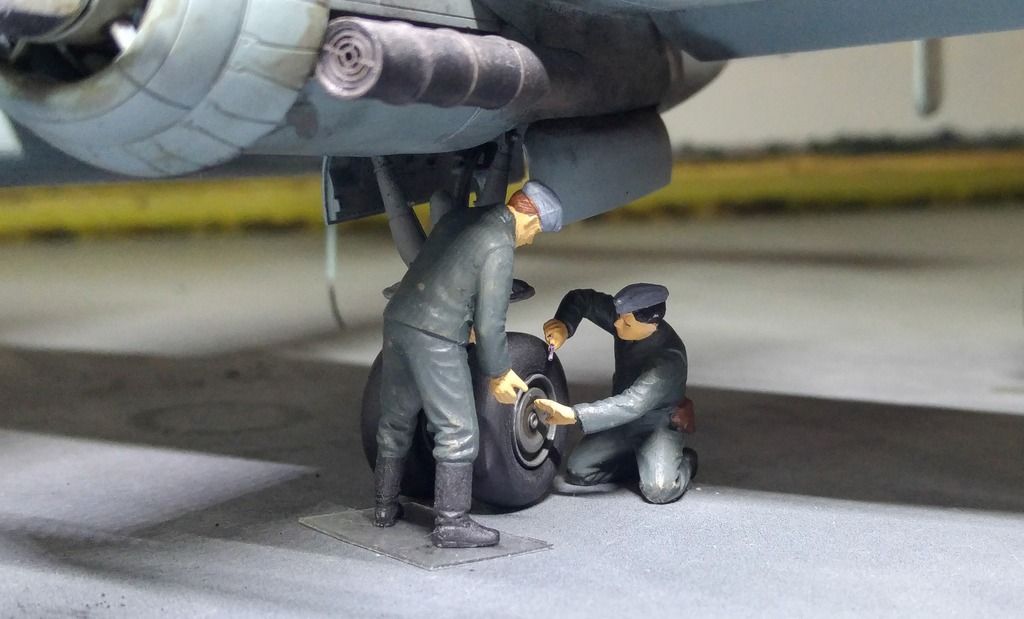
So first up 1/48 SM.79 Spaverio torpedo loading.


Never set out to create this but then I found the trolly from a Airfix dam buster kit in 1/72 scale seemed just fine to use for the torpedo. Also I don't know of any Italian ground crew in 1/48 are out there, so I volunteered a German crew and gave them a new uniform :smiling3:


1/48 Mosquito bomb loading


This was always a setup in my mind on how to display the model so the tractor, bomb trolly and ground crew were all made for it


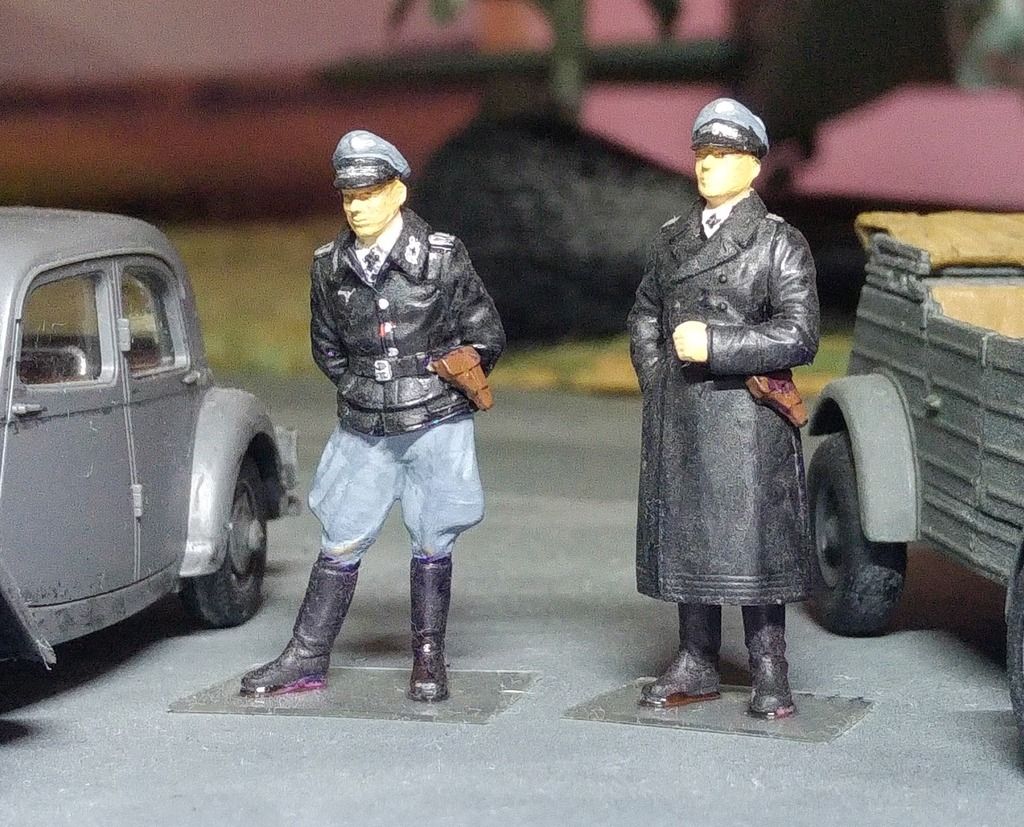
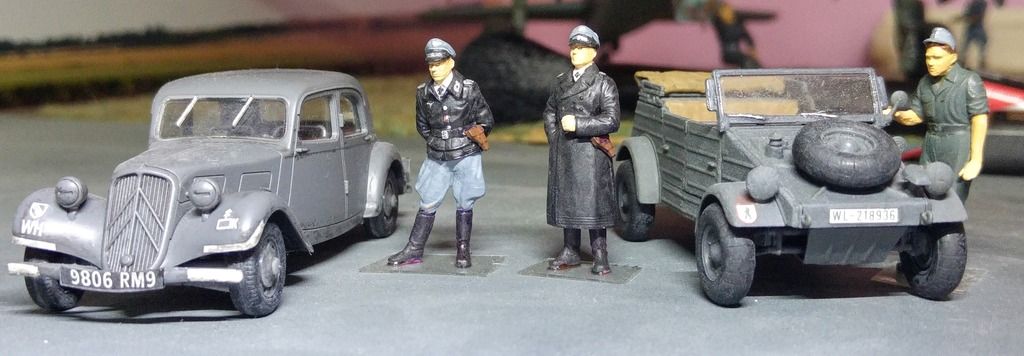
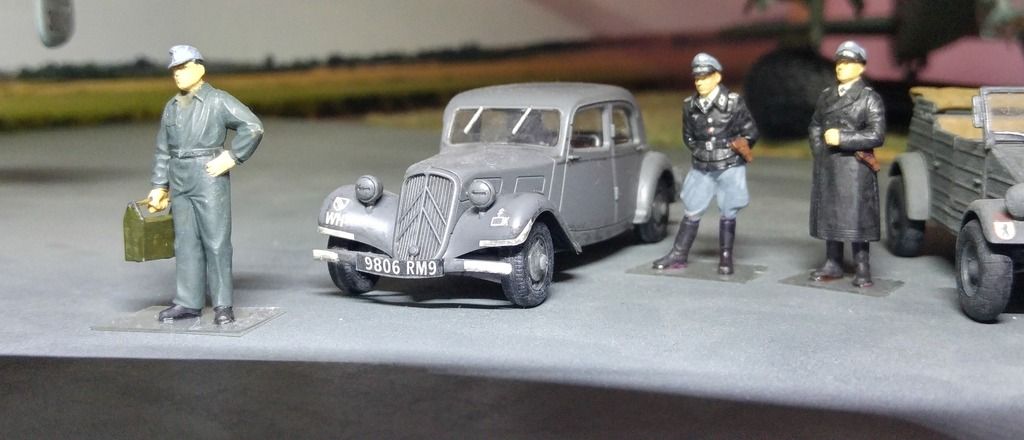
1/48 Uhu night fighter has trouble


Again never set out with this set up until my brother gave me the two cars which came with figures to build.


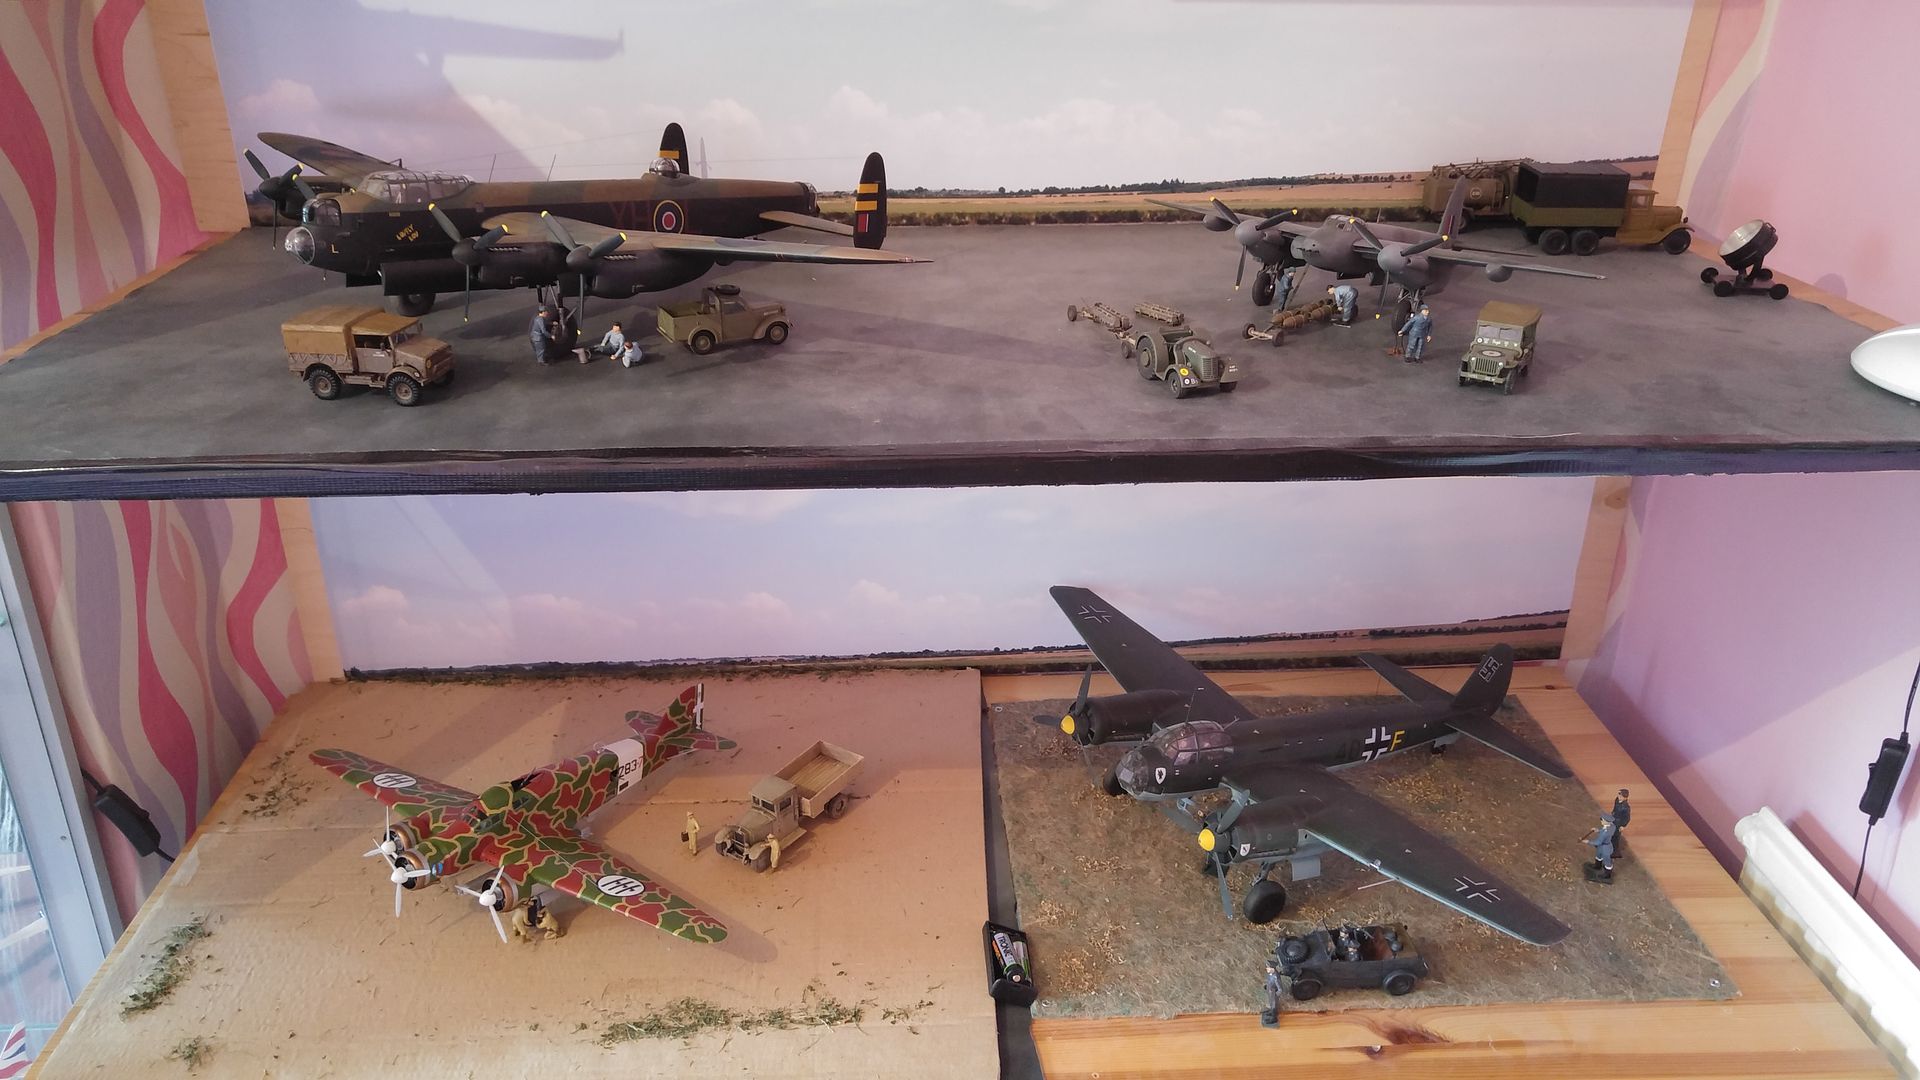
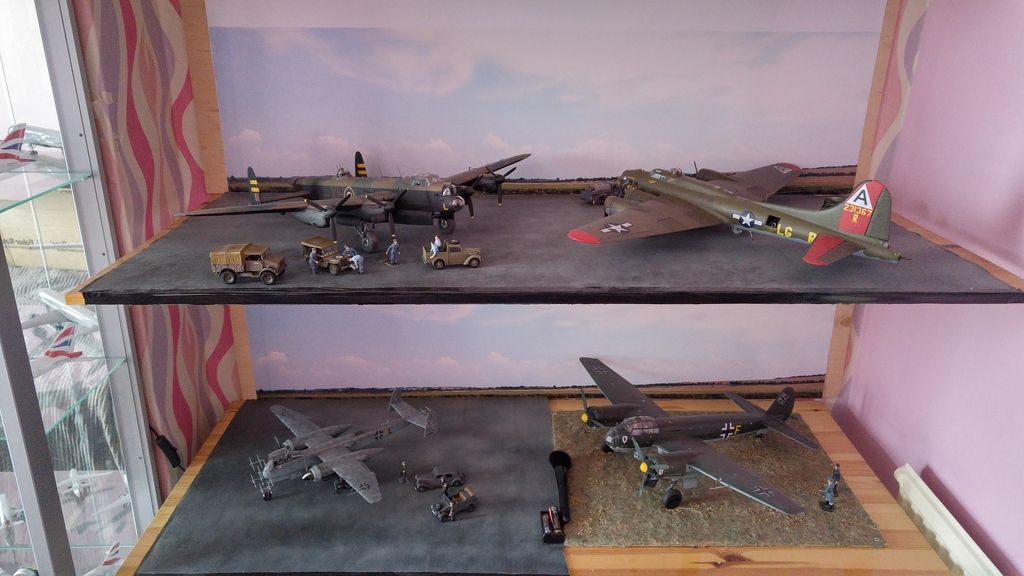
and general shots of the shelves were this all happens :smiling3:   You have to forgive me the wallpaper as this was my daughter's room and not got round to changing it yet :smiling3:


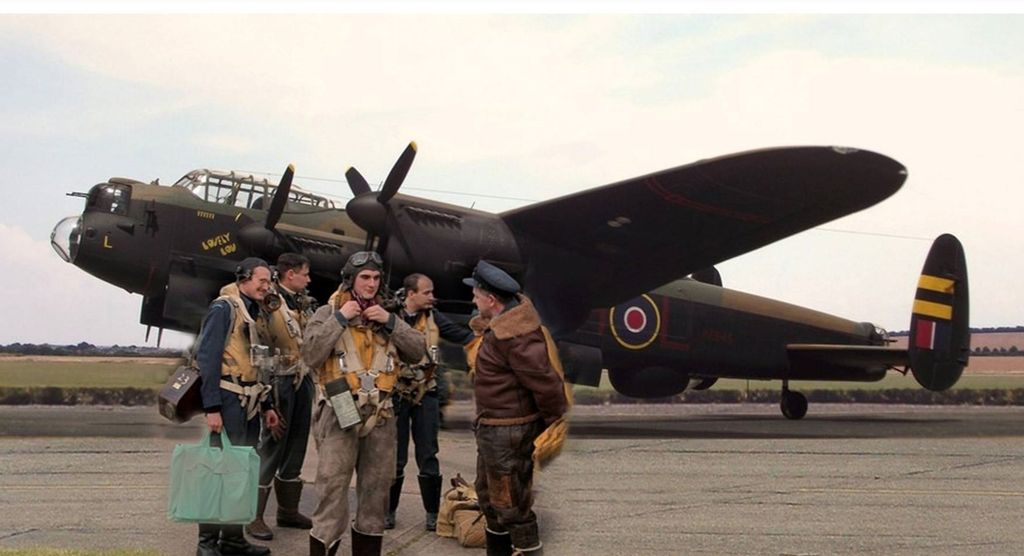
and then, hey why bother with the dio when you have a good pic of your model, then just use photoshop :smiling3:  LoL


Last edited:

eddiesolo

It's a modelling time!
SMF Supporter
Joined
Jul 2, 2013
Messages
11,070
Points
113
First Name
Si.
Stunning Peter, lovely models and dio's, thank you for posting was a real treat looking at them, love that last pic.
 
D

Doug Hughes

Guest
There's some great stuff here, Peter - too much to comment on everything. I was particularly struck by the camouflage on the SM.79. The base/background settings for the photos come out really well, and figures and their poses are excellent (not just the Photoshopped ones!). Isn't it great when you can take over the kids' rooms for modelling? I hope your daughter moved out of hers voluntarily and isn't currently sleeping in the shed.
 
T

Triumph

Guest
 Isn't it great when you can take over the kids' rooms for modelling? I hope your daughter moved out of hers voluntarily and isn't currently sleeping in the shed.

Ha ha yes Doug


She's all grown up and pleased to say settled with partner and a place of their own.


However there is still a bed in the room, didn't get it all my own way :smiling3:


Peter
 
Last edited:

Gern

'Stashitis' victim
SMF Supporter
Joined
May 17, 2009
Messages
9,689
Points
113
Location
Stourbridge
First Name
Dave
Some beautiful work there Peter!


If you wanted to get rid of the bases your figures are on, you could either glue them directly to the ground or, better still, drill a hole up into the legs from underneath and fix in a piece of thin, stiff wire (something like a sewing needle cut to a suitable length) which you could poke into the ground to hold them upright. That way, you could take them off without damaging your paintwork and re-use the base for something else.
 

monica

“When there's no more room in hell, the dead will
SMF Supporter
Joined
Oct 30, 2013
Messages
15,111
Points
113
Location
Melbourne
First Name
monica
stunning work  on these,Peter,,the paint work on all ,looks superb,very well done, :D
 
B

Builder

Guest
Phenomenal wprl Peter. If I may ask, how do you do the backgrounds? Are they printed on regular paper using a colour printer, and were do you get the images from. 
 
T

Triumph

Guest
Phenomenal wprl Peter. If I may ask, how do you do the backgrounds? Are they printed on regular paper using a colour printer, and were do you get the images from. 

Hi builder


Background to the 'background'.  At the airfield museum Duxford, I have been for a few airshows, as well as taking many pictures of aircraft, I also took pictures of the runway and field area etc. So the pictures are mine and some I had printed on photographic paper by a photographic gifts website. Now my secret is that I worked there, I was one of the lab technician's that kept all the machinery working so one of the 'perks' was I could do what I liked printing out any  sized prints for quality control, testing etc...


So yes printed out on photographic paper at a large poster size. Problem will be to do this as a customer is that it will be expensive so I'm very sorry about that.


Cheers


Peter


and another aside I do with the models is take them outside under sunlight using the same background stuck on a board you get this, a bit of trickery by putting a 'foreground' back on in photoshop but thats it


this is what gave me the courage to do the SM.79 camo. I thought I can try that with brushes. It worked(ish) :smiling3:


heres the set up, you need to see what the camera lens sees and get down low to what would be ground level to get this look as in pic 3 and not take pictures from above


and after cropping all the unwanted image you get this


Last edited:

papa 695

Moderator
Staff member
Moderator
SMF Supporter
Joined
May 9, 2011
Messages
20,349
Points
113
Location
Doncaster, South Yorkshire
First Name
Ian
Awesome work on all the dioramas Peter, and your a lot better figure painter than you think. ( the last photo makes them look SO real  9_9  ). Honestly though just keep at them they do look very good.
 
S

Stevekir

Guest
An impressive collection. I particularly like the dio of the Mosquito being armed. You mention your difficulty with figures. In the Mossie dio the two middle figures look rather stiff, as though they had a bad back (which is very likely!) but that's not your fault. I think the painting is good enough for a dio.


In this pic (smaller version to save John's servers):


DSCF0047_1.jpg


the background is really good. Convincing. Very difficult to get right. My only thought is the plane looks a bit like it was photoshopped on (as it was - I often do that). It looks not heavy enough. I find this is because the tyres don't have a flat where they meet the ground. I find this tricks the eye, by just lowering the model into and very slightly hidden by the ground. In one photoI I sanded the tyres:


Front port quarter-a.jpg


In closeups some "grass" or bits of gravel could be put next to the tyres and slightly covering them.


 thoughts.
 
T

Triumph

Guest
Hi Stevekir,


yes you are right I failed to sand a 'flat' spot on the SM.79. A simple fix I have now done is indent the cardboard the model sits on and the wheels sit in that perfectly giving the desired effect :smiling3: The Mosquito  however does come  with flatfish tyres as they are aftermarket resin and the two figures with bad backs you can blame Eduard for that. Kit details below. I think you fail to realise I don't set out to build a full blown dio but just to add a little more fun and interest to the shelfs and fun also with the photoshoots as well. I have had comments like "thought it was real but then saw there were no wheel chocks" and you know what I have not gone out and made wheel chocks :smiling3:


Eduard 8508 1:48 RAF WW2 Personnel Kit


also try flattening the tyres on that little lot :smiling3:   A metal collector model in 1/200 scale


DSCF0060 by triumphspeedtriple, on Flickr


Peter
 
Last edited:
Top