Revell 1/48 BF 110 G2

T

T. van Vuuren

Guest
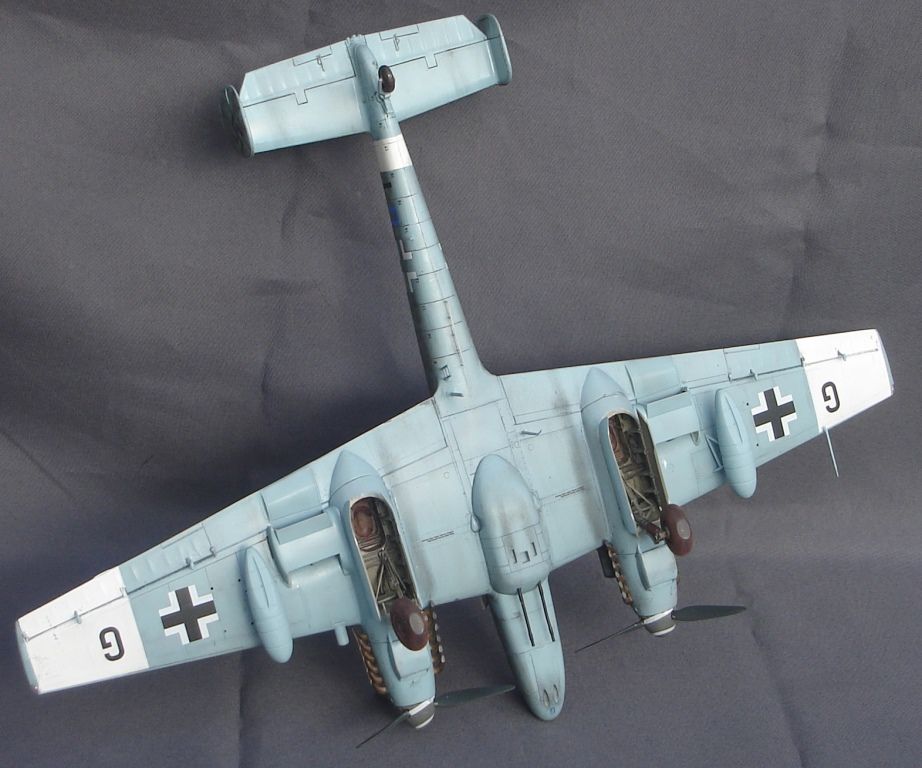
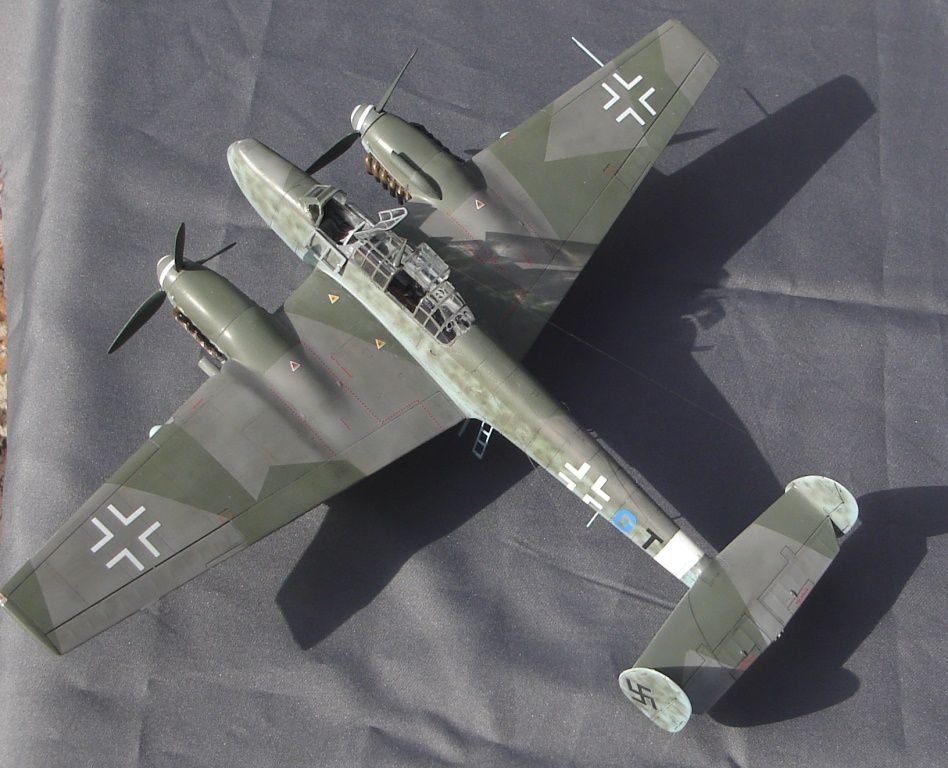
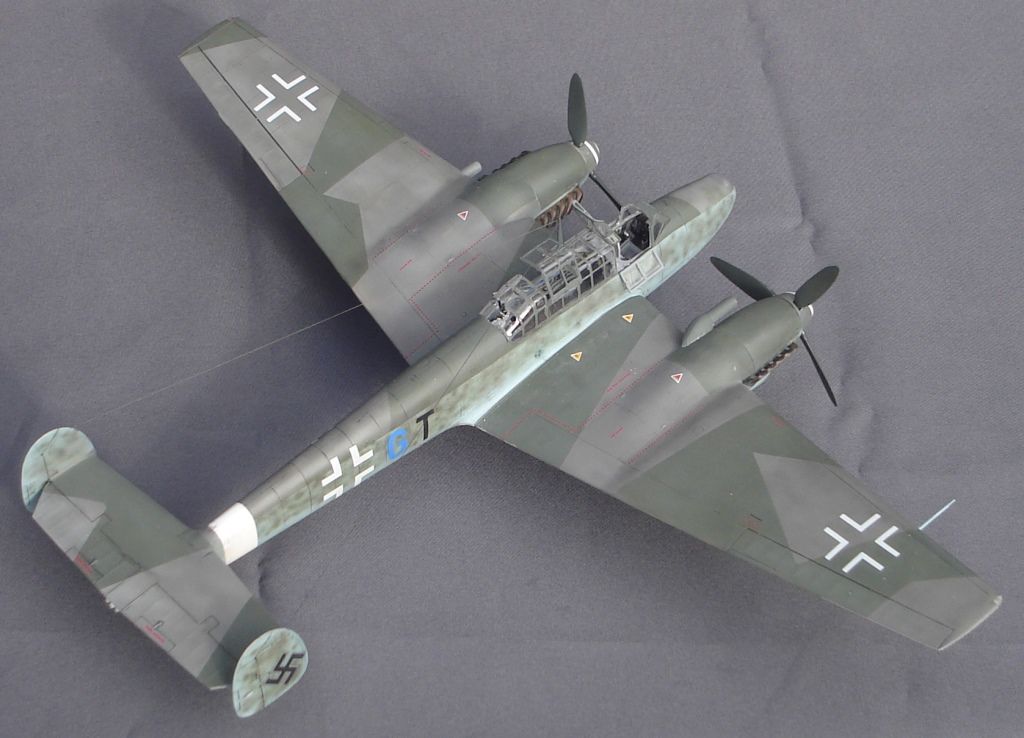
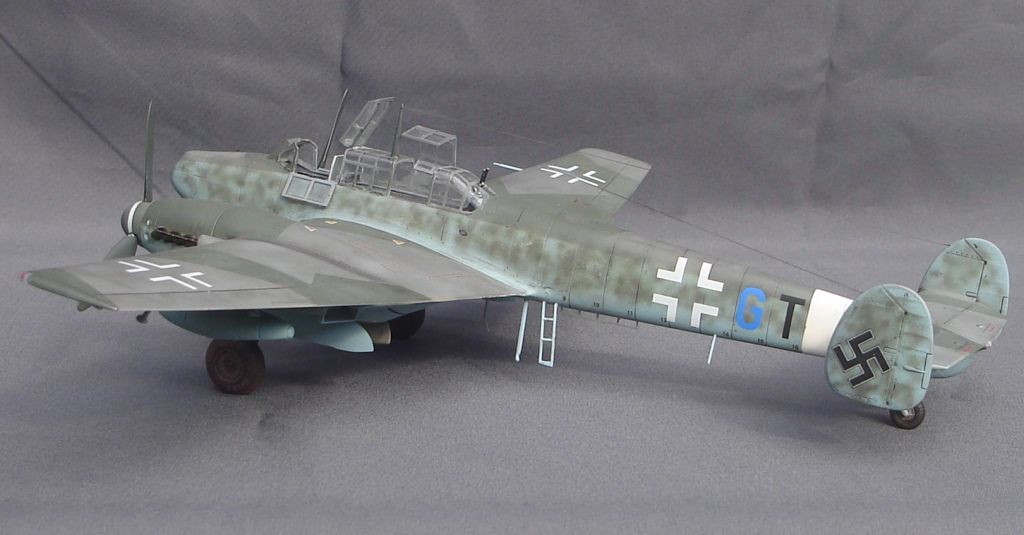
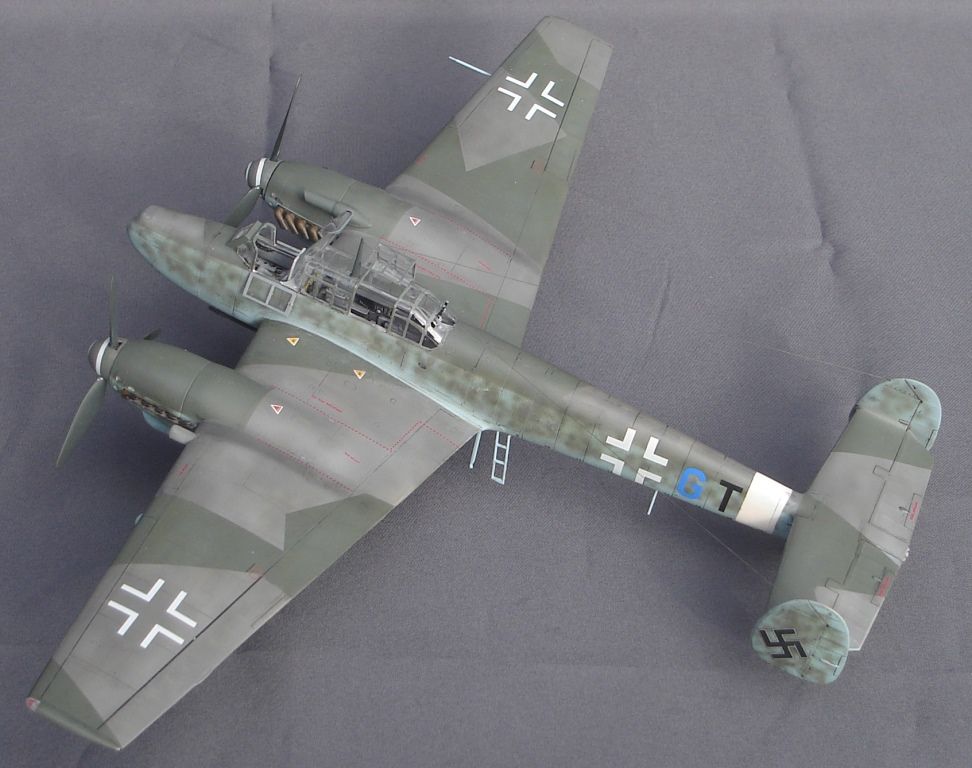
Here it is all done in the colours of ZG 26 1944
It was actually a really nice kit, the detail is exelent in the cockpit and wheelwells, fit is good and the decals went on well.
The canopy was a pain to mask and paint but came out Ok.
I went for a highly weatered and faded look to the paint,I also used different "levels of shine" on the final clearcoat to help with the faded look, dirtied up the underside with pastel stains but I did go overboard with the "dust" on the wheels, I will tone it down a bit.

Paint is stock out the tin Humbrol RLM range and alclad clearcot over it all


Theuns
 
B

Builder

Guest
Holy smokes Thuens. That is one beautiful kit mate. Phenomenal job! Great work on that canopy, love the little stairs too. Overall very good finish.
 
T

T. van Vuuren

Guest
Ta, the canopy masking left a slight dullness to the palstic and being unable to pollish it without removing the paint on thje frames I had to paint on some Future inbetween the frames. I was surprised how well it worked to restore some of the clarity to the "glass"

Theuns
 

colin m

Moderator
Staff member
Moderator
SMF Supporter
Joined
Dec 26, 2008
Messages
8,595
Points
113
Location
Stafford, UK
First Name
Colin
Looks great Theuns. Quite inspiring, I might have to have a go myself. There's something about those angles and lines of a splinter camouflage I really like.
 
S

Spree

Guest
I love how authentic it looks. I love seeing builds with the 'aged/weathered' look. Looks fab. Great job.
 
T

T. van Vuuren

Guest
Thanx, it was actually a test so that I could do the same on my 1/32 Revell Spitfire Mk2, asn a 1/32 Tamiya Spitfire Mk8 in RAF North Africa sceme...this would be very faded and dirty.

Theuns
 

PhilJ

SMF Supporter
Joined
May 14, 2015
Messages
1,114
Points
113
Location
Beltinge
First Name
Phil
Nice work Theuns, came out really nice. Those colours look really nice great job on the paintwork!
Phil
 

john i am

SMF Supporter
Joined
Apr 13, 2012
Messages
3,994
Points
113
First Name
john
She's a stunner a great addition to your display shelf. Well done mate.
 
Joined
Oct 16, 2011
Messages
2,149
Points
113
First Name
Gregg
One of my favourite WWII planes superbly done.
 
C

cybershed

Guest
Ta, the canopy masking left a slight dullness to the palstic and being unable to pollish it without removing the paint on thje frames I had to paint on some Future inbetween the frames. I was surprised how well it worked to restore some of the clarity to the "glass"

Theuns
I'm building this kit ATM, but with a different scheme. I'm surprised that you haven't experienced any fit issues. I've had plenty with this kit, the wing root fitting of the port wing involving lots of filler and attention was the worst I've ever encountered. I had to contact Revell for replacement of an absent decal sheet.

Anyway, it's slowly but surely getting there. I also experienced some mistiness on the clear canopy parts after masking. I managed to tidy this up - polishing the panes with some lighter fuel on a precision q-tip. But given what you said about an application of Future I'm thinking I could maybe do this and improve things further.

Anyway, I love your model. Great job!
 
T

T. van Vuuren

Guest
I am having allot of fit issues with my 1/32 new tool Revell Spitfire Mk2a, one side fits, the other does not....go figure.

Theuns
 

BarryW

SMF Supporter
Joined
Jul 23, 2011
Messages
5,030
Points
113
Location
Dover
First Name
Barry
That is one very nice 110 Theuns. Love the weathering and camo work.
Just one thought: When I researched a 110 build, I found that the aerial wire was strung only to the starboard fin, not both. It was backed by photographic evidence. I am wondering if Revell got that wrong in the instructions or whether some 110's did indeed string two wires one to port as well.
 
Top