Trumpeter 1/32 P-40 M 'War Hawk'

Tim Marlow

Little blokes aficionado
SMF Supporter
Joined
Apr 27, 2018
Messages
16,792
Points
113
Location
Somerset
First Name
Tim
IMHO, this is something that’s hard to conclude from a black-and-white photo, though. What if this photo has been printed a bit light, for example? The problem is finding something of a known shade to compare with, though …


AFAIK, they’re there to allow the pilot to see over his shoulder. Without the recessed areas and the glazing panels, he would just see the fuselage, but this is enough to get a better view to the rear.
Very clear reading of the image I’d say Steve. The non-removal of the side cockpit panels point to brush painting the dark tone as well, because they were obviously not worried about overspray being an issue.
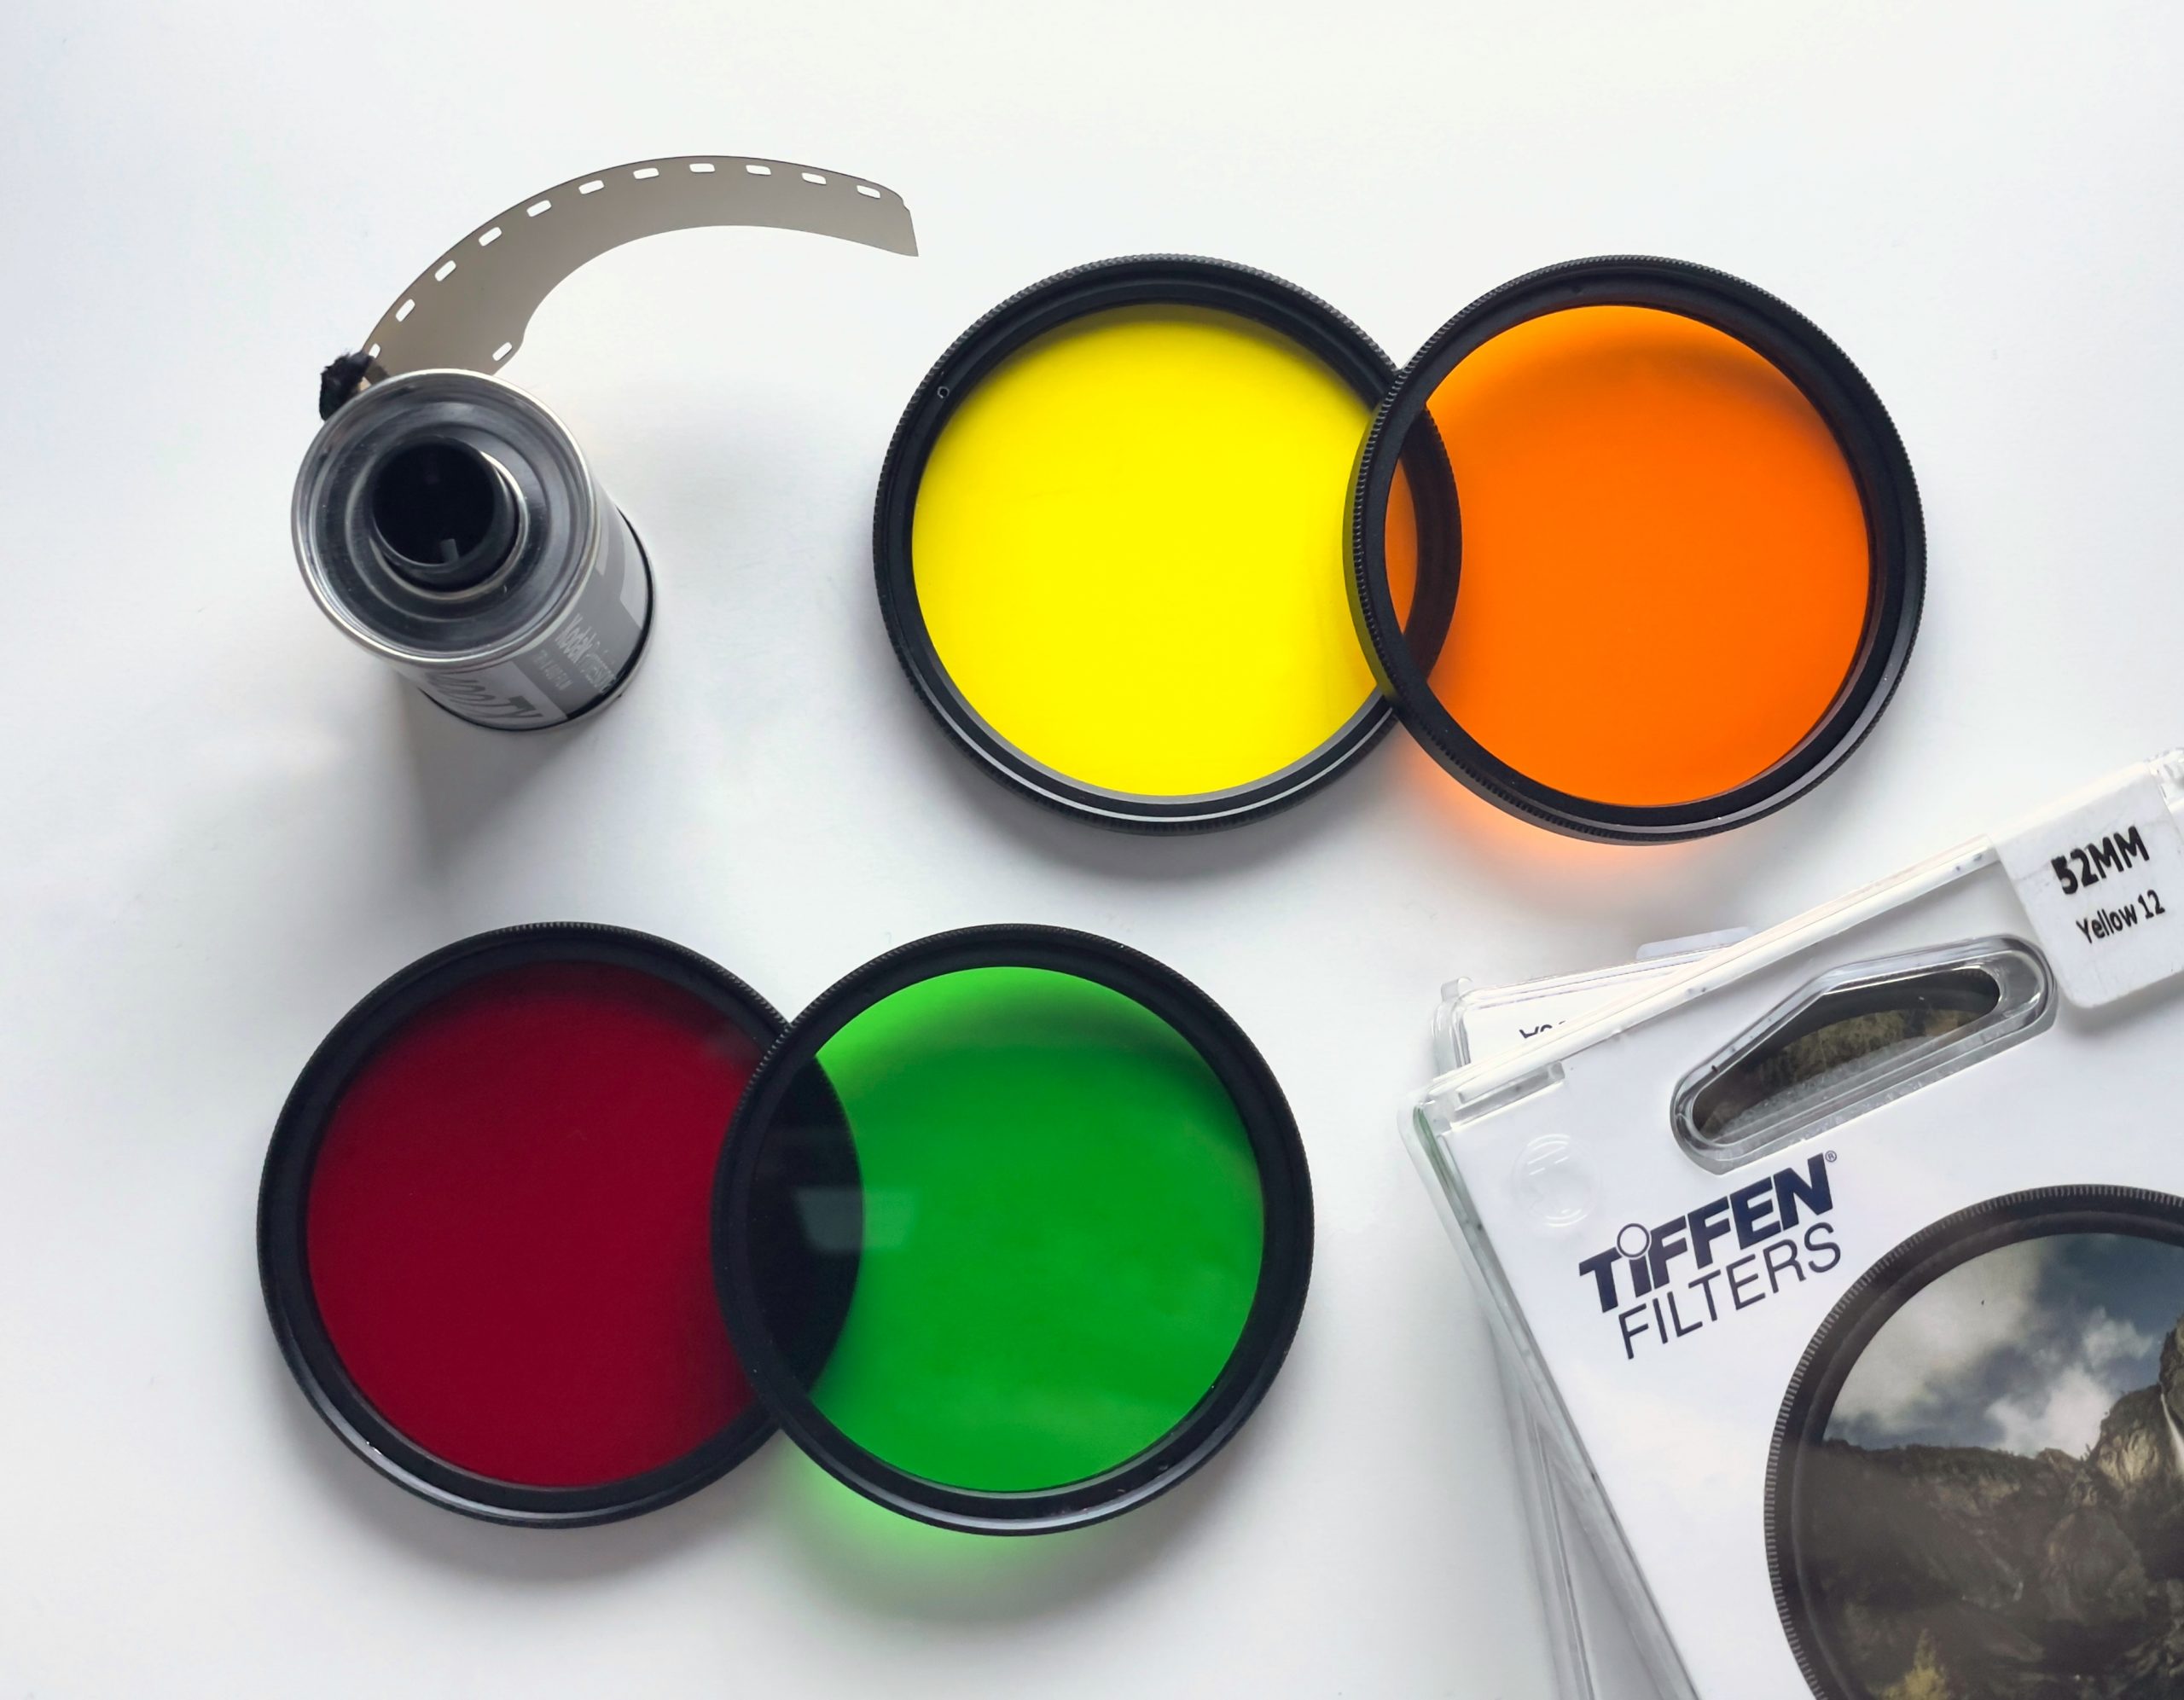
However, I personally wouldn’t take any absolute colour inferences from a black and white shot. You don’t know if the photographer used filters, very widely available, for example, and these can very easily lighten or darken the shade. An example on this shot is that the light Camo colour and the spinner look to be absolutely the same colour, but we know they are not. Different photo emulsions can also be more sensitive to some colours than others, so changing how they appear. If the photographer wanted to emphasise this he could use a red filter to lighten the spinner. In this case he may have used a green filter to lighten the grass and make the aircraft stand out on the image…..this is obviously a high quality portrait image and the photographer may well have been using filters.

There is a bit more on it here…..I know it’s using modern kit, but the technique remains valid. Look at the guys hat in the Ilford delta 400 picture sequence to see what happens to his red hat under the filters.

 
Last edited:

stona

SMF Supporter
Joined
Jul 22, 2008
Messages
11,478
Points
113
First Name
Steve
I've done the cockpit, apart from painting the headrest, and have temporarily inserted my volunteer pilot, who is not quite finished.

I would say that this is a couple of pictures of the not terribly good cockpit, but the pilot is doing a great job of covering up its shortcomings!

P1010797.JPG

P1010798.JPG
 

stona

SMF Supporter
Joined
Jul 22, 2008
Messages
11,478
Points
113
First Name
Steve
I've been making the most of the time I have this week and have been fairly zooming along. This is helped by the kit being fairly basic and also very nicely fitting. Whatever issues the kit may or may not have, it does fit together very well.

Here I have just sat the fuselage on the wings with a bit of tape underneath, this makes the gap at the wing root look far worse than it really is. It's a decent fit and should be easy enough.

wings.jpg

There was some bad news for our volunteer pilot. In order for me to be able to close the canopy over his head I had to remove his parachute! I'm sure he's not impressed, but it does show the benefits of dry-fitting and planning well ahead. It would have been a pain in the arse (mine, not his) to have discovered this when I came, eventually, to fit the canopy.
 

adt70hk

I know its a bit sad but I like quickbuild kits!!!
SMF Supporter
Joined
Sep 4, 2019
Messages
9,506
Points
113
First Name
Andrew
I've been making the most of the time I have this week and have been fairly zooming along. This is helped by the kit being fairly basic and also very nicely fitting. Whatever issues the kit may or may not have, it does fit together very well.

Here I have just sat the fuselage on the wings with a bit of tape underneath, this makes the gap at the wing root look far worse than it really is. It's a decent fit and should be easy enough.

View attachment 486932

There was some bad news for our volunteer pilot. In order for me to be able to close the canopy over his head I had to remove his parachute! I'm sure he's not impressed, but it does show the benefits of dry-fitting and planning well ahead. It would have been a pain in the arse (mine, not his) to have discovered this when I came, eventually, to fit the canopy.
That's a shame but then I regularly chop the boots off 1/72 scale Airfix pilots for the same reason.
 

stona

SMF Supporter
Joined
Jul 22, 2008
Messages
11,478
Points
113
First Name
Steve
That's a shame but then I regularly chop the boots off 1/72 scale Airfix pilots for the same reason.
I did once seriously maim a pilot to fit him in a Fi 103R 'Reichenberg'. The cockpit was clearly not to scale!

Our volunteer is physically intact, though I did have to cut down what passes for rudder pedals in this kit. He'd just better hope he doesn't need a parachute :smiling3:
 

stona

SMF Supporter
Joined
Jul 22, 2008
Messages
11,478
Points
113
First Name
Steve
If anyone ever suggests that you might build this kit with the undercarriage up...DON'T.

It has been designed to be built down and is proving a LOT of work to get looking half decent up!

Glad to get that off my chest.
 

Jakko

Way past the mad part
SMF Supporter
Joined
Apr 28, 2018
Messages
10,832
Points
113
First Name
Jakko
From other threads about Trumpeter’s 1:32 scale planes, like those @BarryW has built, I get the distinct impression Trumpeter expects you to build it with everything open that they have designed to be open. Tough luck if you don’t want that …
 

stona

SMF Supporter
Joined
Jul 22, 2008
Messages
11,478
Points
113
First Name
Steve
From other threads about Trumpeter’s 1:32 scale planes, like those @BarryW has built, I get the distinct impression Trumpeter expects you to build it with everything open that they have designed to be open. Tough luck if you don’t want that …
I think that's true. Even the flaps, which do have a 'closed/up' option, need a bit of work to achieve. They weren't bad, but given the very good fit of the rest of the kit I suspect the closed option is a bit of an afterthought.
 

stona

SMF Supporter
Joined
Jul 22, 2008
Messages
11,478
Points
113
First Name
Steve
Made some progress and have got the basic camouflage scheme on the model, which just needs a couple of edges to be tidied up a little.. I followed the Curtiss drawings for the pattern, not the instructions.

P1010804.JPG

The underside colour is my estimation of Curtiss 'Light Blue 27' which was supposed to approximate the British Azure Blue but was, by all accounts, noticeably lighter. I just chucked some white, completely unscientifically, into some Azure Blue until it was indeed noticeably lighter.

P1010805.JPG

I might even get this done over the next week or so. I need to as I had a rush of blood and have entered Andy's Japanese aircraft group build, which means I need to get on with something...errr...Japanese, namely my Special hobby 'Claude'.
 

stona

SMF Supporter
Joined
Jul 22, 2008
Messages
11,478
Points
113
First Name
Steve
I've started spraying some markings. The kit decals, at least the national markings, are not much good anyway.

I made my own South African orange by mixing the red and yellow used for RAF markings...which is probably what the South Africans did too.

markings.jpg
 

yak face

Wossupwidee?
Staff member
Moderator
SMF Supporter
Joined
Jun 13, 2009
Messages
12,414
Points
113
Location
sheffield
First Name
tony
Just catching up steve , looking mighty fine , cheers tony
 

Jim R

SMF Supporter
Joined
Apr 27, 2018
Messages
13,743
Points
113
Location
Shropshire
First Name
Jim
A lot of interesting research and head scratching so I'm sure you have things as accurate as is possible. Certainly looks good and the pilot does certainly up the look of the cockpit. Wheels up = no tyre issues :thumb2:
 

stona

SMF Supporter
Joined
Jul 22, 2008
Messages
11,478
Points
113
First Name
Steve
I've got this to the point where there is really only a few bits to add and, of course, a bit of weathering.

P1010806.JPG

P1010807.JPG

I'll leave this thread here and post the completed model in a new one as soon as it's actually completed.
 
Top