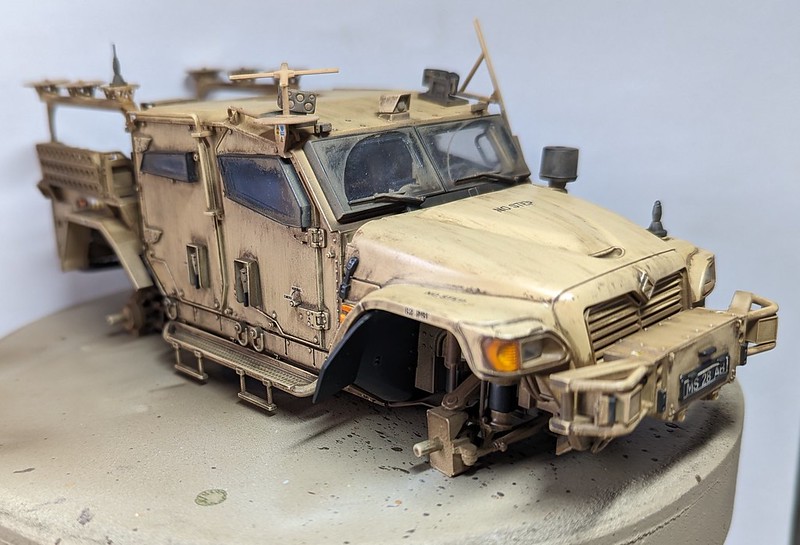
Meng 1/35 Husky TSV

Mr Bowcat

SMF Supporter
Joined
Dec 29, 2016
Messages
3,647
Points
113
Location
London
First Name
Bob
Morning all. :smiling3:

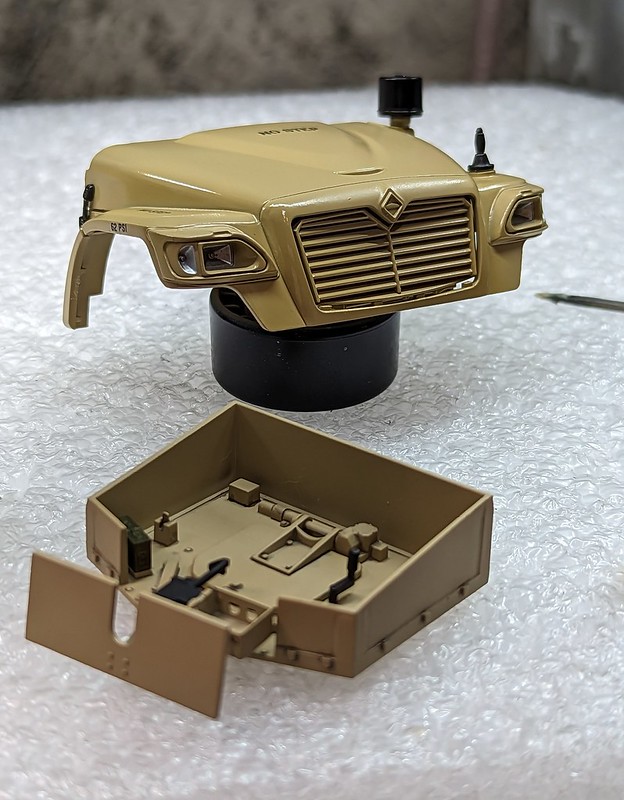
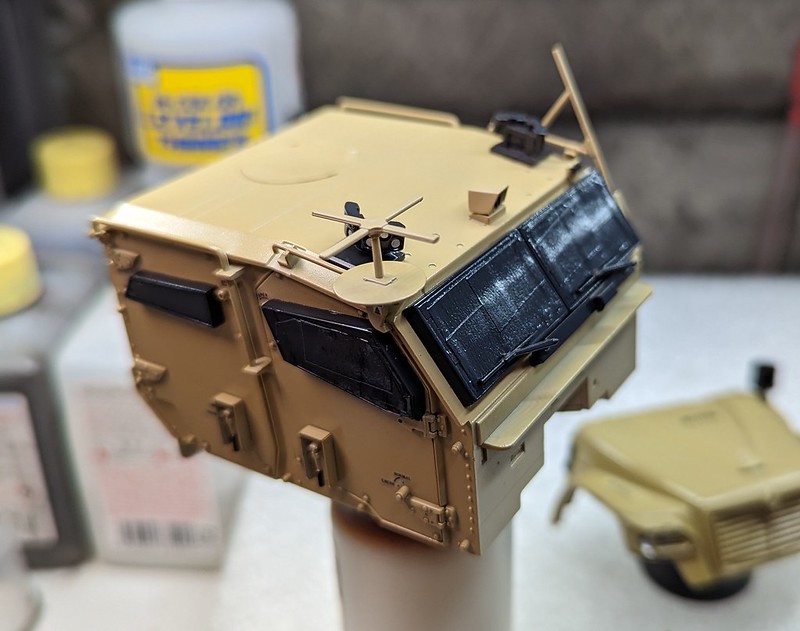
I seem to have forgotten to update this thread, and quite a bit has been done.

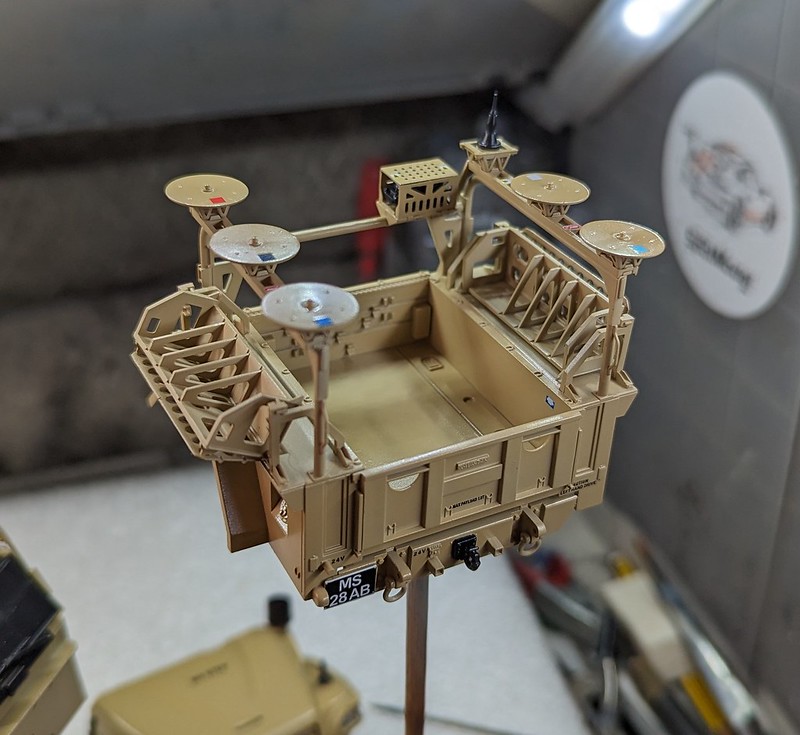
First up was finishing the exterior of the cab with various handrails, sensors, camera & lights. Next I built up the rear load bay and turret before getting the various decals applied. I found it amusing the number of health and safety placards that are on this vehicle. Finally everything was given a matt coat, which looks gloss in the pics as I had literally just sprayed it.

I've also painted all the other greeblies, so I can now get on with the fun part, weathering.
52666559019_1a449819b1_c.jpg


52665771372_007a595ae0_c.jpg


52666558974_3cce6ae268_c.jpg
 

Jim R

SMF Supporter
Joined
Apr 27, 2018
Messages
13,748
Points
113
Location
Shropshire
First Name
Jim
Looking superb Bob. That interior is a thing of beauty. The clay wash has worked a treat.
 

Mr Bowcat

SMF Supporter
Joined
Dec 29, 2016
Messages
3,647
Points
113
Location
London
First Name
Bob
Cheers Jim. :smiling3:

The exterior is also due for a clay wash, although ever so slightly heavier. ;)
 

Mr Bowcat

SMF Supporter
Joined
Dec 29, 2016
Messages
3,647
Points
113
Location
London
First Name
Bob
Cheers Paul. :smiling3:

Hataka orange line lacquers, I really like them for aircraft and armour.
 

Allen Dewire

Proud Rabble Member
SMF Supporter
Joined
Apr 27, 2018
Messages
4,105
Points
113
Location
Bamberg
First Name
Allen
Fell a bit behind on this Bob, but your progress was well worth the ketchup!!! Great paint work inside and outside Sir!!! Weathering is done just right too, especially the tires...

Prost
Allen
 

Mr Bowcat

SMF Supporter
Joined
Dec 29, 2016
Messages
3,647
Points
113
Location
London
First Name
Bob
Morning all. :smiling3:

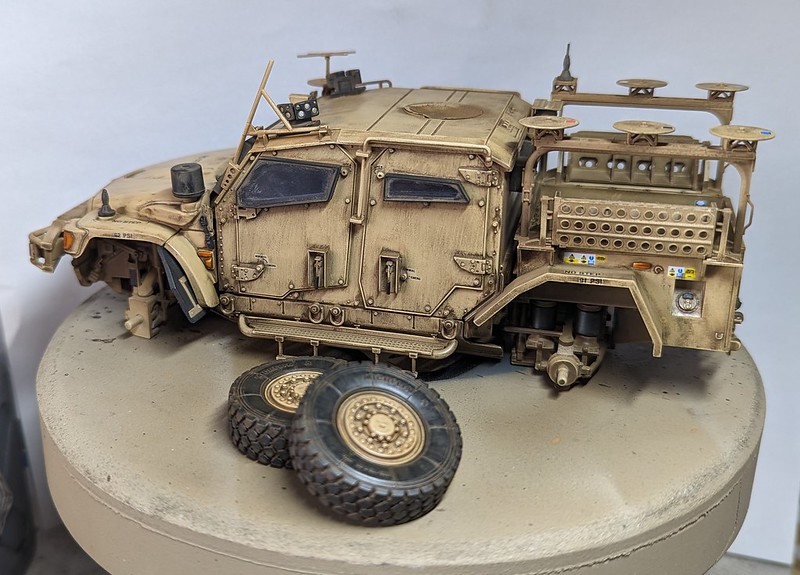
Stage 2 is now complete. This is quite subtle and consists of a very thin oil wash (Starship Filth) around all the bolts, rivets, cleats, etc. Because it's so thin and goes straight on top of the clay, it tends to soak in and gives the impression of ingrained dirt without being too stark. Well, that's the theory at least. :smiling3:

52679997126_b86bde967c_c.jpg


52680494408_f271356a25_c.jpg
 

Airborne01

SMF Supporter
Joined
Mar 30, 2021
Messages
3,173
Points
113
Location
Essex
First Name
Steve
Morning all. :smiling3:

I seem to have forgotten to update this thread, and quite a bit has been done.

First up was finishing the exterior of the cab with various handrails, sensors, camera & lights. Next I built up the rear load bay and turret before getting the various decals applied. I found it amusing the number of health and safety placards that are on this vehicle. Finally everything was given a matt coat, which looks gloss in the pics as I had literally just sprayed it.

I've also painted all the other greeblies, so I can now get on with the fun part, weathering.
52666559019_1a449819b1_c.jpg


52665771372_007a595ae0_c.jpg


52666558974_3cce6ae268_c.jpg
Don't knock 'elf 'n safety mate - soldiering can be very risky! For instance, one might drop one's 'hat' over one's eyes, or drink a drink that's too hot - the list is endless! (And, think of the unemployment increase if we were to make all the H&S muppets sorry, inspectors, redundant! The country would go to Hell in a handcart!)
Steve
 

Mr Bowcat

SMF Supporter
Joined
Dec 29, 2016
Messages
3,647
Points
113
Location
London
First Name
Bob
Cheers guys. :smiling3:

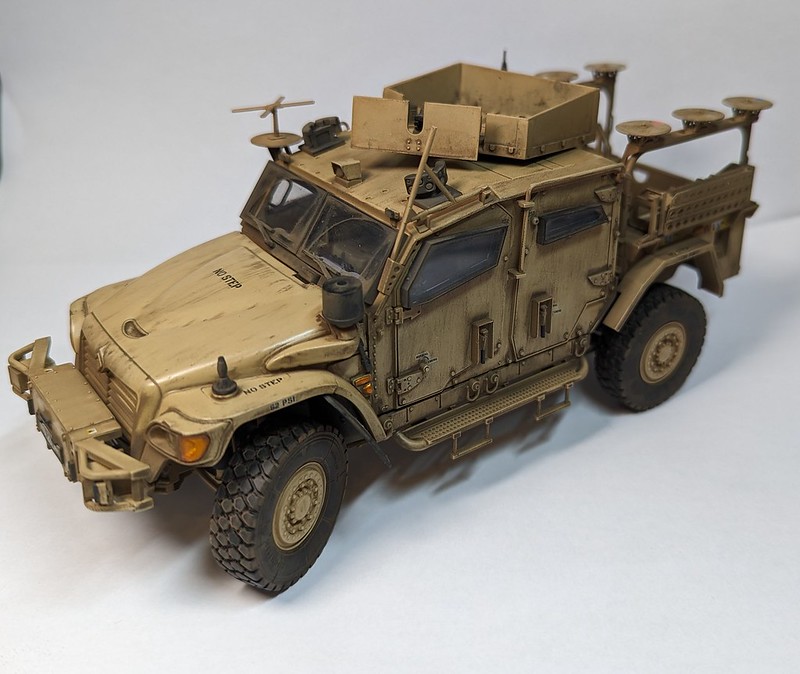
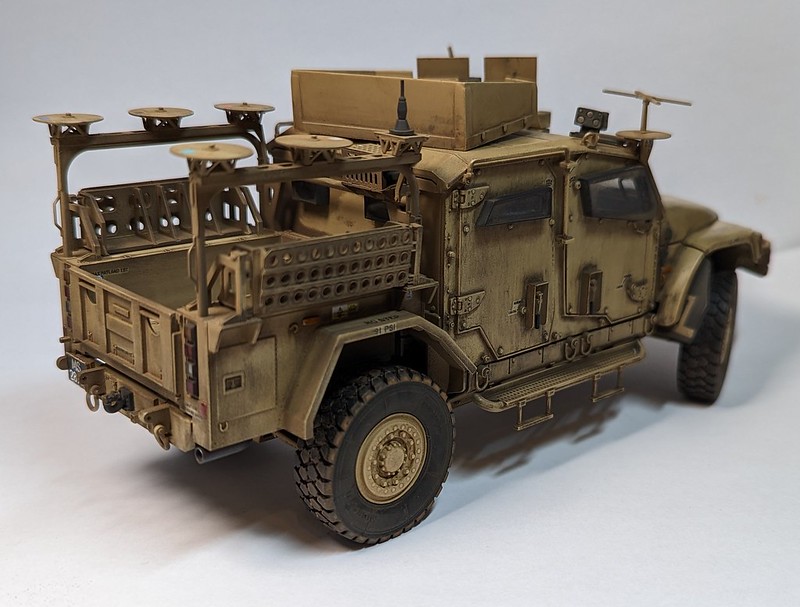
Wrapped this one up last night, pics here.

Last few steps were just giving it a pigment scrub on the horizontal surfaces, adding some junk in the bed, weathering and attaching the doors and adding an aerial. As expected, very little of the interior is visible.
 
Top