PzKpwf II Luchs 1:25 Wak

J

Johnny

Guest
My last shift for 3 weeks :smiling3:

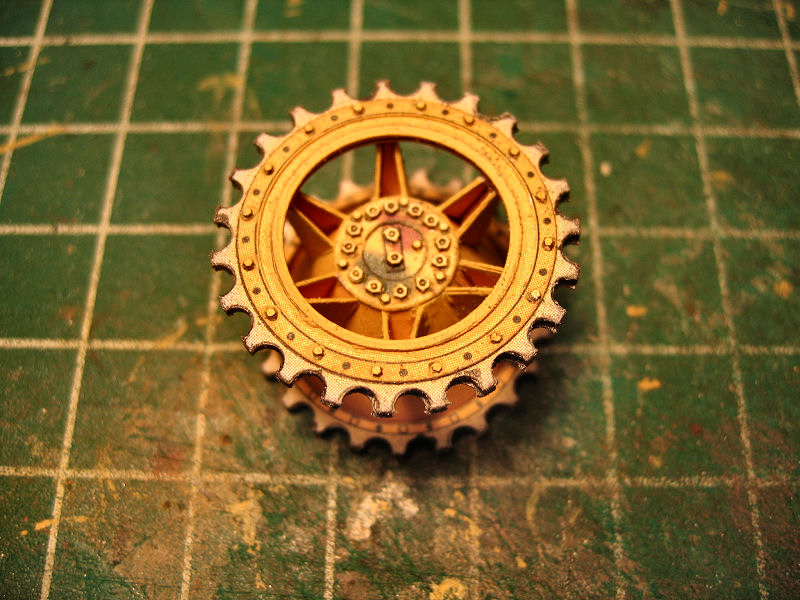
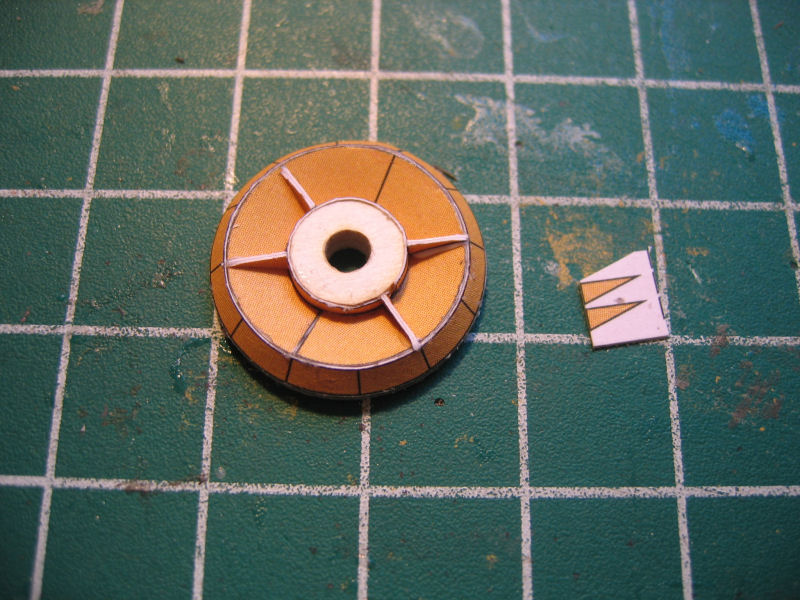
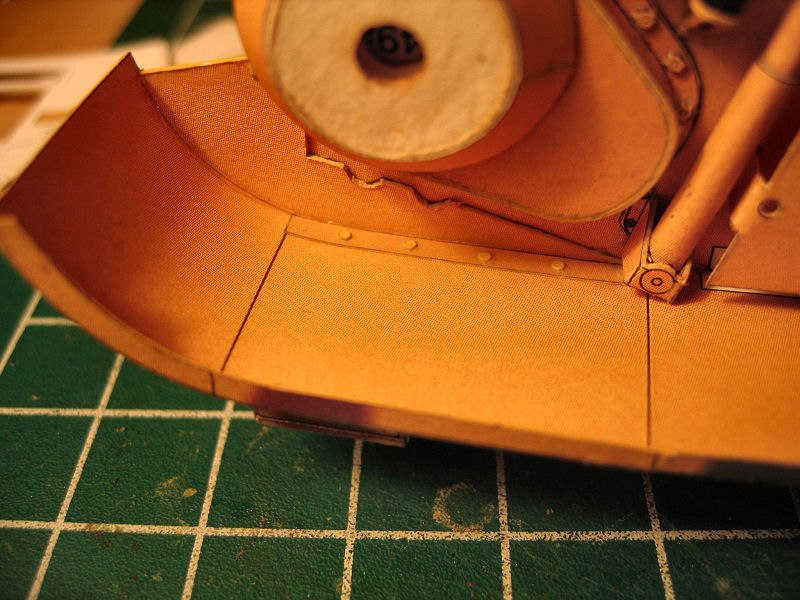
I got one of the two part wheels done today.

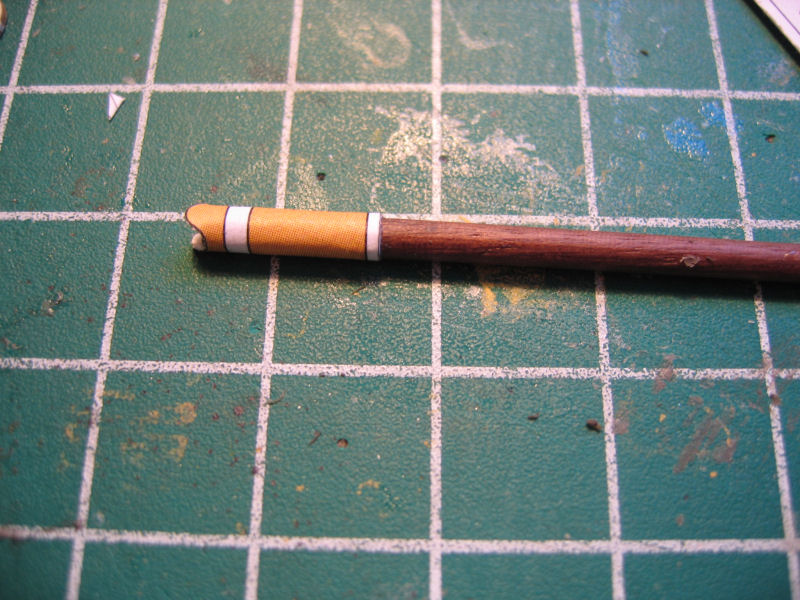
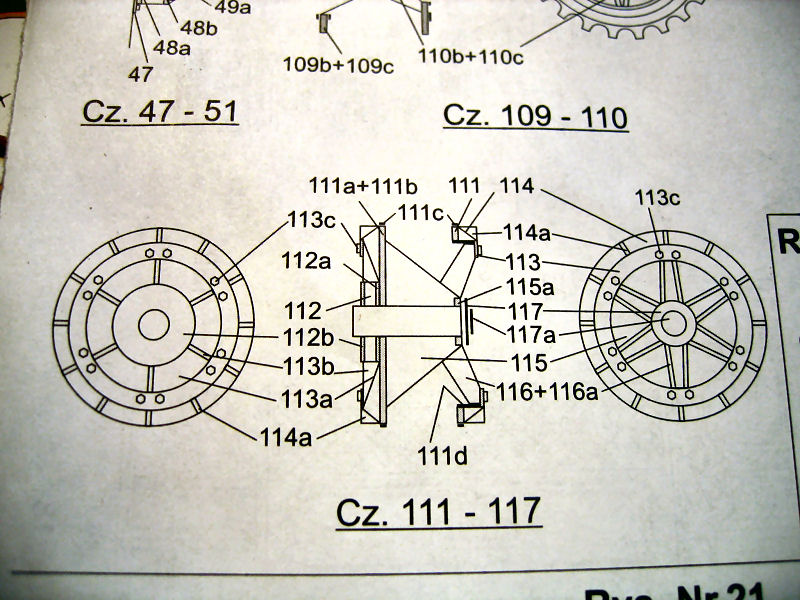
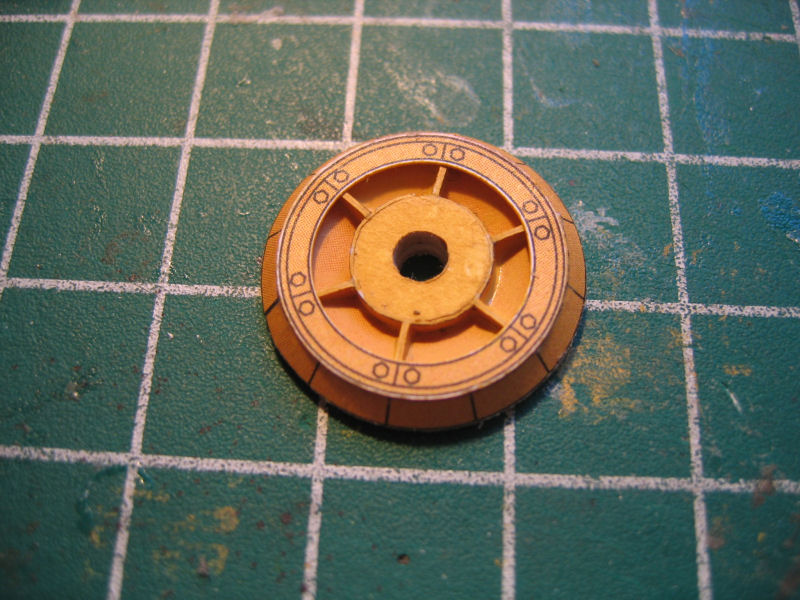
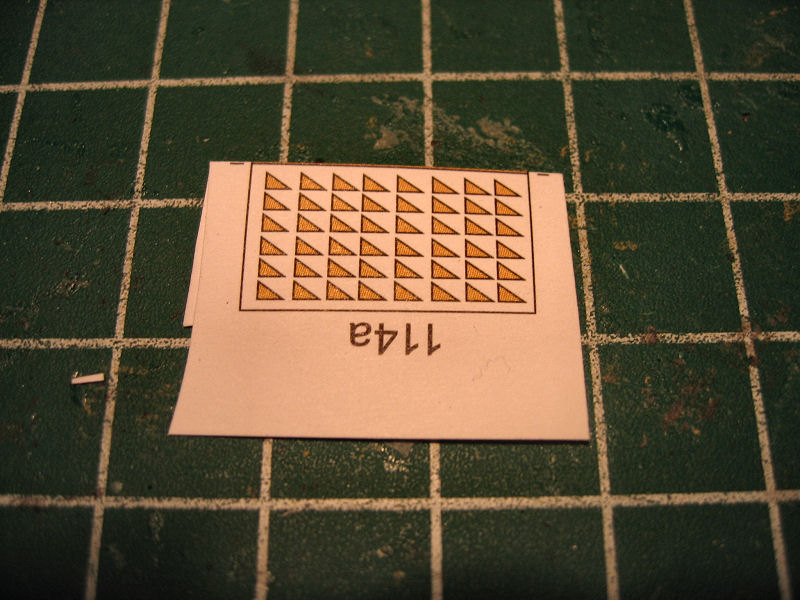
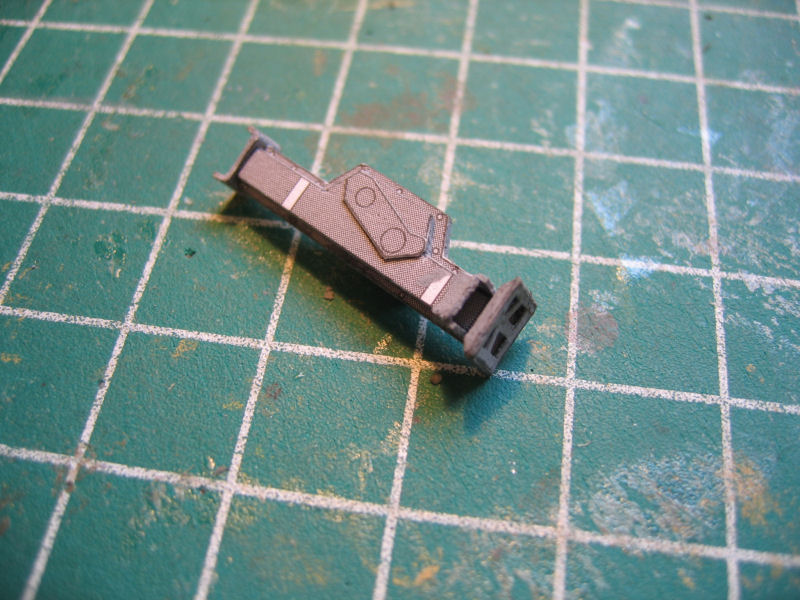
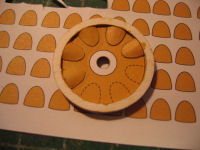
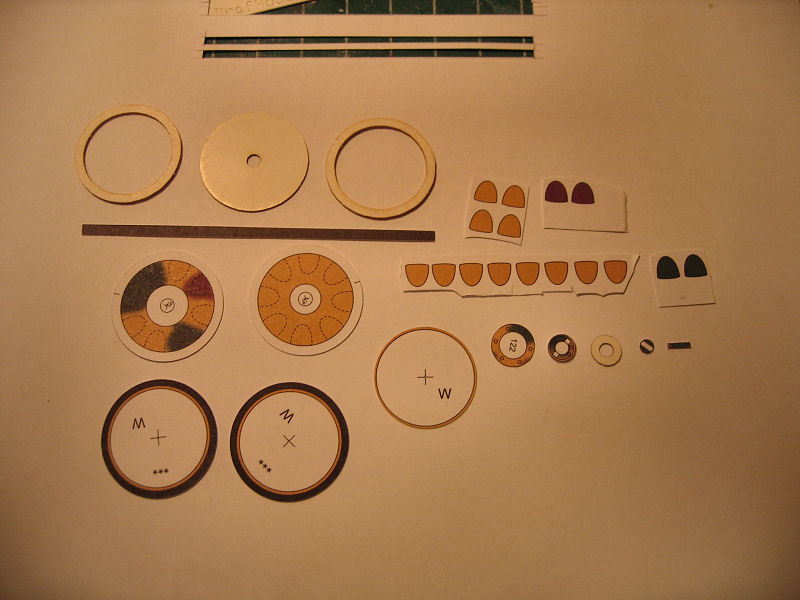
Here are the parts for one of the wheels.


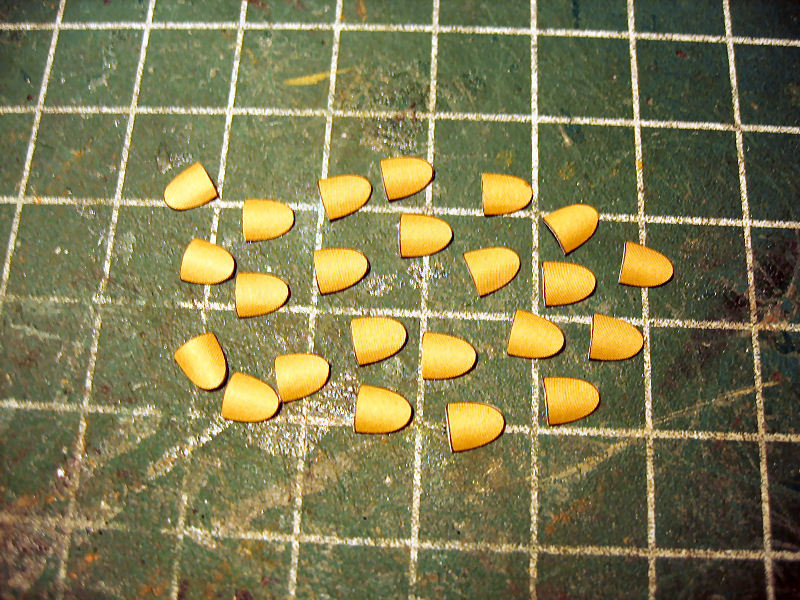
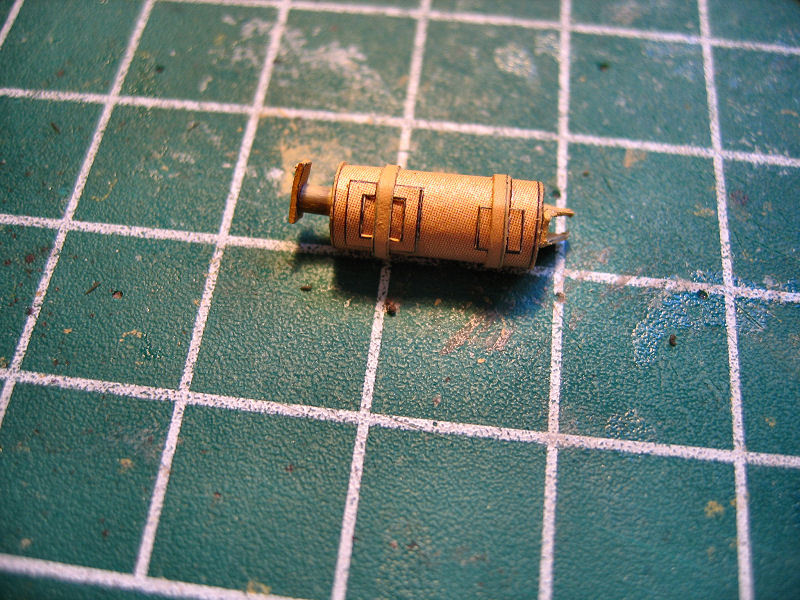
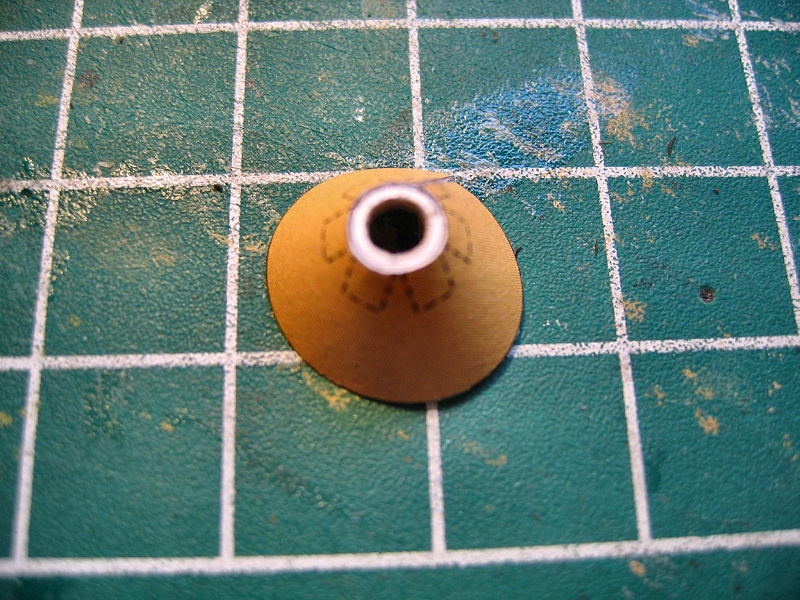
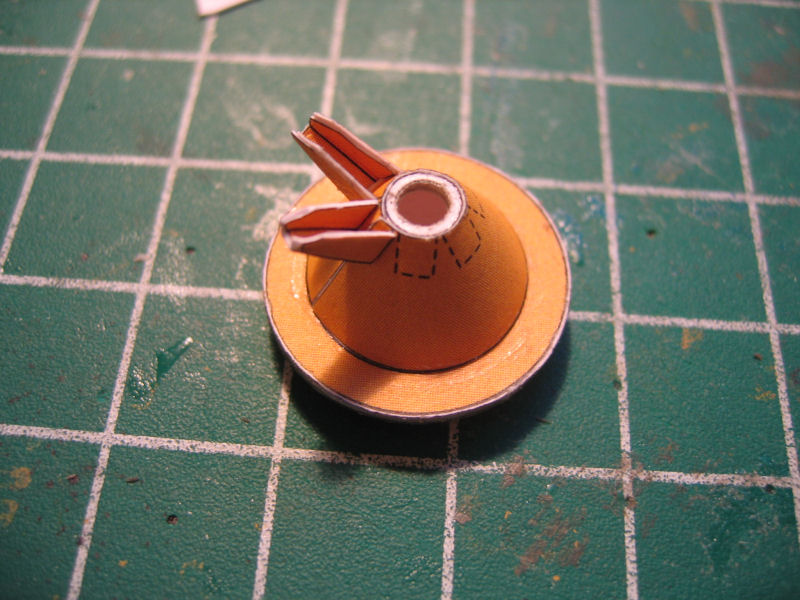
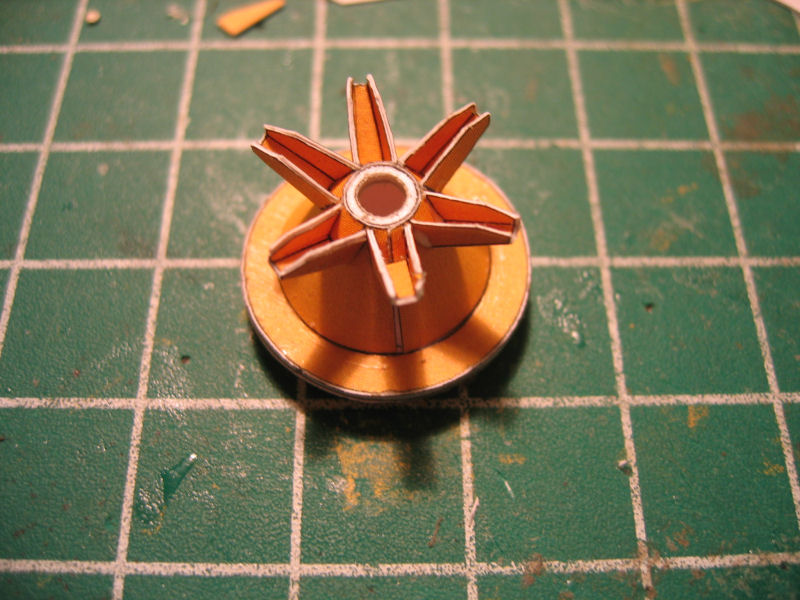
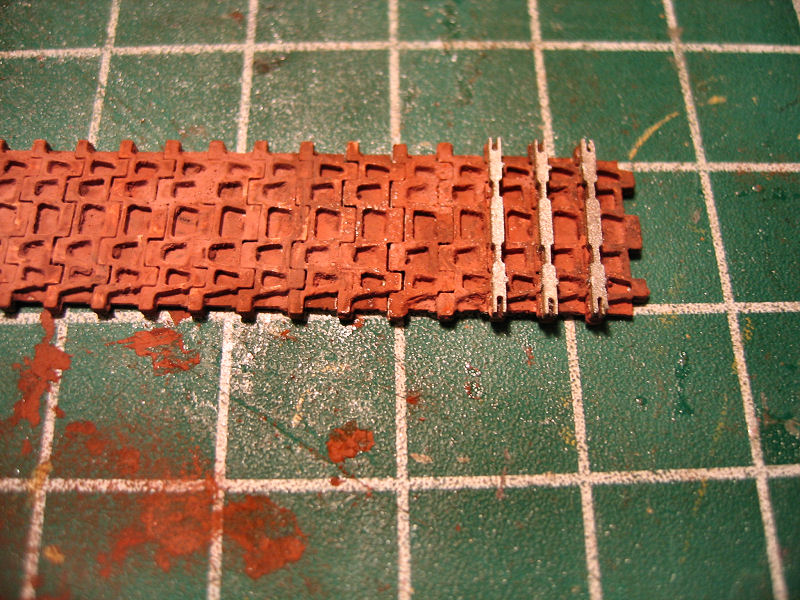
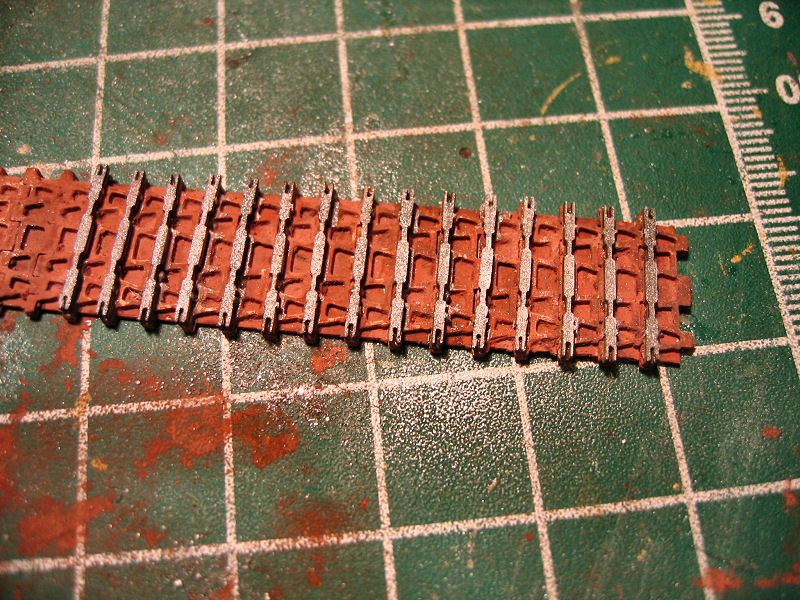
Started gluing ripples.....


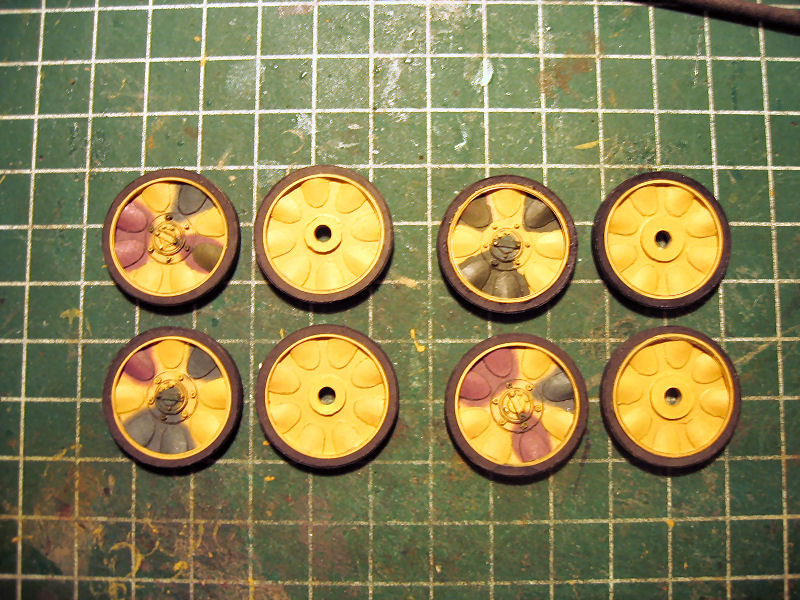
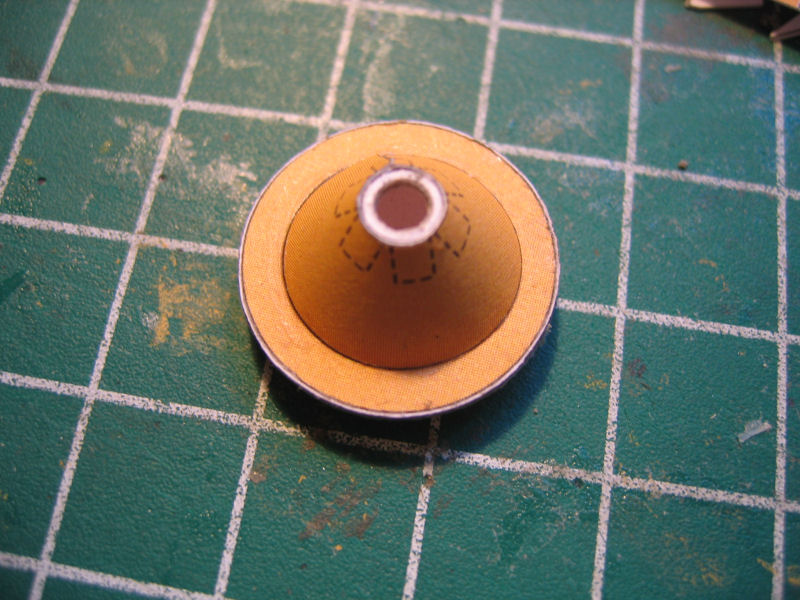
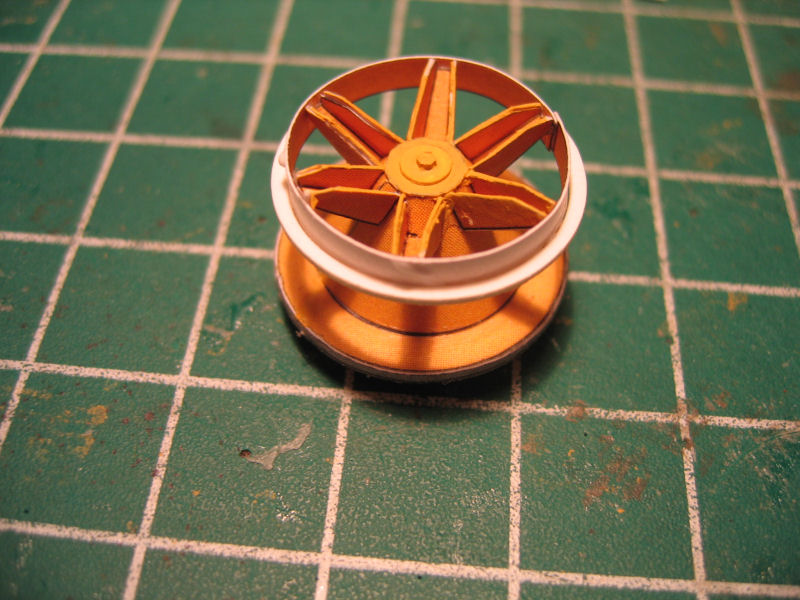
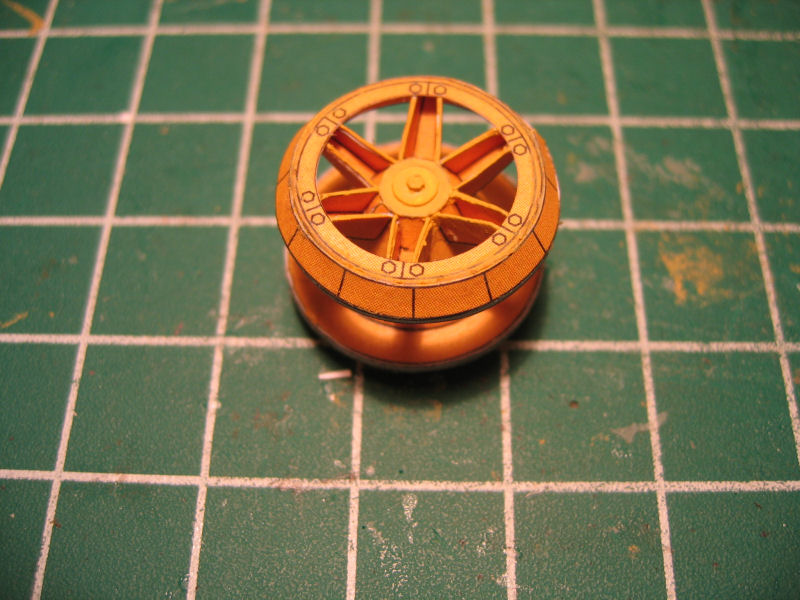
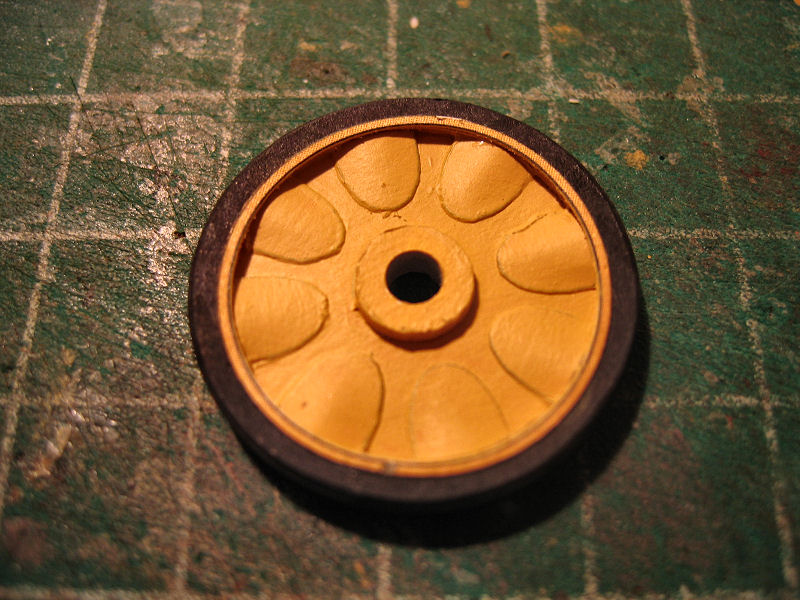
The inner part is done
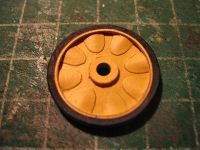
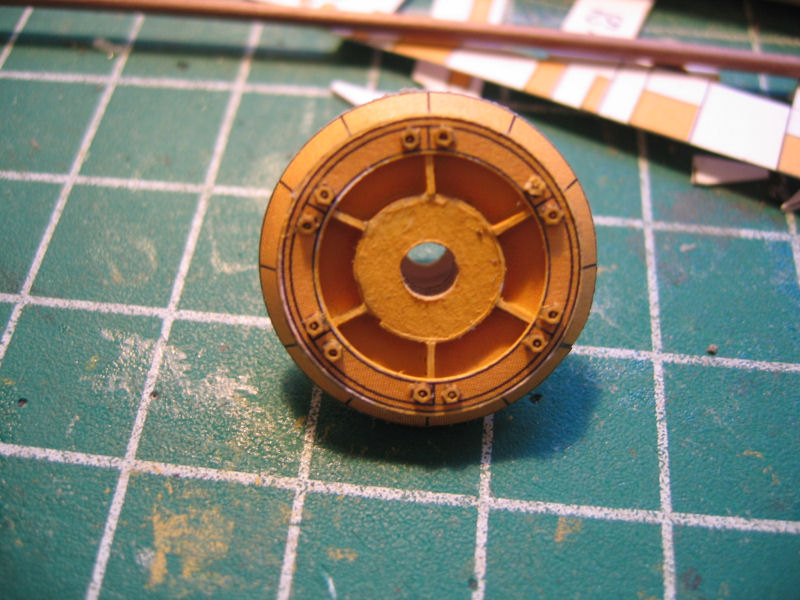
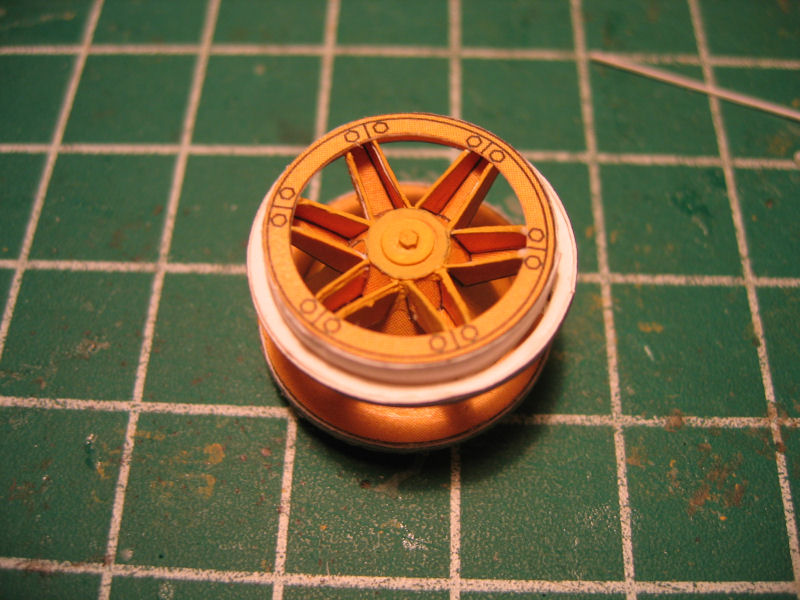
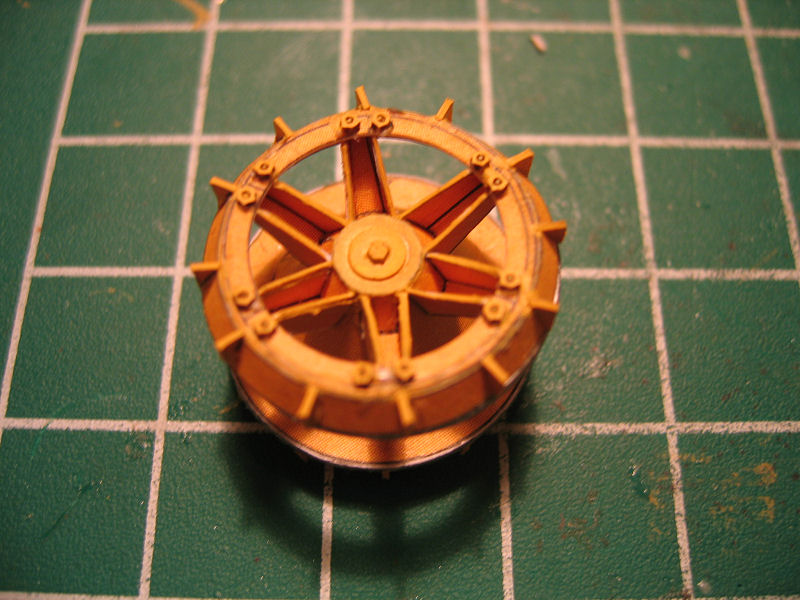


And the outer part


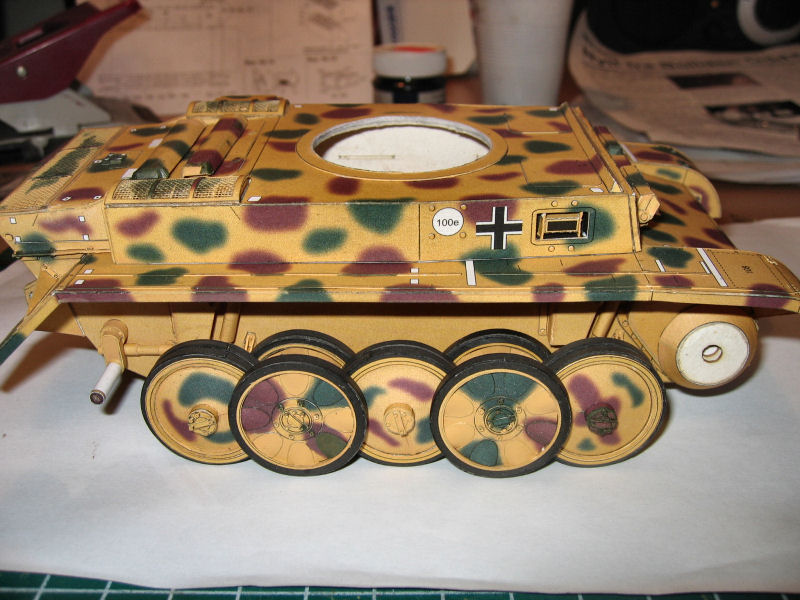
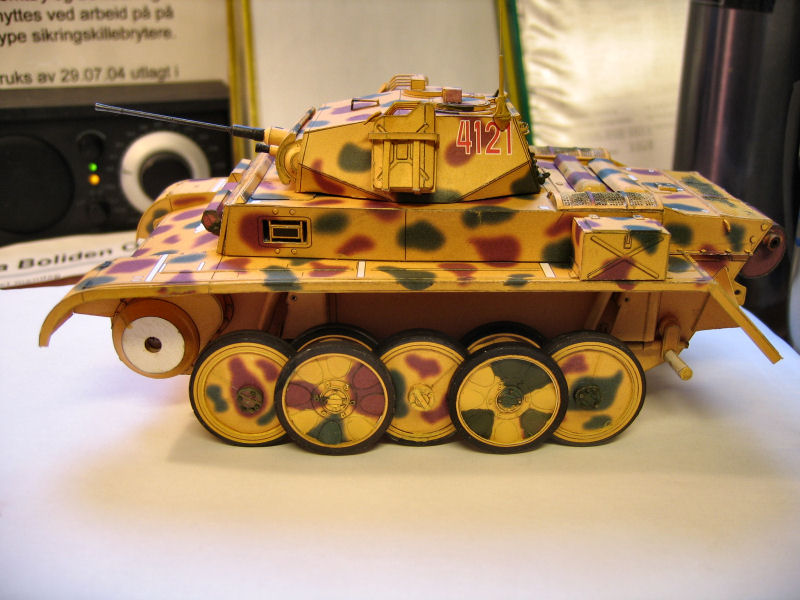
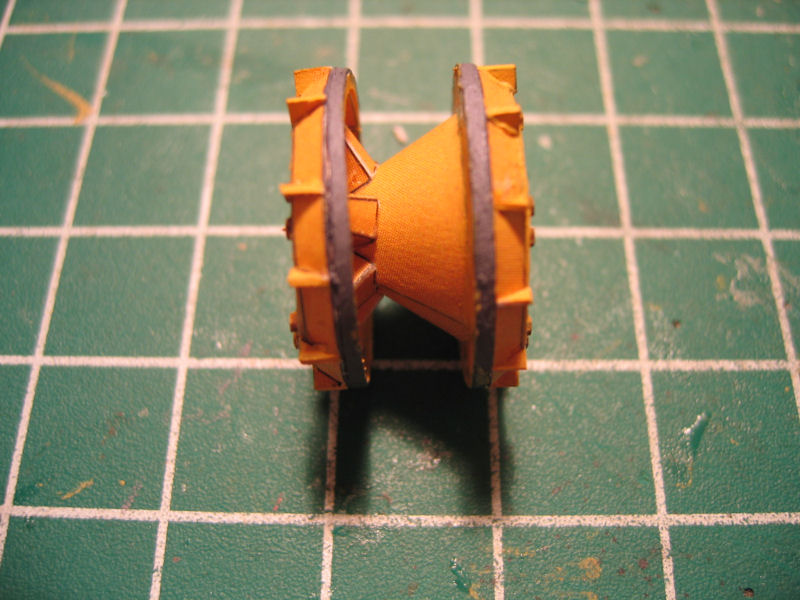
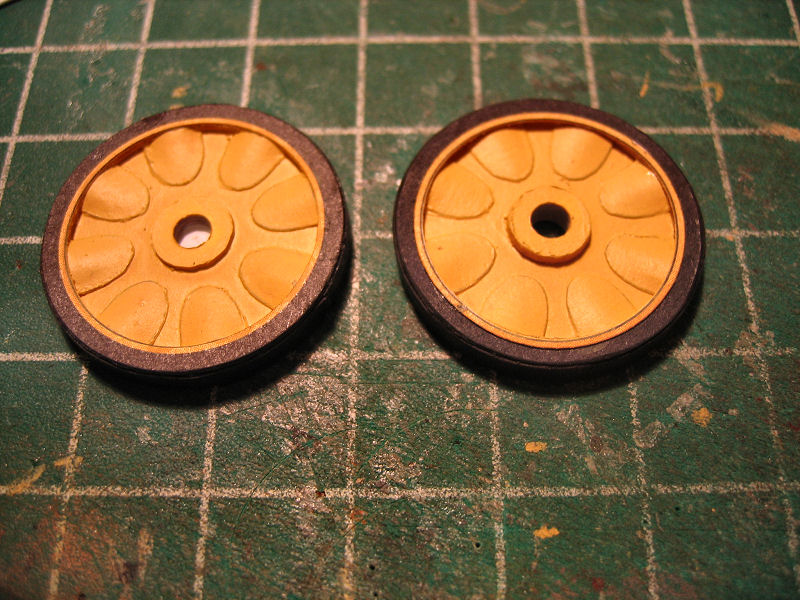
And both wheels done
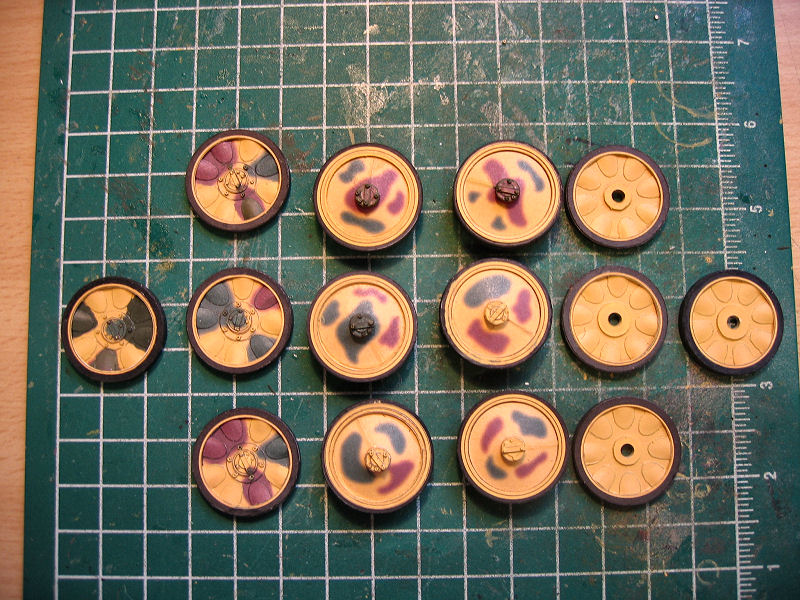
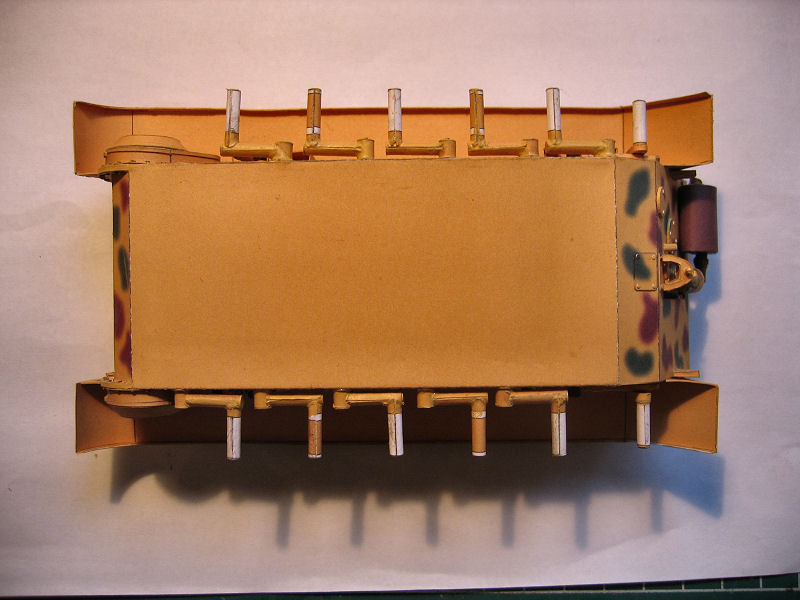
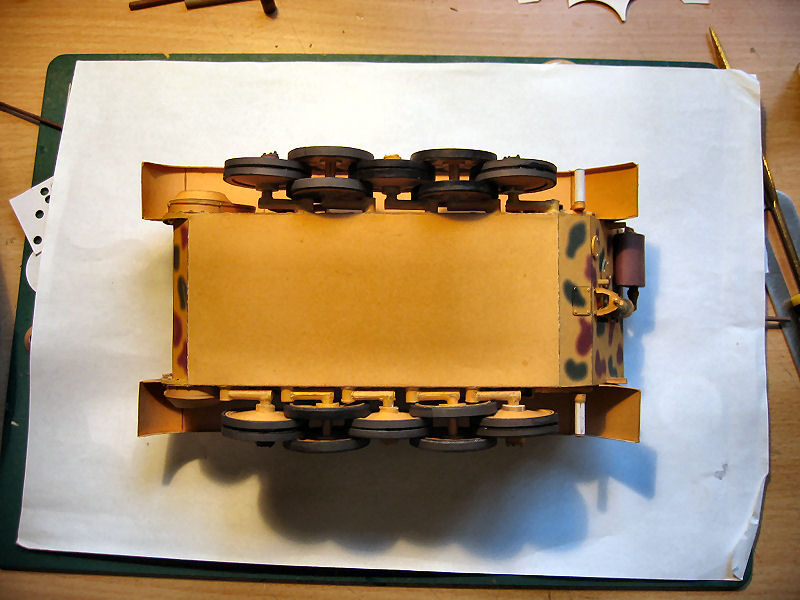
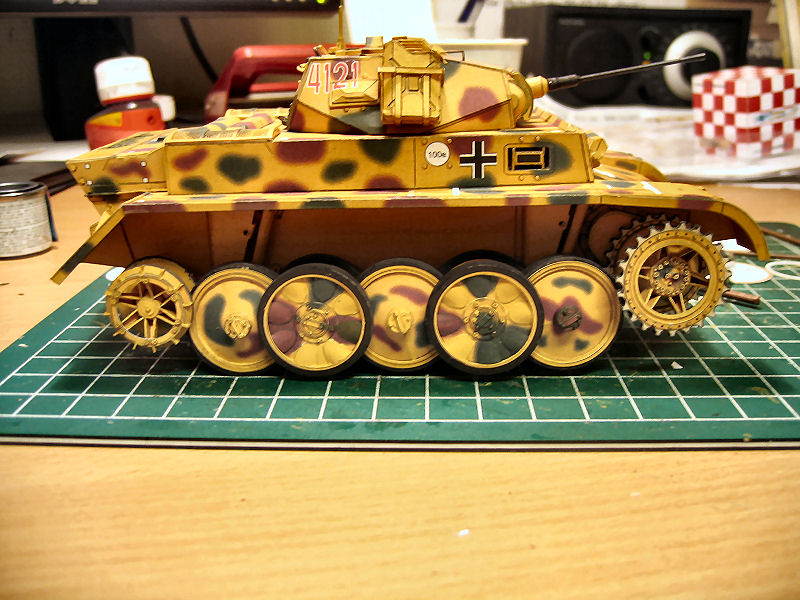
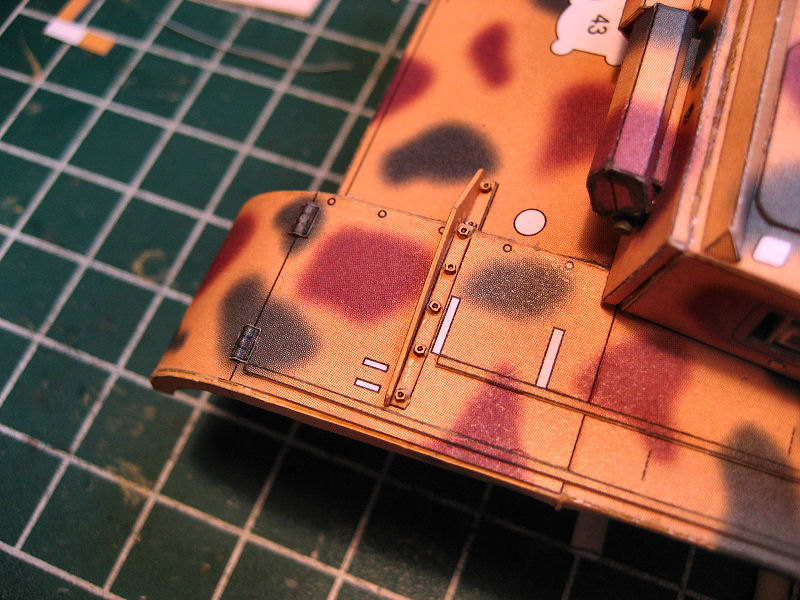
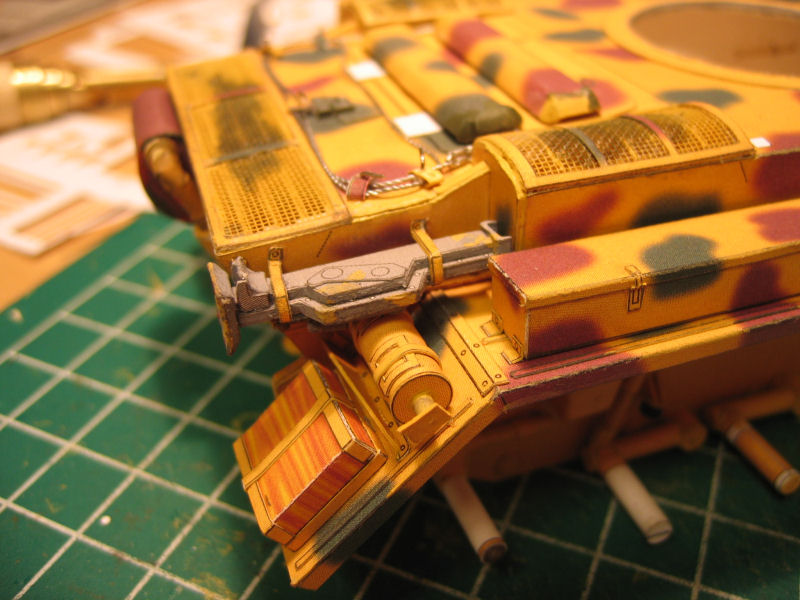
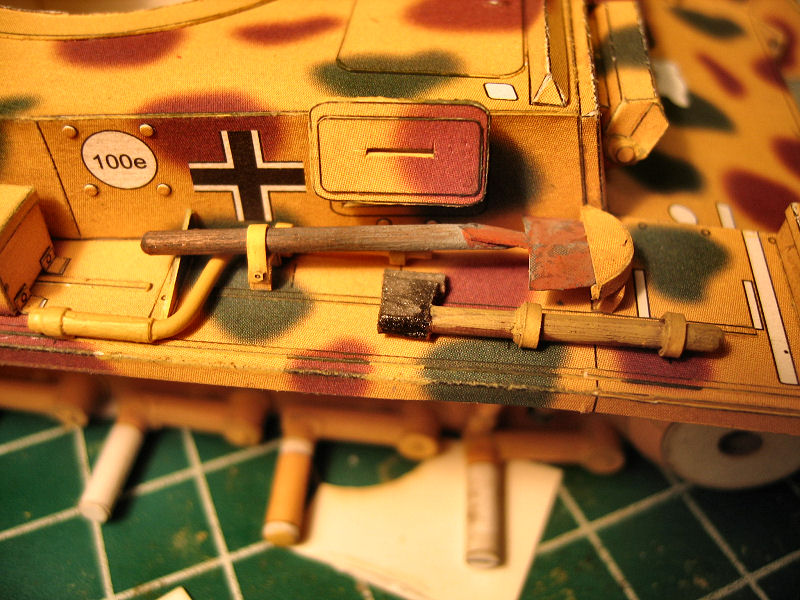
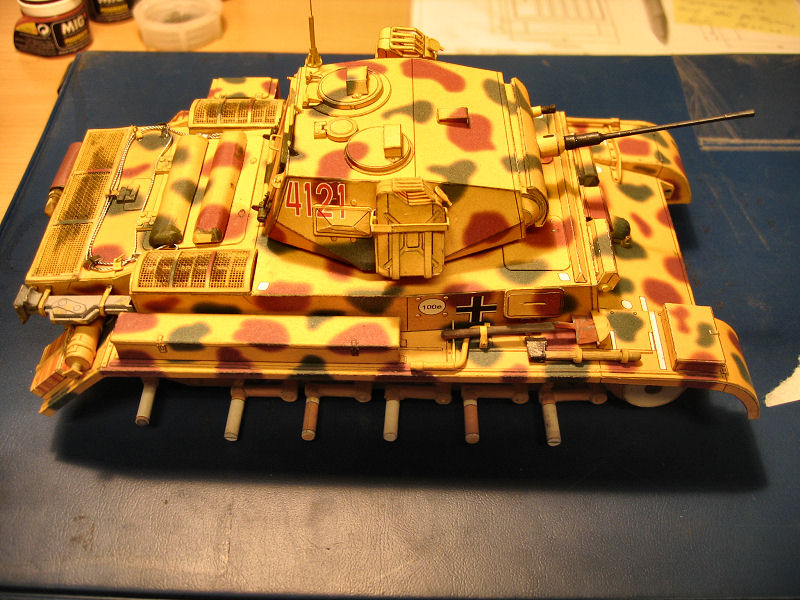
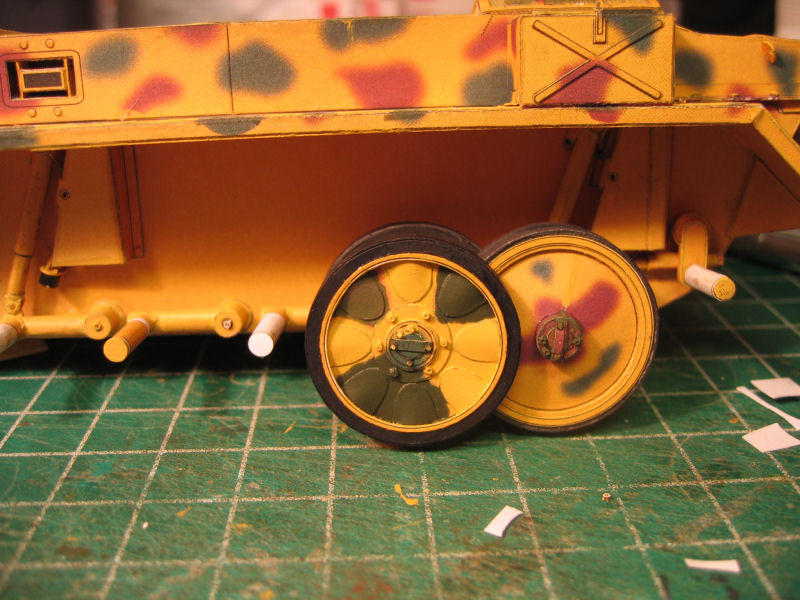


Dryfit....


Will continue this build in 3 weeks.....

Until then have a happy new year :smiling3:
 
J

Johnny

Guest
Back in the saddle again....All theese vacations......

Some progress on the wheels and I made one of the drivewheels.

I'll come back to the construction of the drivewheel another day if there are some interest to see the construction.

Here are the pics.

As you can see I added a lot of nuts to the hub and the rim.I have not decided yet if I put nuts onto the "unvisible" sides yet....


Now I'm onto the rest of the roadwheels.....
 
B

Bunkerbarge

Guest
The detail on that drivewheel is absolutely amazing! It never fails to amaze me just what card modelling construction techniques can achieve.

The nuts look absolutely superb and I'm not sure whether I would have the patience to put them where you can see them never mind where you can't!!

Great job as always Johnny.
 
J

Johnny

Guest
Well I'm going to put the nuts on :smiling3:

The rippled type of the roadwheels are ready....

Here are the last 24 ripples shaped and ready to "go in"


And the completed set.

 
J

Johnny

Guest
Hello guys!

Today I finished the roadwheels.


I had 3 more swingarms to make on the left side.I have reinforced the hollow tube construction with a 3mm wooden rod to be sure they can stand the handeling without breaking.....


I also made a part.....


I dont know what this part is, but it belongs to the rear part of the right mudguard.I guess it's some kind of tool,maybe a donkraft or something.
 
B

Bunkerbarge

Guest
Looks a bit like the very old pump up fire extinguishers?
 
J

Johnny

Guest
I found out that thats exactly what it is :smiling3:

Got the swingarms done today!


I put the roadwheels loosely on


Some minor adjustments are needed,but I wait with that until the tracks are ready to go in :smiling3:

Overview

 
J

Johnny

Guest
The rear wheels was a bit complicated construction containing a lot of parts.

And since I know you all loves wheels,just as me!! I made a step by step report....

First lets take a look at the drawing.Ans as we can see it's a lot of parts involved.


First step was to make the rear side.It was made of a 0,5mm bottom plate,a center hub, and two coned pieces coned each way.


The triangles was glued to the lower cone and the hub.

Then I made the cone for the front side arrangement


Then I added the ring with the nuts to the rear side.


The cone was glued to the front side


And the nuts was added to the rear side


So came the time to add the supporters for the outer ring on the front side


All 6 supporters added


Then I had to put on the paperstrip and the ring to hold the coned front part in place


The outer part was added to get the distance from the rear ring correct for the dimesnsion on the outer coned part.


The coned outer ring is in place


A lot of tiny triangles was to be added to the outer coned sides


And when all triangles and nuts are added we have a wheel


I painted the part that will be in contact with the tracks with "polished steel" paint


The wheels put loosely on for an impression of how it will look.

 
B

Bunkerbarge

Guest
There's more parts in a wheel than there are in most plastic kits!!
 
J

Johnny

Guest
Yes it's a lot of parts!! One of those rear wheels contains 83 parts.....
 
J

Johnny

Guest
Making some details here and there.

First it's the antenna.


Then a stiffener for the mudguard


And last I did one of the headlights.

 
B

Bunkerbarge

Guest
This is brilliant as always Johnny but I have to confess I look forward to the next post on the 109 more!!
 
J

Johnny

Guest
My plan is to finish the 109 the coming week.I have put the wings on :smiling3:

Will take some shots later!
 
J

Johnny

Guest
The jack


Placed where it belongs


Two hooks on the rear mudguard


Another box on the front part of the left mudguard


And the arrangement for the spare tracklinks

 
J

Johnny

Guest
Some more details made tonight.

The tow wire

The wire is real o,5mm steel wire


Another box on the rear of the left mudguard


The showel


And some strips under the front mudguards

 
J

Johnny

Guest
Working on the detailing really takes some time...

Here is what I got done last nightshift.

Some of the tools and one of the visors


A bulbe on the "Hood"


Some tools on the opposite side


I got the last hinges at the rear end in place, and painted the holders for the wire


Overview

 
T

Task Force 57

Guest
My word!!! You have a singular kit there old chap... never tried my hand at cut-en-stick afv's, this tank does you great credit.

:knight:
 
J

Johnny

Guest
\ said:
Utterly remarkable. Can we get these things in the states?
Everything is available over there :smiling3:

Had to take a break from details......and do some trackwork :smiling3:

Here we see the diferent parts of the tracks.


I put together half a side and applied a combo of panzergrey and rust to the links.I will add some more polished metal on the pattern later.

 
Top