P
PauliusLiekis
Guest
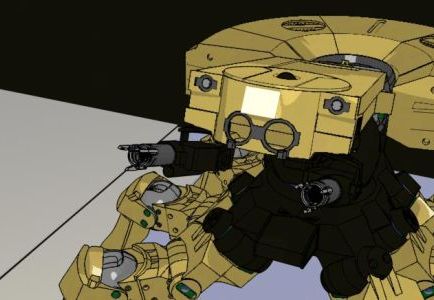
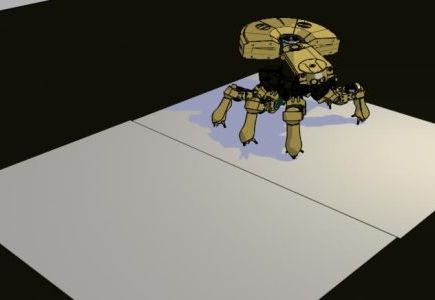
One of the most complicated parts: it's time to cover main-body to which all legs are attached:
View attachment 99861
The optimistic plan was to print it from a couple of parts:
View attachment 99862
View attachment 99863
Problem #1: printer shifts all layers by ~1cm sometime during printing. It still did in a different place when printing flipped part, although the problem was smaller, so I just fixed it by slicing printed part into two and gluing it together in correct place:.
View attachment 99864
View attachment 99865
View attachment 99866
I subdivided the remaining parts into smaller parts before printing in order to avoid same problems during print:
View attachment 99867
Problem #2: I could not assemble robot using these parts - there was no way to fit sphere in the middle through other parts once everything is assembled. I had to cut it into smaller pieces and attach these parts separately.
View attachment 99868
Problem #3: first design mistakes: my virtual project had no screws, so when I tried to fit to and bottom part they didn't fit where they belong (see the photo above), so there was a gap of 1cm between them. The main structure of the robot was done by hand without very precise engineering, so gaps between printed parts and servos were uneven. So even if I fixed design problem with the screws there was no I way to fix all gaps. I had to fallback to plan B: use of polystyrene and macroflex To make matters more fun I had to fit wires for 19 servos and plus a bunch of other wires
View attachment 99869
View attachment 99870
View attachment 99871
View attachment 99872
View attachment 99873
View attachment 99874
View attachment 99875
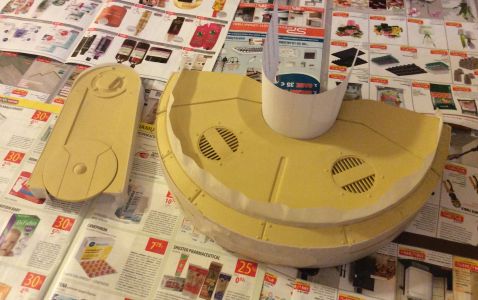
More shaping, macroflex, shaping, making surface stronger using PVA glue, polishing, glue, polishing, putty, polishing, putty, polishing:
View attachment 99876
View attachment 99877
View attachment 99878
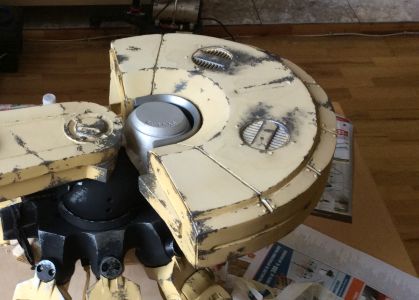
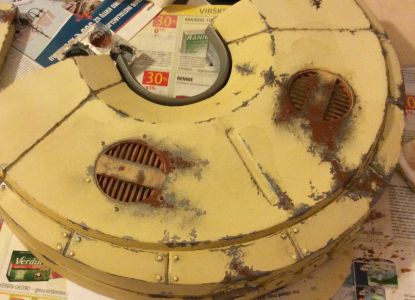
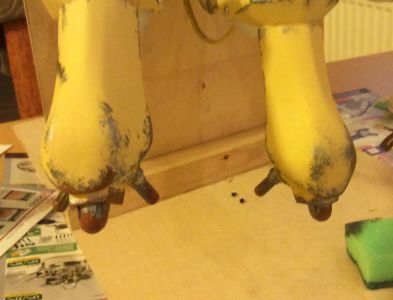
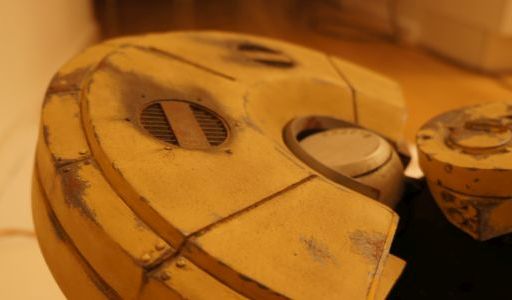
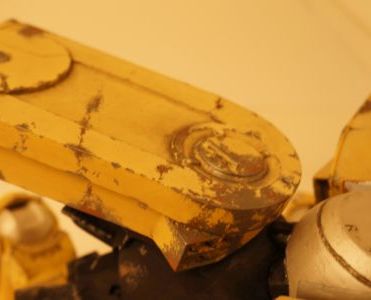
Painting and result:
View attachment 99879
View attachment 99880


View attachment 99861
The optimistic plan was to print it from a couple of parts:
View attachment 99862
View attachment 99863
Problem #1: printer shifts all layers by ~1cm sometime during printing. It still did in a different place when printing flipped part, although the problem was smaller, so I just fixed it by slicing printed part into two and gluing it together in correct place:.
View attachment 99864
View attachment 99865
View attachment 99866
I subdivided the remaining parts into smaller parts before printing in order to avoid same problems during print:
View attachment 99867
Problem #2: I could not assemble robot using these parts - there was no way to fit sphere in the middle through other parts once everything is assembled. I had to cut it into smaller pieces and attach these parts separately.
View attachment 99868
Problem #3: first design mistakes: my virtual project had no screws, so when I tried to fit to and bottom part they didn't fit where they belong (see the photo above), so there was a gap of 1cm between them. The main structure of the robot was done by hand without very precise engineering, so gaps between printed parts and servos were uneven. So even if I fixed design problem with the screws there was no I way to fix all gaps. I had to fallback to plan B: use of polystyrene and macroflex
To make matters more fun I had to fit wires for 19 servos and plus a bunch of other wires View attachment 99869
View attachment 99870
View attachment 99871
View attachment 99872
View attachment 99873
View attachment 99874
View attachment 99875
More shaping, macroflex, shaping, making surface stronger using PVA glue, polishing, glue, polishing, putty, polishing, putty, polishing:
View attachment 99876
View attachment 99877
View attachment 99878
Painting and result:
View attachment 99879
View attachment 99880


")