- Home
- Forums
- Group Builds
- The New Group Builds (2017 on)
- The User Created Group Builds
- 2024 Builds
- Papa 695's Build a Bi-plane GB: Jan - April 2024
You are using an out of date browser. It may not display this or other websites correctly.
You should upgrade or use an alternative browser.
You should upgrade or use an alternative browser.
Tonys Korpak 1/72 polikarpov po2 L
- Thread starter yak face
- Start date
Jim R
SMF Supporter
Well a maker I've never heard off, a plane I've never heard of, the worst clear canopy I've seen. You've done wonders with that canopy. You've made an excellent start and I'm sure the end result will be a good'un.
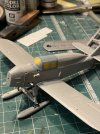
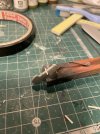
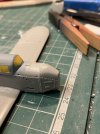
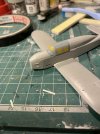
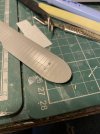
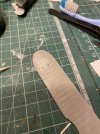
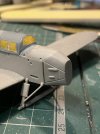
Bit more done tonight . The bottom wings have been fitted and the tailplanes. Ive made some control cable horns from plastic card and fitted them to the elevators and rudder - the kit parts were tiny ,unusable blobs . Ive had to scribe the control surface hinge lines on the top and bottom wings as they were raised lines! Yet the elevators were recessed ? While i had the scriber out the access panels behind the engine were scribed ( again raised lines ) and the HUGE battleship rivets sanded off . 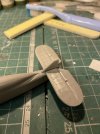


Mark1
SMF Supporter
Isambard Brunel woulda been proud of them rivets  big improvment getting rid of those.
 big improvment getting rid of those.
Too true mark , they would probably have been too big even for the ‘Great Western ‘Isambard Brunel woulda been proud of them rivetsbig improvment getting rid of those.
! Scaled up they would be about 3 inch in diameter !!! Funny thing too is that there arent that many rivets on the real thing , and what few it has are either flush or hardly noticeable .
Steve-the-Duck
SMF Supporter
Even the box art is a 'seventies rivet frenzy!
Here's a thought though. Just what is that extended rear spine for? Tents? Calor gas heaters?
Here's a thought though. Just what is that extended rear spine for? Tents? Calor gas heaters?
Mark1
SMF Supporter
I can only guess whoever designed the model used their artistic licence,looked at their handywork and smugly thought, yes! Im the best this firms ever hadToo true mark , they would probably have been too big even for the ‘Great Western ‘
! Scaled up they would be about 3 inch in diameter !!! Funny thing too is that there arent that many rivets on the real thing , and what few it has are either flush or hardly noticeable .

That canopy was hard work Tony.
That’s starting to look good. All down to you though, not the manufacturer…..l.
I was wondering about those rivets. I bet you've shifted the C of G back by three foot at least, now they're gone.
Playing ketchup Tony and see you still have a love for the off-the-wall Easty Beasty kits!!! Never heard of this one and it looks like Rosie the Riveter had a bad day on the nose of it!!! Great fix on the canopy and I hope the rest of the build goes smoothly for you too Sir. I'll try keep up now...
Prost
Allen
Prost
Allen
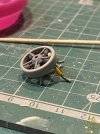
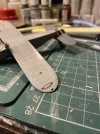
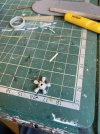
Been adding a few more details to the airframe . The kits tailplane struts were unusable ( as are most of the small parts ) so they were replaced with brass rod . This was also used for the two bumpers under the wingtips , bent to shape. Ive glued on the main undercarriage legs and axle ready for the skis . While I had the brass rods out i made the hinges for the access panels on the nose by rolling an old scalpel blade over the rod to simulate the hinge knuckles. Also receiving some attention was the engine . Pushrods have been added from brass rod and the rocker covers were added with pva canopy glue .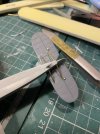
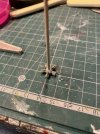


Five cylinders, is that it ? Were the Russians short of pistons or something ?
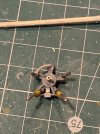
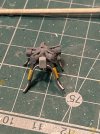
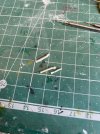
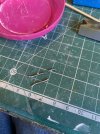
One of the germans nicknames for the po2 was the Nahmaschine - sewing machine . A 5 cylinder radial must sound a bit rattly then ! While we’re on the subject of the engine , ive been looking at the exhausts . Three of the four kit exhausts are shapeless ,flash ridden and flat looking , so in other words unusable . The problem is what can I replace them with as they aren't straight . Brass tube is too difficult to bend to shape without creasing and plastic is too difficult to heat and bend accurately. I decided to use some solder , which is easily bent and soft enough to be drilled . The top two cylinders share the same pipe for which I used the kit piece , suitably cleaned up and a flattened ,drilled end added with the solder. Next is the addition of the bracket that holds the two lower exhaust pipes.Five cylinders, is that it ? Were the Russians short of pistons or something ?
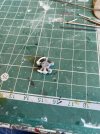
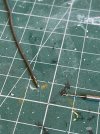
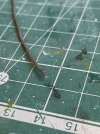
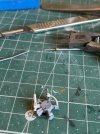
Hi Tony
Superb improvements going on here! I think that, with the way this is going, no one’s going to believe you started out with that kit!!!
Panel line scribing, engine detailing, getting rid of those massive rivets all contribute to a much finer model. And the solder idea for the exhaust is genius. I must remember that!
Paul
Great work going on Tony, loving the improvements.
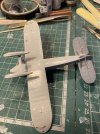
Exhausts now on , the y shaped bracket connected to the bottom two pipes has been removed as it was too big , i’ll make a replacement for this . Some more tiny parts have been scratched as the kit parts were fubar , the attachment points for the rudder and elevator cables . The skis have now been put on ( including the tiny tail skid one) the attachments being made from wire bent to shape because —- yes you guessed it , the kit parts were useless!
One other thing ive added is the tiny control rods for the ailerons , using toothbrush bristles .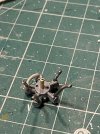
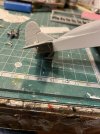
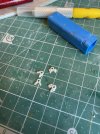
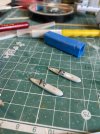
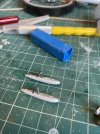
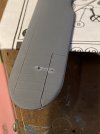
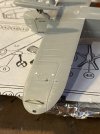
One other thing ive added is the tiny control rods for the ailerons , using toothbrush bristles .


Neil Merryweather
SMF Supporter
Wow Tony that engine is a work of art!
Steve-the-Duck
SMF Supporter
Is that a big on/off switch on the side behind the cowling?

