Trumpeter 1/72 LGS Fennek

Andy T

SMF Supporter
Joined
Apr 26, 2021
Messages
1,951
Points
113
Location
Sheffield
First Name
Andy
I made a start on this kit the other day. As usual it's a subject I knew very little about but I liked the look of it. Thankfully there seems to be plenty of information and pictures around so hopefully I can add a few interesting details, without trying to go mad for accuracy.

1000006892.jpg

The main body comes in just two pieces, upper & lower, along with a single plastic sprue, a few clear pieces and a small decal sheet:

1000006893.jpg

One of the first construction stages was to add the suspension units, which are moulded as four assemblies that clip into place. Whilst this makes life easy it does leave a lot of wobble, and the clips protrude into the drivers area, where they would be visible:

1000006910.jpg

Also note the unusual seating arrangement, like a Maclaren F1 :tears-of-joy:

So I added the wheels & tyres, which were at all angles due to the play in the suspension mountings. I braced them all square & true, then cemented the mounting joints.

You can also see the upper body here after filling, sanding & priming the many ejector pin marks:

1000006912.jpg

Once dry I cut off the clips from the interior, filled & sanded the area smooth and we were left with this:

1000006917.jpg

As you can see the dashboard has some decent detail for 1/72 but there are some important bits missing, a few of which I've added since this picture, but I'll leave that for another update.

I did sort the rear of this screen that suspends from the ceiling. The back is moulded hollow but will be visible (slightly) so I filled most of the hole with a bit of blue tack, skimmed over with some UV filler, and sanded smooth:

1000006923.jpg

1000006924.jpg

There are very few colour call outs for the interior but this is where real pictures will help as it appears to be green metalwork, covered extensively in white or dark grey soundproofing.
 

Andy T

SMF Supporter
Joined
Apr 26, 2021
Messages
1,951
Points
113
Location
Sheffield
First Name
Andy
I've added some wiring to the radio gear using various sizes of lead wire:

1000006932.jpg

I also added a few extra bits including the gear selector, a tube for the "periscope" affair on the roof, and other bits & bobs to give an impression of what I've seen in reference pics:

1000006926.jpg

Also the air conditioning unit under the dash:

1000006927.jpg

The doors were completely devoid of detail so I added the handles and canvas storage bags:

1000006925.jpg

1000006928.jpg

They look better with the first coats of paint on but I'm going to attempt to add the latch and operating cable:

1000006929.jpg

And I've started the basic painting elsewhere. Still more work to do...

1000006930.jpg

1000006931.jpg
 

Jakko

Way past the mad part
SMF Supporter
Joined
Apr 28, 2018
Messages
10,791
Points
113
First Name
Jakko
Cool :smiling3: 
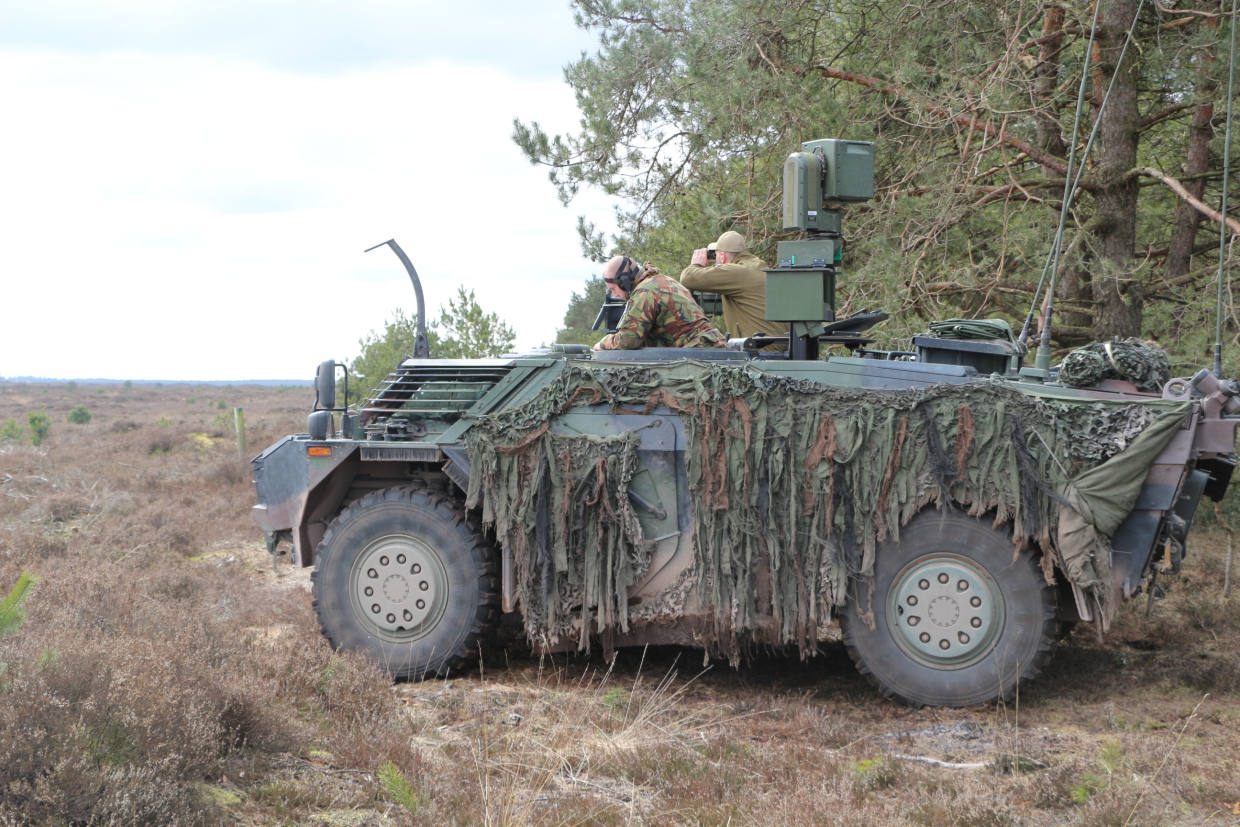
Those Fenneks are big things when you see them up close … Here’s a picture of the one in the National Military Museum in the Netherlands:

2F389974-4B85-42A9-AE4C-228CE0FB3E25_1_105_c.jpeg

Though if I’m not mistaken, this is a prototype. I also took some photos of the interior, but had to do that through the windows because both doors were closed, and, well, judge for yourself …

758CD6EA-ED57-4121-8BE4-8B06BA51C652_1_105_c.jpeg

The others came out even worse. There seems to be something weird going on with the windows, almost as if they were delaminating.

Funny thing is that a lot of sources talk about the “German Fennek” when it resulted from a Dutch requirement that the Germans joined in on, and we’ve got more of them than the Germans do :smiling3:
 

Jim R

SMF Supporter
Joined
Apr 27, 2018
Messages
13,724
Points
113
Location
Shropshire
First Name
Jim
Fine progress Andy. Looks a decent kit and your extras are definitely worthwhile.
What does Fennek mean? Is it a Dutch or a German word?
 

Jakko

Way past the mad part
SMF Supporter
Joined
Apr 28, 2018
Messages
10,791
Points
113
First Name
Jakko
Fennek is Dutch (and also German) for the desert fox, Vulpes zerda, that in English is called “fennec fox” without seemingly ever dropping the word “fox”:

Fennec.jpg
 

yak face

Wossupwidee?
Staff member
Moderator
SMF Supporter
Joined
Jun 13, 2009
Messages
12,398
Points
113
Location
sheffield
First Name
tony
Excellent scratchbuilding andy , the additions look great ,lots of detail for such a small scale , cheers tony
 

Andy T

SMF Supporter
Joined
Apr 26, 2021
Messages
1,951
Points
113
Location
Sheffield
First Name
Andy
Interior finished:

1000006954.jpg

1000006955.jpg

It needed a bit of persuasion to come together. Glad I recently bought some clamps!

1000006956.jpg

After drying for a few hours I tickled a few of the seams then gave it a coat of Ultimate acrylic primer (stynylrez in disguise)

1000006953.jpg

1000006952.jpg

It's highlighted a few areas that need work but we'll soon be onto the fun stuff. The box art does nothing for me, and looks quite unlike like the real thing with its sharp nato style colour scheme so I'm probably going for the one pictured below, which seems to be the nato scheme with a sandy colour overlaid.

1000006948.jpg

4 colour camo on 1/72. What could possibly go wrong! :tears-of-joy:
 

minitnkr

Rabble & escape committee member
SMF Supporter
Joined
Apr 27, 2018
Messages
6,717
Points
113
Location
Dayton, OH
First Name
Paul
I have four 1/87 in desert camo for my BW Afgan FOB dio., one w/LMG, two w/50cal, and one w/grenade launcher. I'll use your excellent work to better mine.
 
Last edited:

JR

Member of the Rabble and Pyromania Consultant
SMF Supporter
Joined
May 26, 2015
Messages
17,275
Points
113
Location
lincs
First Name
John
Very nice additions Andy, esp on those seats .
Seat pulled up .
 

Andy T

SMF Supporter
Joined
Apr 26, 2021
Messages
1,951
Points
113
Location
Sheffield
First Name
Andy
Thanks John & Ian, although I wouldn't get too comfortable. Maybe just time for a quick brew!

I had a day off today so fair cracked on with this. AK and Model Air acrylics applied with a combination of airbrush and hair brush:

1000006973.jpg

1000006974.jpg

1000006975.jpg

Decals next, then a bit more weathering.

I've seen lots of these with hessian type camo. I'd like to add some but all the netting I have is overscale, more suited for 1/35. I'll use it as a last resort and try to hide the netting with fabric strips, but suggestions for something more suitable would be appreciated.
 

Jakko

Way past the mad part
SMF Supporter
Joined
Apr 28, 2018
Messages
10,791
Points
113
First Name
Jakko
You’ve painted it in what looks like Afghanistan camouflage, and though I’m not really up to speed on vehicles used there (Fennek or otherwise), when I look for photos I don’t see camouflage netting on them there much, or at all. In Europe, yes:

img_0387.jpg


… but those won’t have the sand-coloured patches painted over the three-colour NATO camouflage.
 

minitnkr

Rabble & escape committee member
SMF Supporter
Joined
Apr 27, 2018
Messages
6,717
Points
113
Location
Dayton, OH
First Name
Paul
Very neat camo Andy. I've not seen the window slats & wire cutter additions before (photo above).
 

Andy T

SMF Supporter
Joined
Apr 26, 2021
Messages
1,951
Points
113
Location
Sheffield
First Name
Andy
Thanks Paul. Possibly a bit too neat as one of the pictures I'm working from shows that sandy colour to be actual mud daubed over the nato scheme :tears-of-joy:
 

Waspie

SMF Supporter
Joined
Mar 13, 2023
Messages
2,462
Points
113
Location
Portland - Dorset
First Name
Doug
That has been an enjoyable time catching up on the build Andy. Looking really grand. I had never heard of this vehicle so an education all round for me!! :thumb2: :smiling3:
 
Top