Ed Sunder
SMF Supporter
We join this construction in progress... (I just joined the forum  )
)
I have really enjoyed the newer Airfix kits and have previously built their newer Harrier GR1 and A-4B. So I'd picked this kit up a year or two ago (maybe more - COVID years don't count) and thought I'd give it a try. After completing the cockpit and a lot of the other major construction items, I started on the engine nozzles.
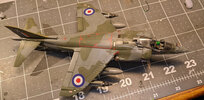
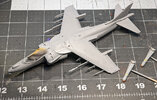
Here's the initial construction along with a cockpit shots and some other details in progress (I know I have a lot of sanding/seam filling to do):
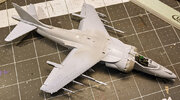
Overall model
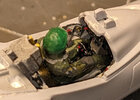
Cockpit - which looks terrible in this picture...
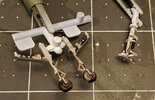
Gear details (need to finish tires)
And here is where I got to with the nozzles. With any Harrier, one of the major areas for seams is the nozzles and it's difficult in this scale to really get rid of them:
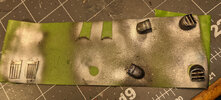
They aren't terrible, and I tried to hide the inner fin seams with dirt, but it didn't really work.
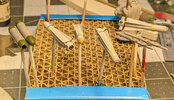
So that got me to thinking about 3D printing some new nozzles. And while I was thinking about it, I thought I could 3D print some other stuff as well. I've been doing 3D printing for a while now, primarily using Fusion 360 for design and my AnyCubic Photon Mono X printer for resin printing. I've always had trouble making seams disappear on fuel tanks, so I started with that - also a pretty simple shape. Here's what I wound up with:
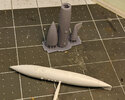
However, to get there I made a number of versions, adding features, measuring, etc. (I also printed one at 1:32 scale to try it out):
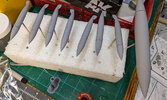
The way I do the design, some features scale up (such as the main body), but some features don't, so the fin is the same thickness at both scales (0.4mm) and the walls of the tank are 1mm for both as well. That means it's nice and light.
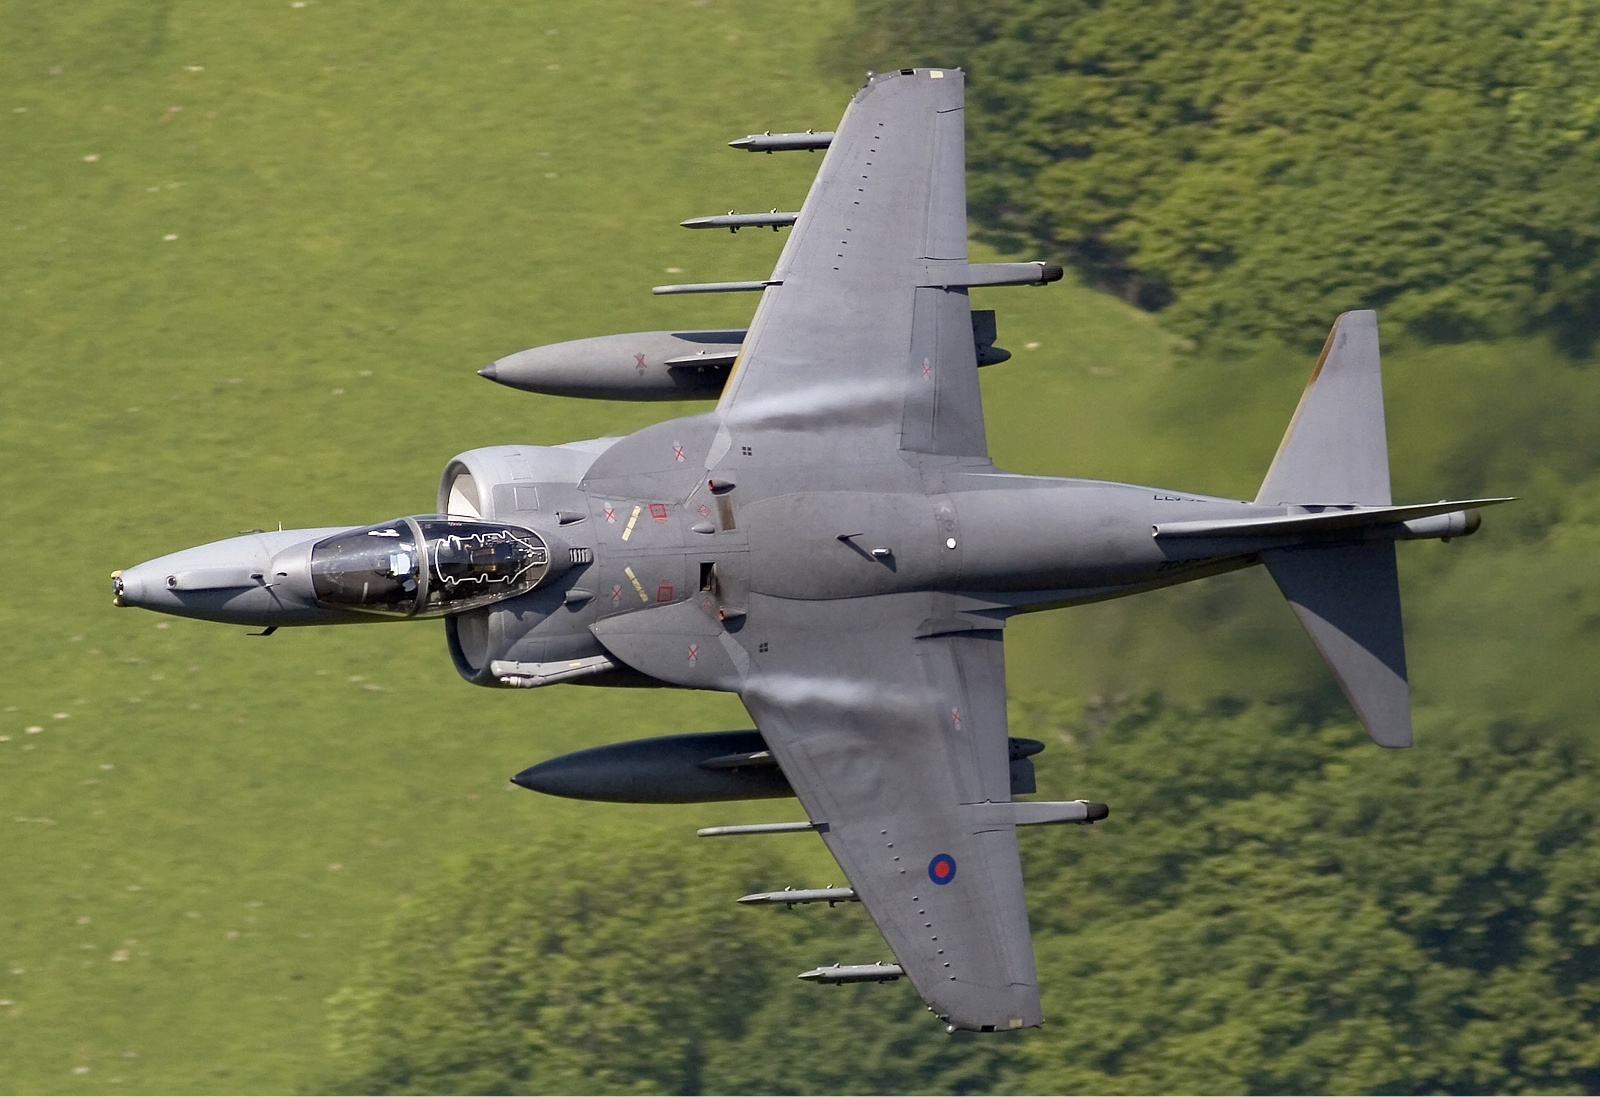
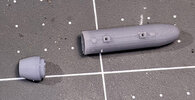
After that I thought I'd add some more stuff under the wings, starting with the LAU-5003 rocket pods, which have more detail than you can see in this photo:
And I thought it would add some pizzazz to add some AGM-65s under the wings. I haven't decided which version I'll use, but I made models for both:
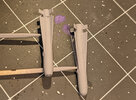
I also have LAU-117s for the Mavericks, but I don't have a good photo of those yet. These are all designed for me to run wire from the weapon/tank into small holes I can drill in the model so they can be attached later. Note that because these are resin, I have to use CA glue to attach them.
Finally, I started working on the engine nozzles (why I started this in the first place):
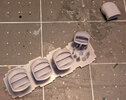
I'm still working on sizing the aft nozzles to fit well, but they are very close.
Anyway, I'm excited to see where this will go. If I do a nice enough job on the 3D printing stuff, I may offer some for sale eventually.
Thanks for looking!
 )
)I have really enjoyed the newer Airfix kits and have previously built their newer Harrier GR1 and A-4B. So I'd picked this kit up a year or two ago (maybe more - COVID years don't count) and thought I'd give it a try. After completing the cockpit and a lot of the other major construction items, I started on the engine nozzles.
Here's the initial construction along with a cockpit shots and some other details in progress (I know I have a lot of sanding/seam filling to do):

Overall model

Cockpit - which looks terrible in this picture...

Gear details (need to finish tires)
And here is where I got to with the nozzles. With any Harrier, one of the major areas for seams is the nozzles and it's difficult in this scale to really get rid of them:

They aren't terrible, and I tried to hide the inner fin seams with dirt, but it didn't really work.
So that got me to thinking about 3D printing some new nozzles. And while I was thinking about it, I thought I could 3D print some other stuff as well. I've been doing 3D printing for a while now, primarily using Fusion 360 for design and my AnyCubic Photon Mono X printer for resin printing. I've always had trouble making seams disappear on fuel tanks, so I started with that - also a pretty simple shape. Here's what I wound up with:

However, to get there I made a number of versions, adding features, measuring, etc. (I also printed one at 1:32 scale to try it out):

The way I do the design, some features scale up (such as the main body), but some features don't, so the fin is the same thickness at both scales (0.4mm) and the walls of the tank are 1mm for both as well. That means it's nice and light.
After that I thought I'd add some more stuff under the wings, starting with the LAU-5003 rocket pods, which have more detail than you can see in this photo:

And I thought it would add some pizzazz to add some AGM-65s under the wings. I haven't decided which version I'll use, but I made models for both:

I also have LAU-117s for the Mavericks, but I don't have a good photo of those yet. These are all designed for me to run wire from the weapon/tank into small holes I can drill in the model so they can be attached later. Note that because these are resin, I have to use CA glue to attach them.
Finally, I started working on the engine nozzles (why I started this in the first place):

I'm still working on sizing the aft nozzles to fit well, but they are very close.
Anyway, I'm excited to see where this will go. If I do a nice enough job on the 3D printing stuff, I may offer some for sale eventually.
Thanks for looking!

 That Harrier office is looking the bomb.....watch your mold lines though.