Jim R
SMF Supporter
I didn't plan on buying this kit and even when I had the kit it wasn't on my "to build" list but I opened the box and before I knew it I was started!
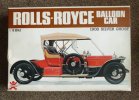
I saw the kit on an Ebay auction and there was only a couple of hours to go and there was one bid of £19.99 (p&p £6.95). A quick look on 'tinterweb and I saw that the kit was rare and up for sale at anything from £125 to £225. I put in my bid with just 15 seconds to go and won. £26.05 + £6.95 - total spent was £33! The kit was advertised as started with parts missing but as the seller was a Hospice Charity in Stoke my thinking was if I bin it I've made a Christmas donation to a worthy cause
The kit dates from 1984 although the moulds are from 1976.
The subject of the kit is a vehicle specially designed for Charles Rolls by the famous coach builder Mulliner. Rolls was a keen aviator in addition to his automotive interests. Sadly it was a flying accident which cost him his life in 1910 at the age of just 32. In 1903 he won the Gordon Bennett Gold Medal for the longest single flight time. He was a balloonist as well as a pioneer flyer and this car was designed to carry his balloon, a 17000 cubic foot Imp, on the rear deck.
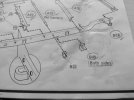
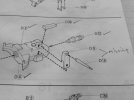
I checked the kit and there are 3 missing parts. All small, unimportant and easily scratched. B21, D9 and D16.
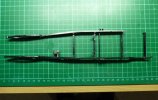
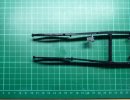
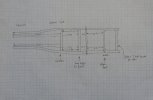
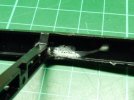
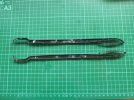
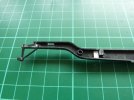
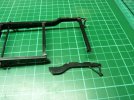
The chassis and the engine had been started. I don't know what glue was used but it certainly was not modelling cement and plenty was used!! Apart from an easily fixed broken end, the chassis just needs a good clean up.
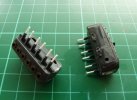
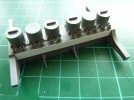
The engine is a different matter. Parts have been glued horribly so will need taking apart and re-gluing.
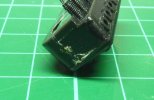
I've made a start. Razor saw, filler and much bad language!
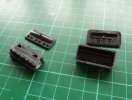
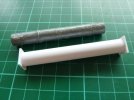
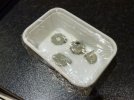
A few parts have been painted silver. A good thick coat of God knows what
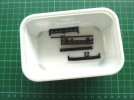
So a soak in Fairy Power Spray, a scrub with an old tooth brush, a good rinse and into the warm box I used to dry oils.
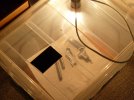
Most of the parts however are still in their sealed bags
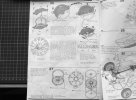
There is a nightmare for later and that is the wheels. A feature of the car is the fine spoked wheels. They make the spokes with thread
I've seen people make fine models from this kind of unpromising starting point so it will be interesting. All are welcome to join in the fun.

I saw the kit on an Ebay auction and there was only a couple of hours to go and there was one bid of £19.99 (p&p £6.95). A quick look on 'tinterweb and I saw that the kit was rare and up for sale at anything from £125 to £225. I put in my bid with just 15 seconds to go and won. £26.05 + £6.95 - total spent was £33! The kit was advertised as started with parts missing but as the seller was a Hospice Charity in Stoke my thinking was if I bin it I've made a Christmas donation to a worthy cause

The kit dates from 1984 although the moulds are from 1976.
The subject of the kit is a vehicle specially designed for Charles Rolls by the famous coach builder Mulliner. Rolls was a keen aviator in addition to his automotive interests. Sadly it was a flying accident which cost him his life in 1910 at the age of just 32. In 1903 he won the Gordon Bennett Gold Medal for the longest single flight time. He was a balloonist as well as a pioneer flyer and this car was designed to carry his balloon, a 17000 cubic foot Imp, on the rear deck.
I checked the kit and there are 3 missing parts. All small, unimportant and easily scratched. B21, D9 and D16.


The chassis and the engine had been started. I don't know what glue was used but it certainly was not modelling cement and plenty was used!! Apart from an easily fixed broken end, the chassis just needs a good clean up.

The engine is a different matter. Parts have been glued horribly so will need taking apart and re-gluing.

I've made a start. Razor saw, filler and much bad language!

A few parts have been painted silver. A good thick coat of God knows what

So a soak in Fairy Power Spray, a scrub with an old tooth brush, a good rinse and into the warm box I used to dry oils.


Most of the parts however are still in their sealed bags

There is a nightmare for later and that is the wheels. A feature of the car is the fine spoked wheels. They make the spokes with thread


I've seen people make fine models from this kind of unpromising starting point so it will be interesting. All are welcome to join in the fun.


