scottie3158
SMF Supporter
Rick, That's the idea mate, it will stop me buying new kitsAt this level of detail you might find yourself at the bench well into the New Year.....What a way to ring in the New Year!

Rick, That's the idea mate, it will stop me buying new kitsAt this level of detail you might find yourself at the bench well into the New Year.....What a way to ring in the New Year!

Mike,Scottie,
Great work on the wire wheels, and on the pannier box hangers. Will draw up a chair and watch the progress on this old ESCI kit offering. (giving age away).
Looks painful ScottieTo all who have liked and commented about the wheels thank you very much for the kind words. I thought I would do a SBS on the last wheel, just to show how I went about it and how easy it is. There are other methods but this one in this scale worked for me.
The first thing is to mark out where the spokes are and the angle they are fitted. Then remove a few at a time I normally do about four at a time this gives the hub plenty of support. Next clean up the seam line and remnants of the moulded nipples.
View attachment 468587
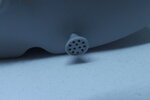
Using a drill bit the size of the nipple to be used, in my case some vinyl tube drill the outer rim using the marks as a guide.
View attachment 468588
Next using a drill the size of the spoke itself drill the hub. you will notice the holes on the hub are offset to allow the spokes to pass each other. The holes don't need to be deep as long as they provide a positive location.
View attachment 468589
View attachment 468590
The vinyl tube was cut at 7mm ish lengths and slid over the new spokes.
View attachment 468591
now push one end of the wire into the locating hole then slide the nipple down the wire into the hole in the rim until you have enough on the inside of the rim. when happy CA both ends in place.
Just remember to follow the correct direction of the spokes.
View attachment 468592
When happy snip off the remaining wire. Now repeat until you have worked round the whole wheel.
Sorry if it was long winded but hopefully you can see that all though time consuming it is quite easy if you take your time and get the holes in the right place.
cheers
Scottie
Luckily not to painful mate.Looks painful Scottie
Dale thanks mate. I'll get your coat lol.Excellent stuff mate. I was blown away by the bikes you had at last year's show, and the SBS is graat.
On a humourous note, does this mean your model is now.... Wait for it... Bespoke!?
Thanks Dude, I must admit I am having fun and it's a lot easier in this scale.Great work Bro!!! I thought the spokes were cool, but this is really cool. Nice to see you having such a good time building this Paul!!!
Prost
Allen
Beat me to it Mick - they are INSANEMore great work Scottie, those catches are a work of art

Cheers Mick, they're not 100% right but better than the kit offerings.More great work Scottie, those catches are a work of art
Thank you Neil appreciate it.Beat me to it Mick - they are INSANE
Andrea, that's very kind of you. That does sound like an interesting hobby but please stick with this onePaul, I'm so awfully pleased by your modelling skills I'm considering the platypus breeding as my new hobby...
Andrea

Jim, Thank you mate.Well Scottie you just keep raising the bar. The spokes were brilliant but those catches are even more impressive.
That's good at least your not bored already.ooh I'm enjoying this
Tony thanks mate they were fun when I had worked out how to do them.Amazing work paul , those catches are INSANE ! Cheers tony
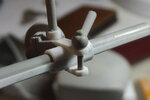
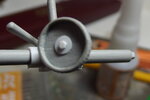
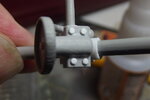
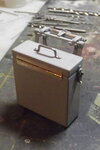
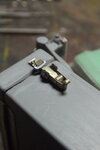
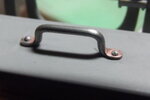
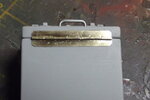
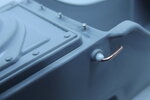
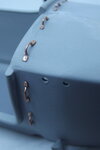
Simply stunning Scottie!!Well one pannier is done. Had a lot of fun adding the details. The hinge does work but ended up fixing the lid in place. The two catches had me scratching my head as to how to recreate them. they are the upteenth attempt and fabricated from 7 parts each not including the rivet detail. Although very far from perfect they are a 100% better than the kit offerings and I am happy with them.
View attachment 468969
View attachment 468970View attachment 468971
View attachment 468972
cheers
Scottie
Simply stunning Scottie!!
Cheers Mate Appreciate the nice comment.
For FULL Forum access you can upgrade your account here UPGRADE
