langy71
SMF Supporter
ahhh got ya, just a suggestion to stick in the back of your brain for the next time something doesn't line up properly...loving what you are doing with this though mate...keep up the sterling work.
COR THANKS Chris yes yes i'll try an remember your very good idea as after this badly fittin tomcat kit ive got a 1/32 scale SUPER HORNET again by trumppeter an if its possible to bend because of a bad fit then i'll use your idea on it but i hope it will be a better fit an not a PITA of a kit like this one lolahhh got ya, just a suggestion to stick in the back of your brain for the next time something doesn't line up properly...loving what you are doing with this though mate...keep up the sterling work.
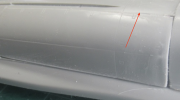
HI Doug YES i am wearin B-gloves an goin for a knockout in the 10th round LOL IF IM STILL SANE LOL an yes i see what you mean but its the angle that the pic is taken at as its flush an ive done the cut in the panel to pull it in an no i cant angle it anymore as then the other end will be wrong an that slight gap at the bottom right is only half a mm as if it too tight then the engine panel will jam an not open so a slight gap is nessasary but thanks for pointing it out Doug as yes it does look a little high but its flush with the fusalarge so i think im gettin there now to try an fit them hinges an thats goin to be difficult but im enjoyin the fight or challenge of this models givinen meHi Chris, shouldn't you be wearing boxing gloves with this one!! It's putting up quite a fight!!
That sticky out panel. Could you not shave off a little of the top to pull the section sticking out back into line. Or would that knock out the overall geometry of the engine panel??
I've arrowed the bit I'm referring to!
Doug
View attachment 509022
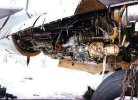
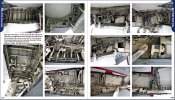
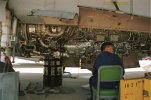
OH Mike many thanks for these brilliant pics of the engine an covers im really please you have posted these as trumppter could have put on more detail on them engines than they have what a swizz but in my tomcat book it dont show this kind of detail brilliant pics but cant do anymore detail on my engines as if i do i may not get the panel to close up an yes enlarge the middle pics if you can as id really love them all enlarged as on a model like this you just cant have to many pics of detail more please MikeMorning Chris, I see you are having a fight with the engine cover... The regular move is as the other Chris said is boiling water. I have had a few problems with shapes that would not conform and my method is to use aluminium sheet or annealed brass sheet.
I have some from Albion Alloys Code SM1 for the brass, but cannot remember the Ally code. But the thickness is 0.127mm and you could bend it over the plastic part and adjust once you have the basic shape, and then once you are happy with the shape add strengtheners to hold the shape in the form of flat strips....
Here are some pics from the interweb (sources not named but thankyou)
View attachment 509026
View attachment 509027View attachment 509028
I can enlarge and seperate the middle pic if you wish.
Cheers
Mike.
thanks jim as this kit just gets worst just as well ive got a little knowhow on modelinWell done Chris in getting that cover so much better.
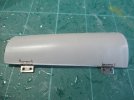
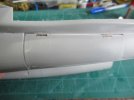
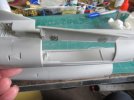
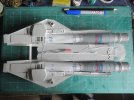
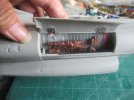
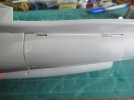
HI Scottie cheers sir as yes this engine openin panel as near give me the collywobbles lol as yes the plastic of the kit is hard but tryin to fit that panel in to mate to the fusealage was a right bugger as the plane is quite big so it ends up bein floppy an then easy to make a mistake so the panel dont fitChris,
Nicely done mate.
Thanks Flip im now sprayin the big cat in light grey an goin to give it two days for the paint to hardenExcellent result Chris.
OH THANKS Bob mate an how you feelin now ?Lovely work Chris, impressed!!!
Hi ChrisOH THANKS Bob mate an how you feelin now ?
For FULL Forum access you can upgrade your account here UPGRADE
