Waspie
SMF Supporter
Looking at the wheels Jim I think the 'blue air' was worth all the effort. They look amazing.
Nothing like a good blaspheme to sort things out!!
Nothing like a good blaspheme to sort things out!!

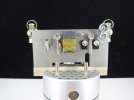
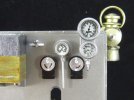


Yes the spiders , I remember that postfrom Mr T well. Jim that wheel is a master piece of work , afraid too much for me , well done . The set of photos show your great painting skills as well.Neil, Mark, Tim, Tony, John and Miko - many thanks for such supportive posts
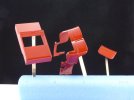
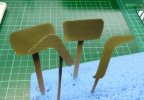
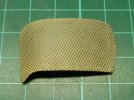
As I said in the last update the front mudguard brackets did not fit so I scratched replacements. Looking at photos of the real thing the brackets appear to be riveted in place although there is no sign of any fastenings on the top side of the mudguard.
View attachment 501779
...... and painted
View attachment 501781
I fitted the exhaust.
View attachment 501780
Then I thought I'd tackle the wheels. I have found a few builds of this kit online and one said the wheels were impossible and so the model became a shelf queen and another decided to source after market wheels. A few managed OK. I reasoned that if I couldn't manage the wheels then there was little point in going on with the rest of the build.
The wheels use a jig. The spokes are black, nylon thread. There is a rim and a centre which is laced up using the jig.
View attachment 501786
There are two steps - 26 and 27. Both involve lacing. They are then fitted together.
View attachment 501784
View attachment 501785
The problem is that God didn't give me enough hands. I could have done with one or two extras. The thread is slippery and has to be kept taut, the jig has to be turned over and back multiple times and the wheel itself has to be turned in the jig. Anyway after many, many starts I have one wheel. Very, very effective. The two laced rims are glued together.
View attachment 501782
And .... drum roll.... I have one wheel.
View attachment 501783
Still need the chrome centre and the tyre but it's done. I have actually done the first lacing of a second wheel. Doing the wheels made me think of the late, great Simon T. He spoked wheels and we joked about him have trained spiders - good memories.
Thanks for your continued support.


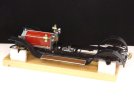
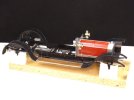


That is beautiful work - looking forward to the finished masterpiece!A bit more progress. In fact it's beginning to look like a car
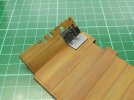
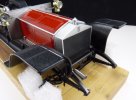
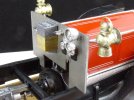
Running boards and bulkhead fitted. The bonnet is not glued.
View attachment 504367
View attachment 504368
View attachment 504369
View attachment 504370
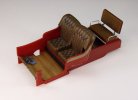
The floor and the bodywork have been joined together. Thank the Lord for CA and clamps
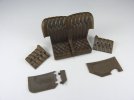
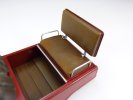
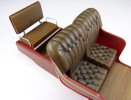
Also the seat is in place although the armrests have still to go in. Put together and painted the folding rear seat, it's just dry fitted for now.
View attachment 504371
View attachment 504372
View attachment 504373
Still a way to go but at the risk of jinxing it I think there's light at the end of the tunnel.
Thanks again for all your posts.
For FULL Forum access you can upgrade your account here UPGRADE
