JU 87 b 1/24

T

T. van Vuuren

Guest
Thanx.


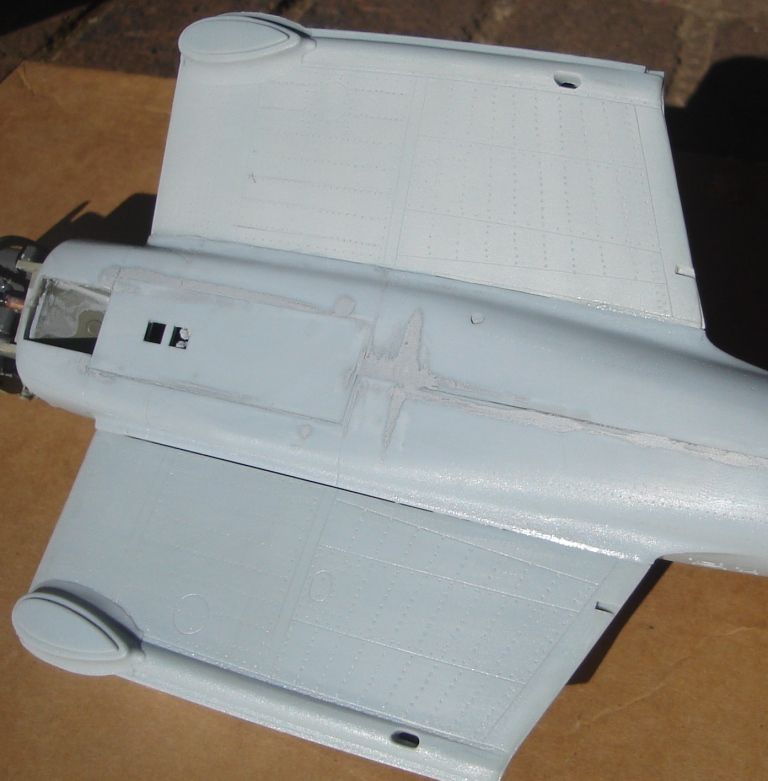
I tested the rivet drilling on the underside of one inner wing pannel and did not like the results...it is to haevy.


I will have to come up with some other way to get the rivet detail back...


Theuns
 
T

T. van Vuuren

Guest
 I was not happy with the drilling of the rivets, it was to heavy so I put a cone shaped grinding bit into my dremmel to make new reccessed rivets and the results are allot more subtle.I will do the rest of the airframe the same way.There is a substantial gp under the bottom of the wingroot fairing that will need filling, tht top seam is OK.


Theuns
 
T

T. van Vuuren

Guest
I started with this project again...


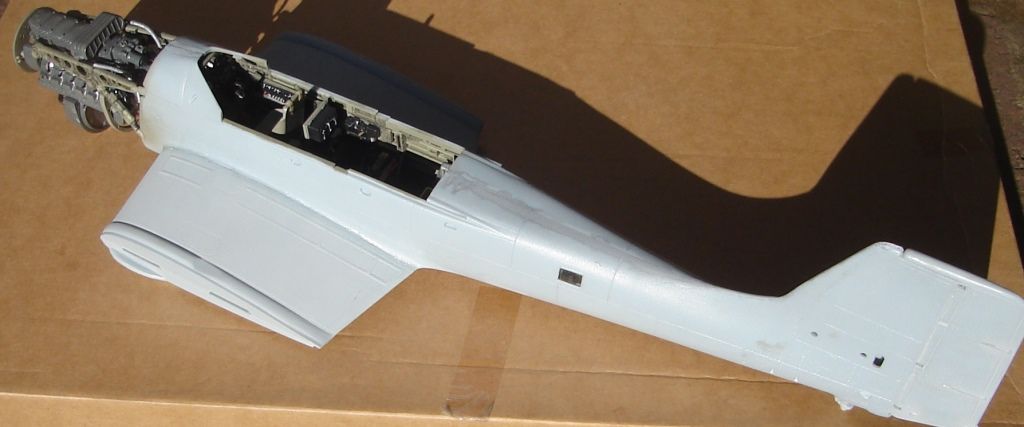
The wing fit is not to good and needs some work.


Theuns

DSC00439.JPG
 
T

T. van Vuuren

Guest
what stumps me with this kit is that one side of a part will fit the rest  beautifully, like the tail root fairing to the fuse, yet the other side (lined up the same way) does not fit atall and will need allot of filling and sandig....


Theuns
 
T

T. van Vuuren

Guest
Does anyone maybe have the 4 views of what the standard RLM splinter scheme on the 87b looked like?


Thanx


Theuns
 

stona

SMF Supporter
Joined
Jul 22, 2008
Messages
11,472
Points
113
First Name
Steve
I have some copies of the original camouflage drawings at home. I won't be there until Monday, but I can dig them out then if it will help (and no one else finds something suitable in the meantime).


Cheers


Steve
 
T

T. van Vuuren

Guest
Steve that wouli be great thanx mate. I am about a week or so away from paint but just want to get my ducks in a row :smiling:


Theuns
 
T

T. van Vuuren

Guest
Becsause of the misshap I had with the acetone eating the left part of the windshield I had to pollish out the affected area. The part of the small opening window was to deep so I had to cut it out, I will fitt a seperate window in that area.


Theuns

DSC00488.JPG

DSC00487.JPG

DSC00486.JPG
 
T

T. van Vuuren

Guest
This model is starting to get in the way now so I am pushing ahead with completing it asap.


The underside is HU 65.


Theuns

DSC00511.JPG
 

BarryW

SMF Supporter
Joined
Jul 23, 2011
Messages
5,039
Points
113
Location
Dover
First Name
Barry
She is a bit of a monster but its certainly coming along well....
 

colin m

Moderator
Staff member
Moderator
SMF Supporter
Joined
Dec 26, 2008
Messages
8,604
Points
113
Location
Stafford, UK
First Name
Colin
HU65 is one of those shades of paint I just like. H90 is another. Nice to see this moving along again.
 
T

T. van Vuuren

Guest
I sprayed the RLM 71 on and even with a full tin of humbrol I still ran out without completing it! I wonder how much Tamiya acrylic it will take as a clearcoat....


Theuns
 
P

Polux

Guest
Looking very good so far Theuns!


I built this one some time ago, and once finished looks a superb model.....and a beast as well lol
 
T

T. van Vuuren

Guest
I have no place to put it once done....might have to go into a box into storage again.
 
T

T. van Vuuren

Guest
Ta Ian.


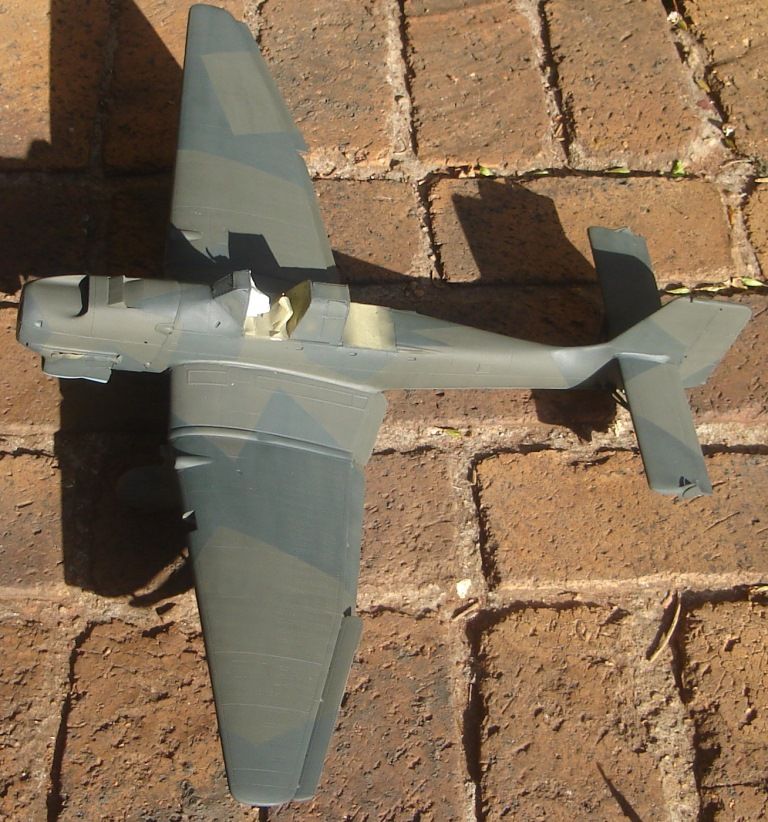
An hour into masking I regreted going with the splinter scheme....Now waiting for paint to dry so I can see if it was worth the effort.


Theuns

DSC00513.JPG
 
K

Kressy_13

Guest
I'm sure it will look great mate. Have put a bit of work into the body which will shine through.
 
T

T. van Vuuren

Guest
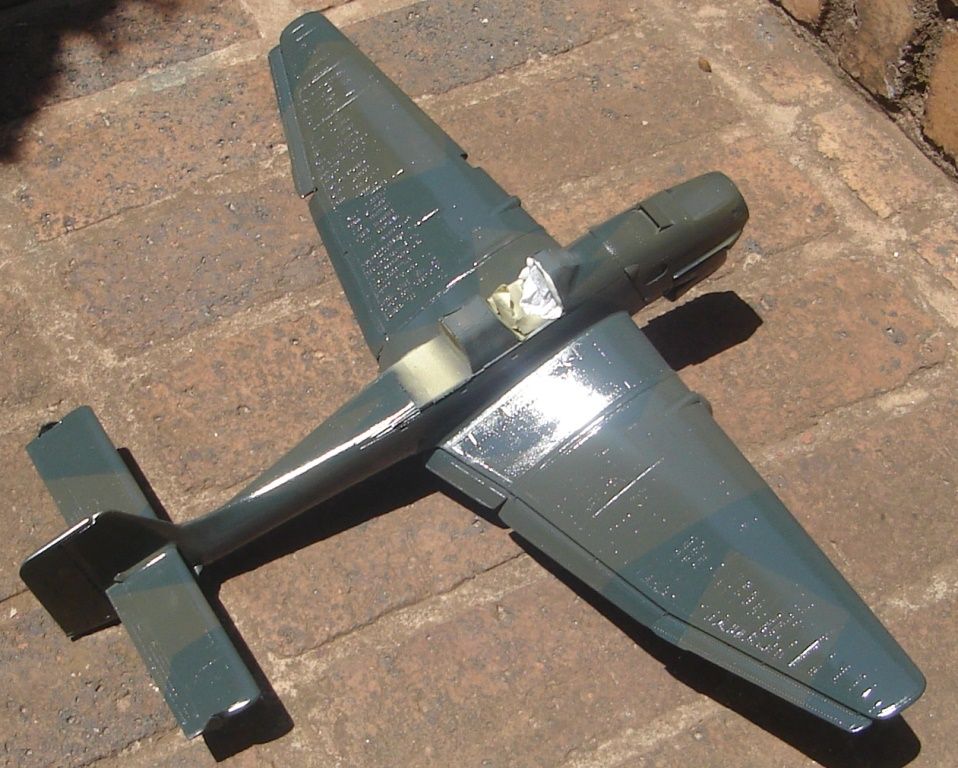
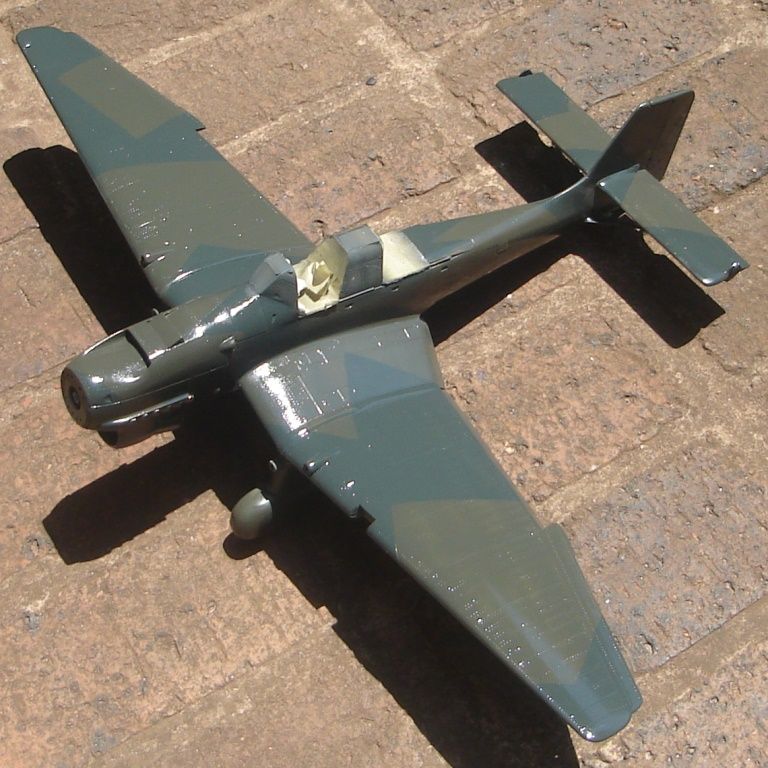
Here it is with the camo on before I sanded it
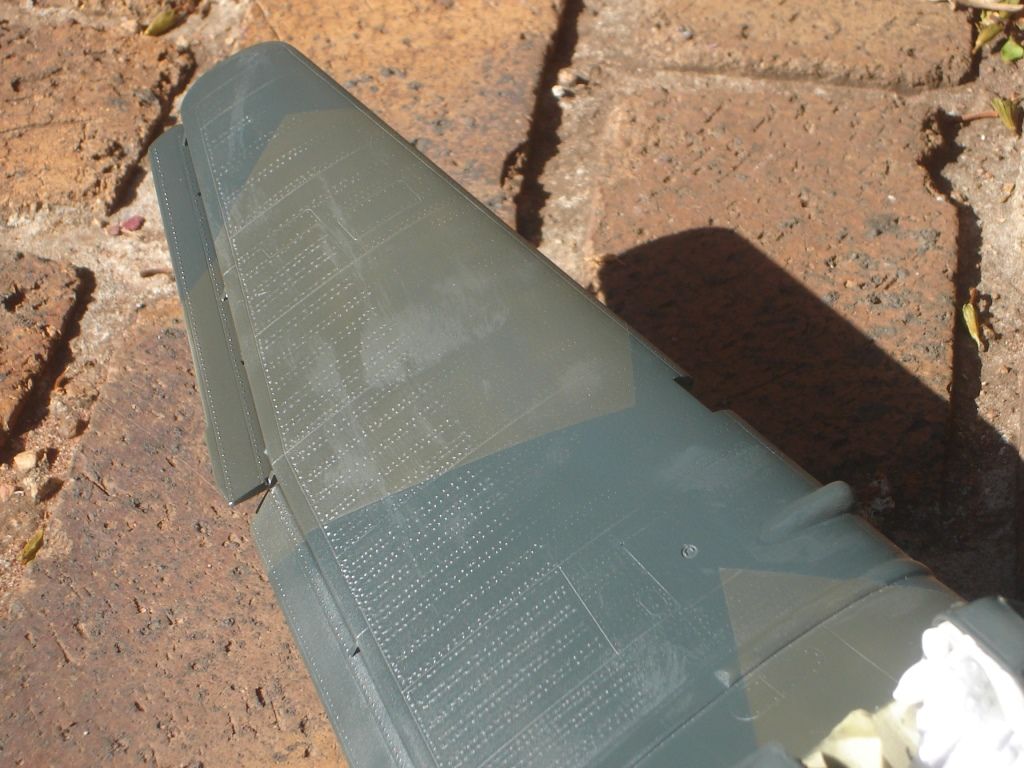
Then after sanding with 3600 MM I washed it and then shooting on the acrylic clar some marks appeared.
I am hoping that a light sanding and more clear will solve the problem
T
 
T

T. van Vuuren

Guest
I might have just pulled it off, it looks like those marks went away with the more clearcoat I put on


Theuns
 
Top